Posts filed under Accessories Review

Blackwing Pencil Extender Review

Blackwing Pencil Extender Review

I love Blackwing Pencils. Blackwing accessories? Well, that’s a different story, with varying outcomes.

When Blackwing first launched their paper lineup, via various notebook styles, they were well received. They did a great job with the release, and I even found them to be fountain pen friendly. They continued to update formats and styles, and have remained excellent over time. I’m not sure how many other Blackwing accessories I can say that about-especially on the first iteration of products.

The Blackwing Point Guard was my first odd experience with a new Blackwing design. The concept is great, as I already used various pencil tip protectors, but this one was was sized oddly at launch. More specifically, some of the Point Guards didn’t fit on Blackwing Pencils. They were too tight to use. Blackwing quickly corrected the issue and made it right, but I filed that information away in the back of my brain.

I would need that info on the launch of the Blackwing One-Step Long Point Sharpener. I had heard there were blade issues on launch, which caused poor pencil sharpening, so I waited a bit for that to shake out. Apparently, I didn’t wait long enough, as I got one of the bad ones. Once again, Blackwing made it right by providing replacement blades, and now the sharpener works as intended.

Blackwing Pencil Extender

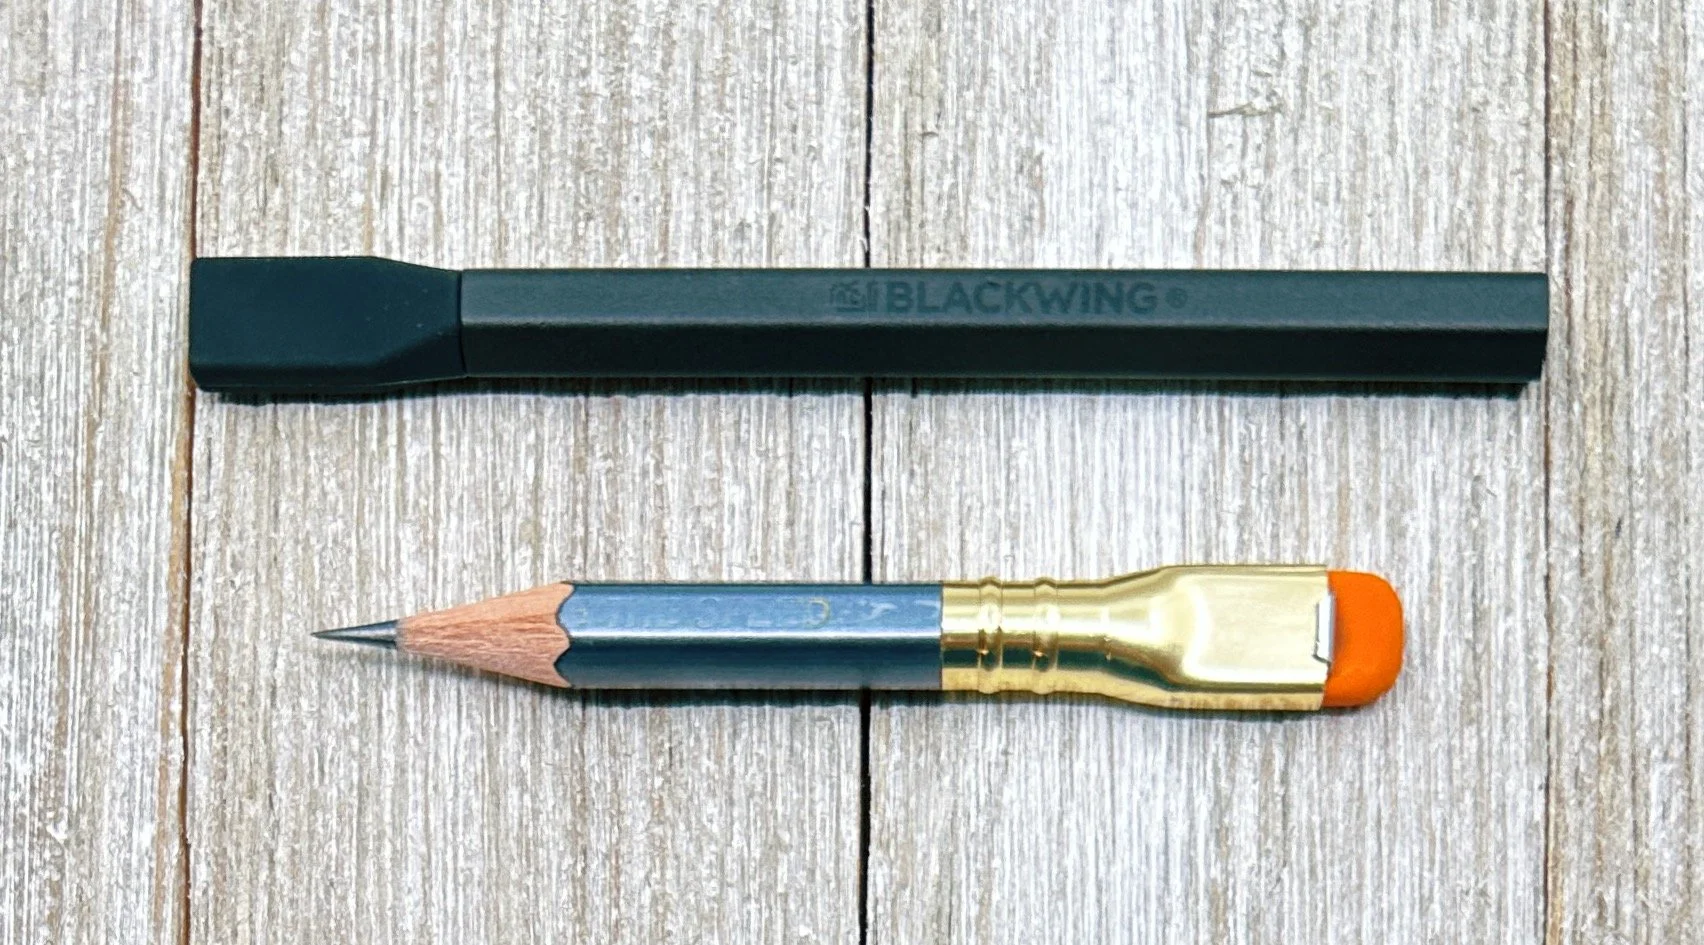
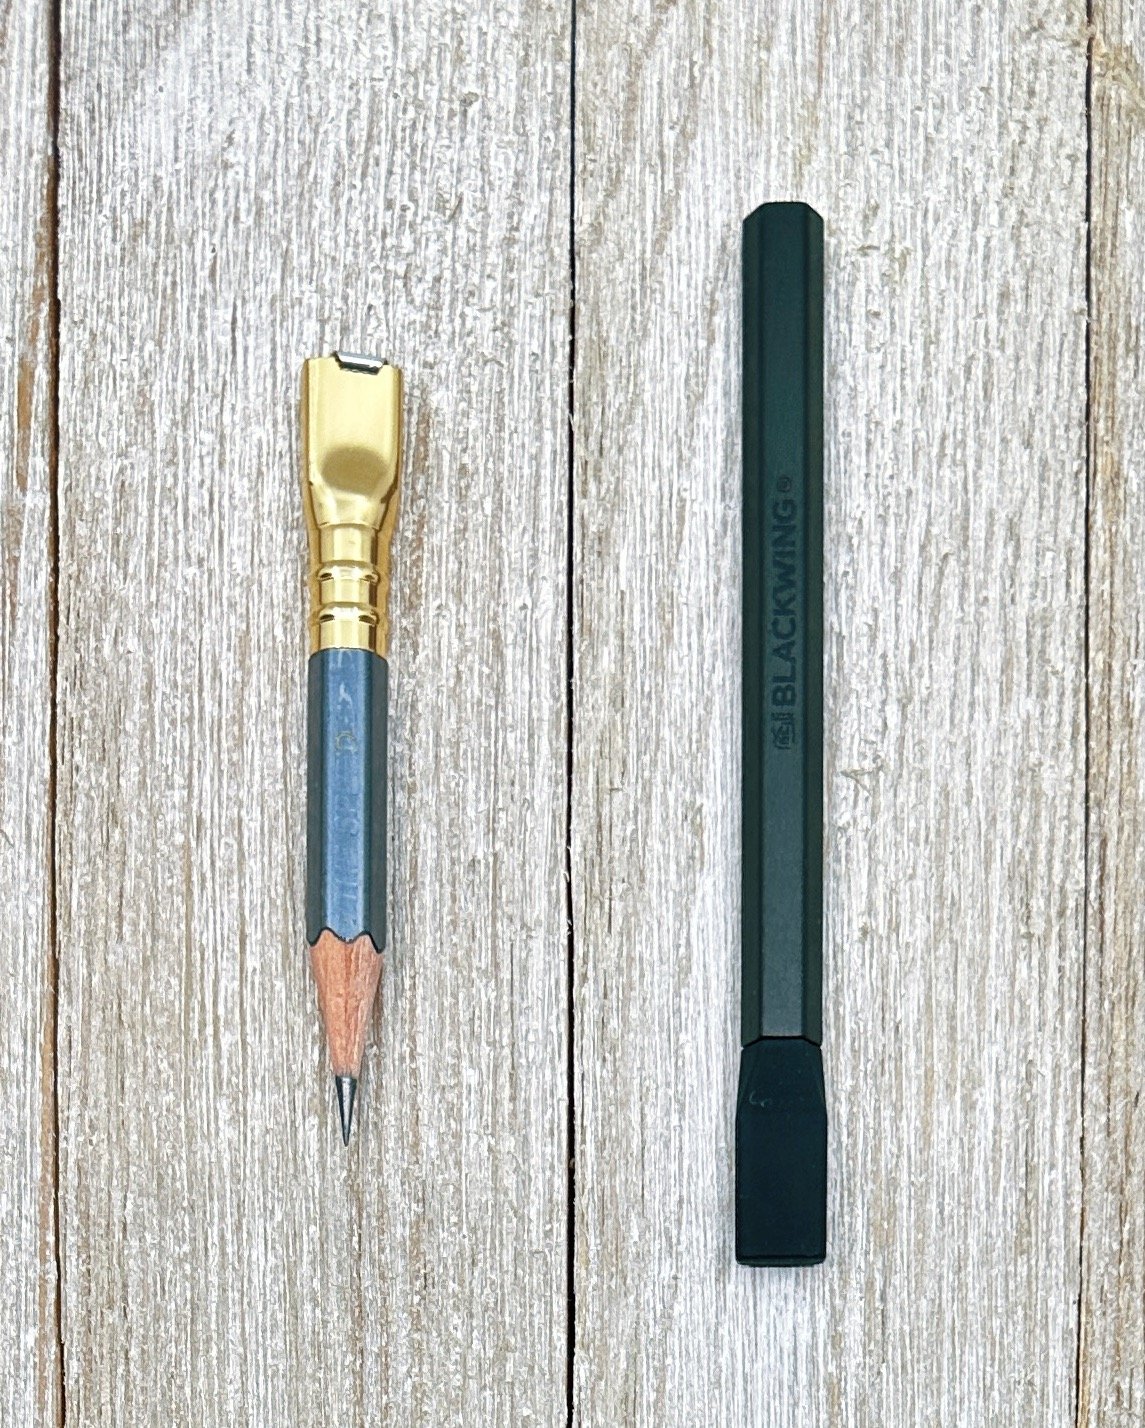
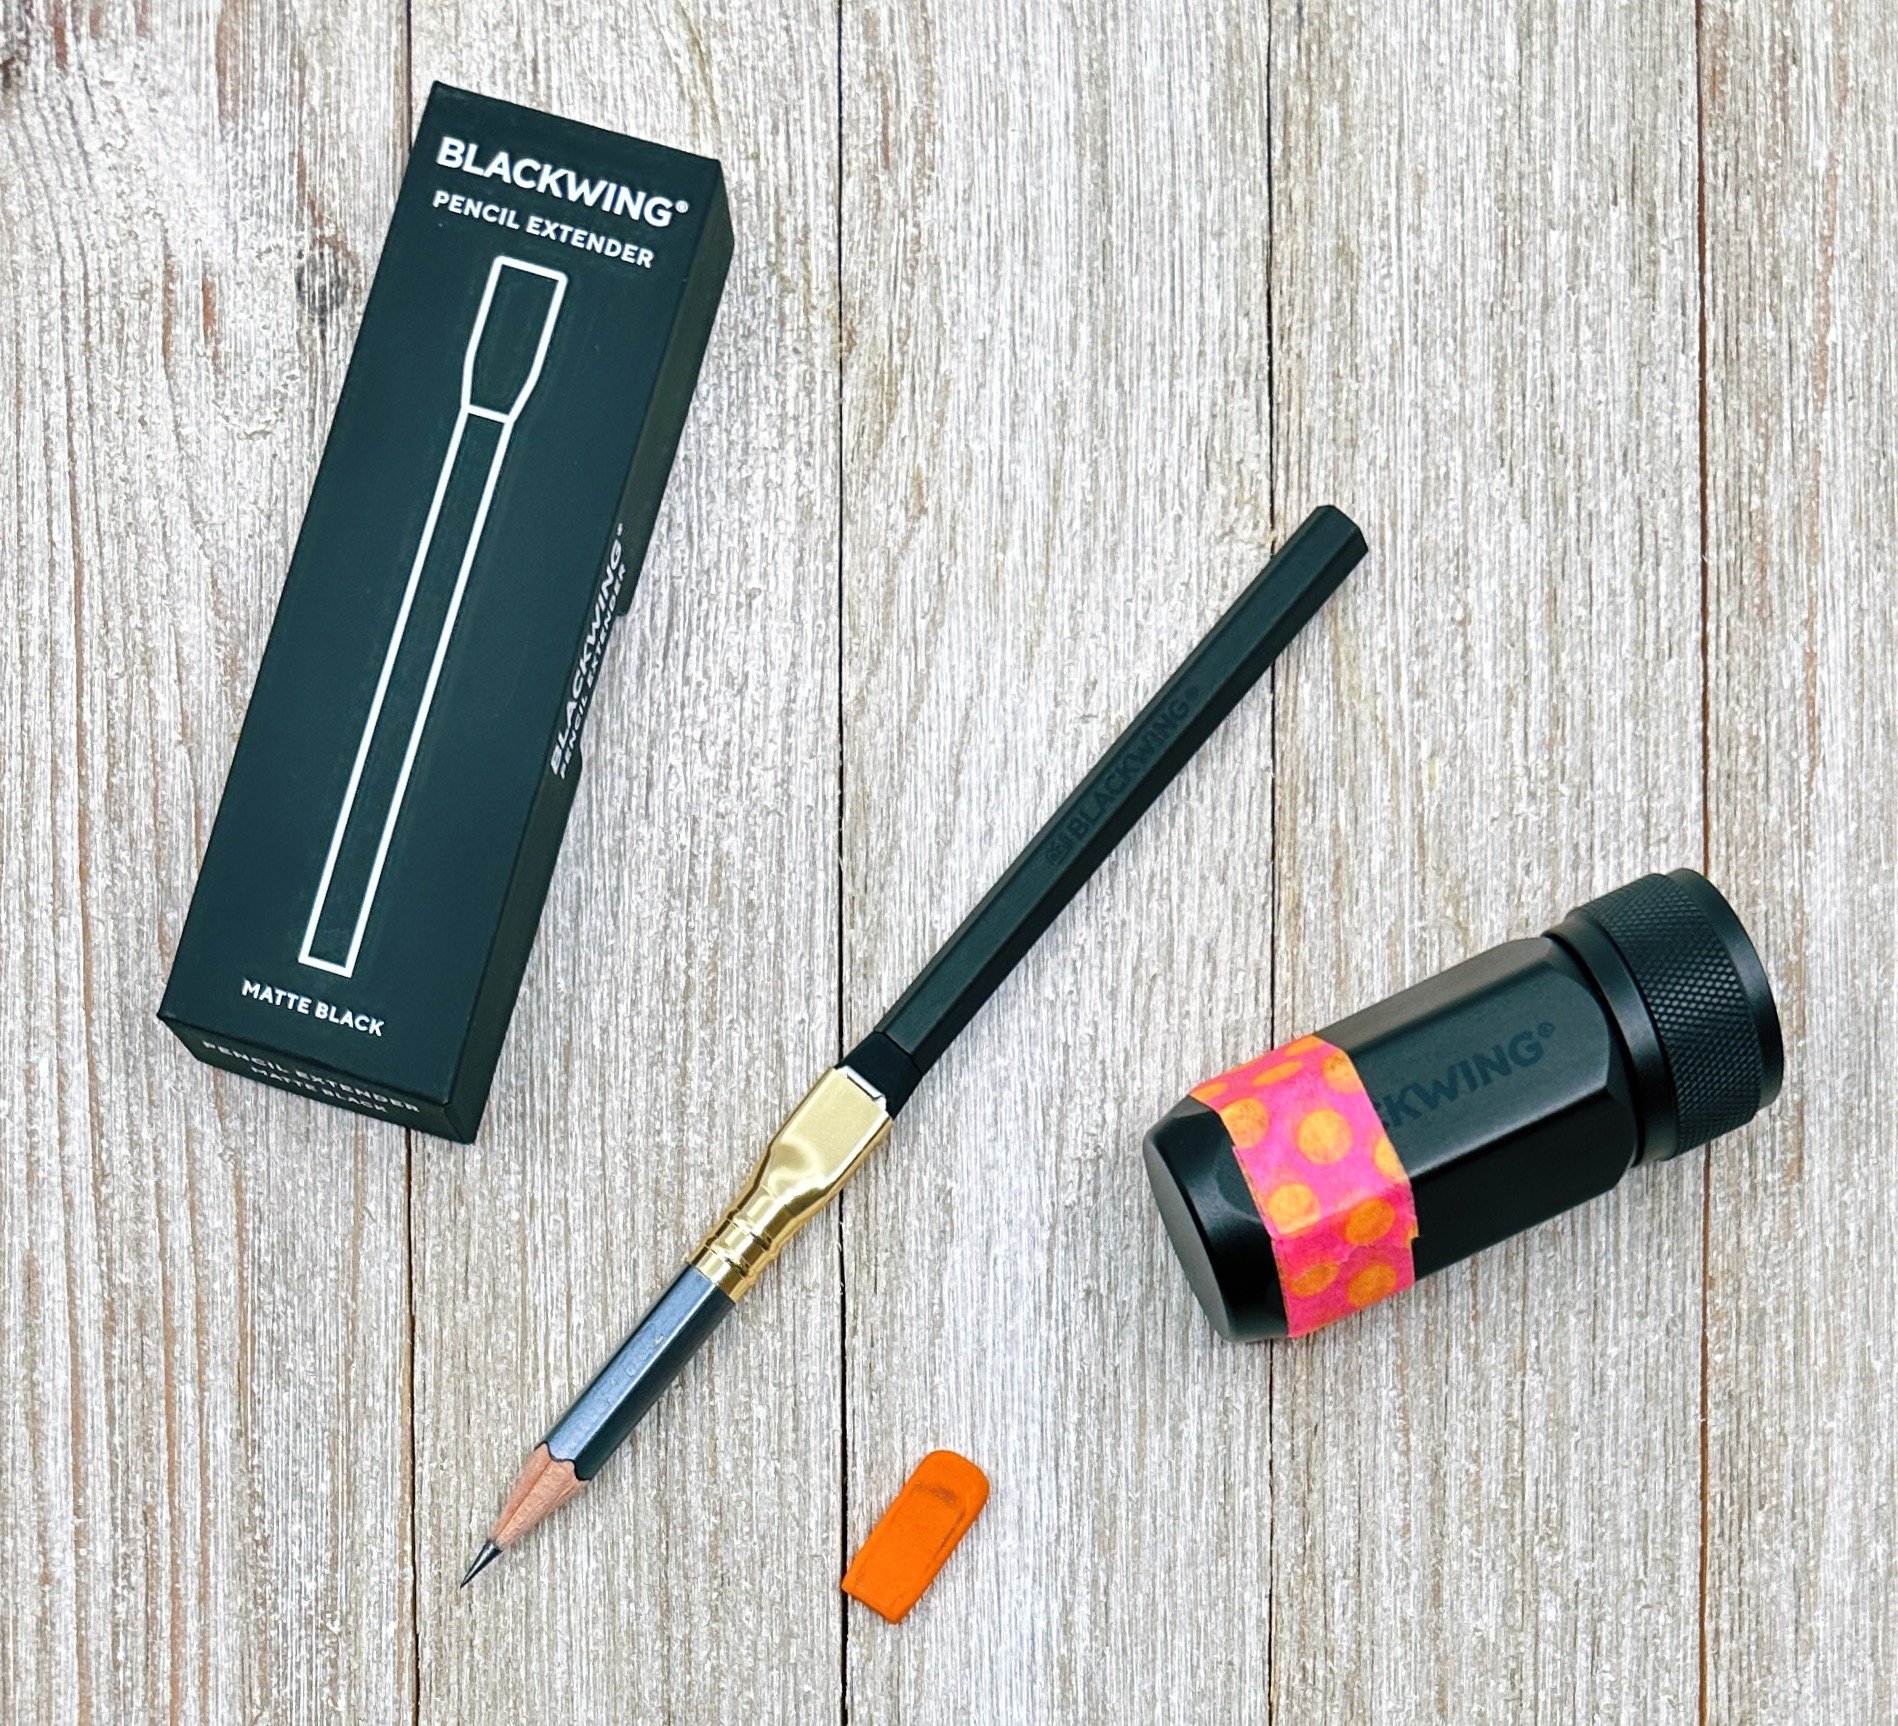
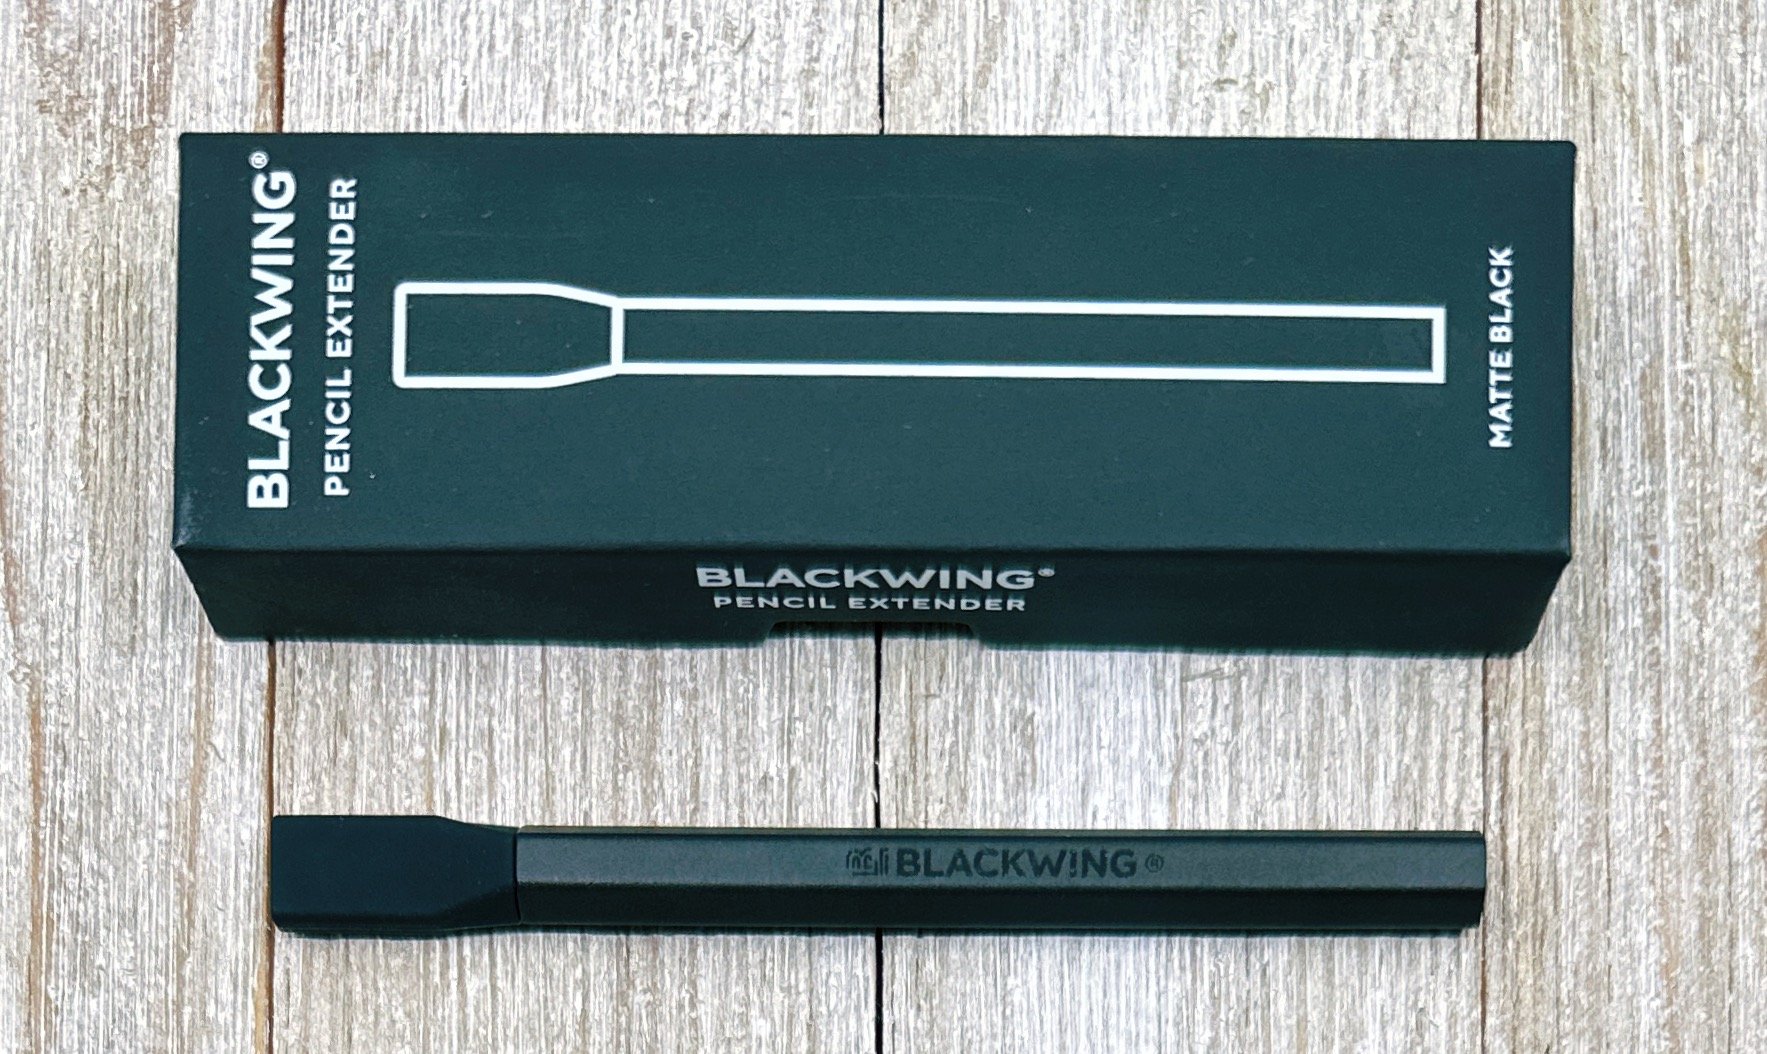
To first mention the focus of this review-the Blackwing Pencil Extender-at this point probably makes you think there is another technical flaw with this product. There isn’t. But what compelled me to buy this product in the first place is how ugly it is. There is no sense in sugar coating my thoughts on that aspect. But is it a good product, despite my thoughts on the physical design? Let’s find out.

Blackwing Pencil Extender

The goal of any pencil extender is literal in two senses: to extend the life of a well-used, and now short, pencil by extending the usable length of the pencil in your hand. If you have a product you love, you want to squeeze every last bit out of it, right? You wouldn’t toss out your favorite ink with 25% of the liquid left in the bottle, would you? No! You would grab a syringe and drink up all the ink until there was none left.

Blackwing Pencil Extender

Blackwing pencils give me the same feeling. They are some of my favorites, and I want to use up every centimeter I can. Pencil extenders can help with that. They aren’t a new product, but most are built for pencils with a traditional round ferrule. Circular diameter extenders, like the simple Peanpole from E+M, slide over most traditionally-sized ferrules. The standout design element of Blackwing pencils, the rectangular ferrule, prevents this type of extender from being used. You can remove the Blackwing ferrule if you have a favorite traditional extender, if you like.

To solve a problem of their own making, Blackwing engineered an inelegant solution. To use the Blackwing Pencil Extender, you remove the existing eraser inside the existing ferrule, slide the rubber end of the extender into the now-open ferrule, and toss the eraser into the bin. There is nowhere else to put it. Nor should there be-traditional extenders cover the eraser as well.

Overall, it … works?

Blackwing Pencil Extender

I mean, it does. If I’m sitting in that design meeting at Blackwing HQ, I’m thinking yeah, this is great. Ship it! But in the broader scope of their usually sleek and refined lineup, it stands out to someone like me who obsesses over this type of minutia. I can use it, but I can’t unsee it.

So Mr. Pen Addict Opinionated Design Guy, how would you fix this? I wouldn’t. Not every problem needs a solution. Blackwing designed the most iconic pencil on the market. Just like I can spot a Lamy wire pen clip from a mile away, the rectangular Blackwing ferrule is a timeless design. The Blackwing Pencil Extender breaks line of sight on that most important design element. The Extender exists to solve a 10% problem, not a 90% problem, which is an area rarely worth designing for.

Blackwing Pencil Extender

Wooden pencils are beautiful because of their disposable nature. Grab one, sharpen it, use it, sharpen it, and so on, right until it is too short to hold in your hand. What now? Who doesn’t love pulling out a fresh, unsharpened pencil from the box? I promise that last inch of pencil won’t hold it against you for throwing it away.

The Blackwing Pencil Extender is a Superfan choice, not a universal one. If you are invested in the Blackwing ecosystem, then $10 is nothing in that context. I’m going to keep mine around, but I’m going to paint it, or sticker it, to at least make it more fun. Maybe that’s the key to unlock the joy of this product.

Now, where is my silver paint pen?

(I bought this product from Yoseka Stationery at regular retail price for review purposes.)


Enjoy reading The Pen Addict? Then consider becoming a member to receive additional weekly content, giveaways, and discounts in The Pen Addict shop. Plus, you support me and the site directly, for which I am very grateful.

Membership starts at just $5/month, with a discounted annual option available. To find out more about membership click here and join us!

Posted on December 26, 2022 and filed under Blackwing, Accessories Review, Pencil Reviews.

Ahnitol Crab Pen Holder Review

Ahnitol Crab Pen Holder

(Jeff Abbott is a regular contributor at The Pen Addict. You can find more from Jeff online at Draft Evolution and Twitter.)

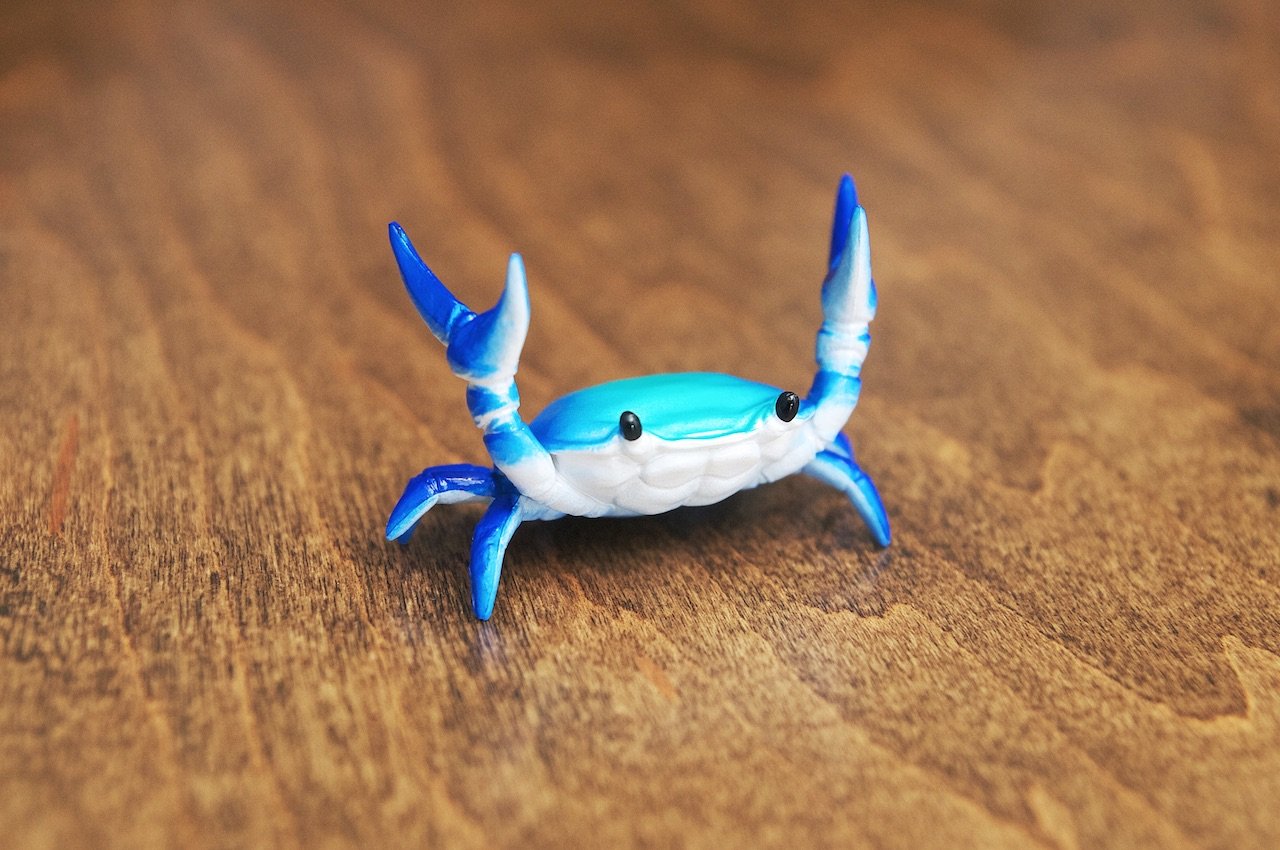
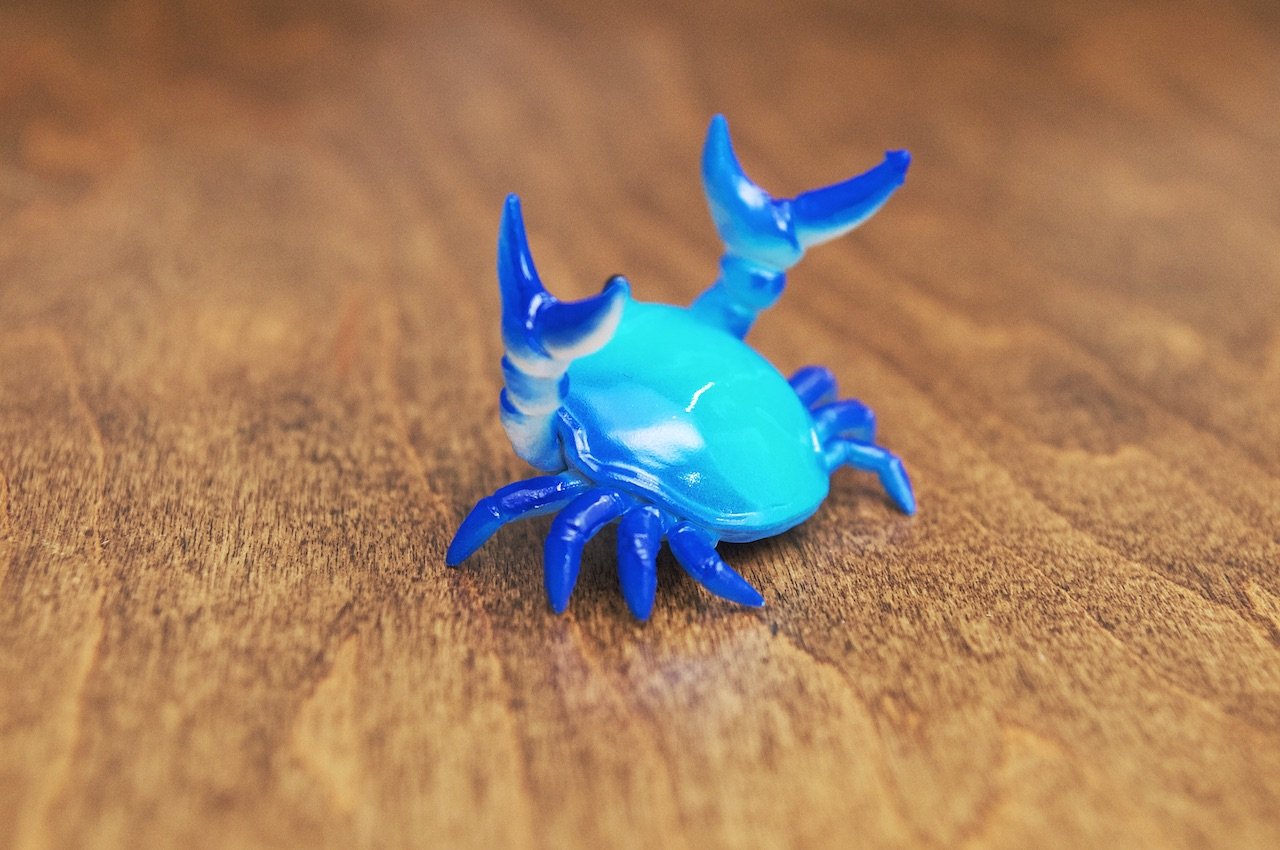
There are so many ways to store you pens — bags, cases, vertical stands, trays, etc. If you want to incorporate a more dramatic storage mechanism on your desk, then have I got the perfect pen holder for you. The Crab Pen Holder from Ahnitol is an adorable little crab who is so excited to hold your pen for you while you're not using it.

Ahnitol Crab Pen Holder

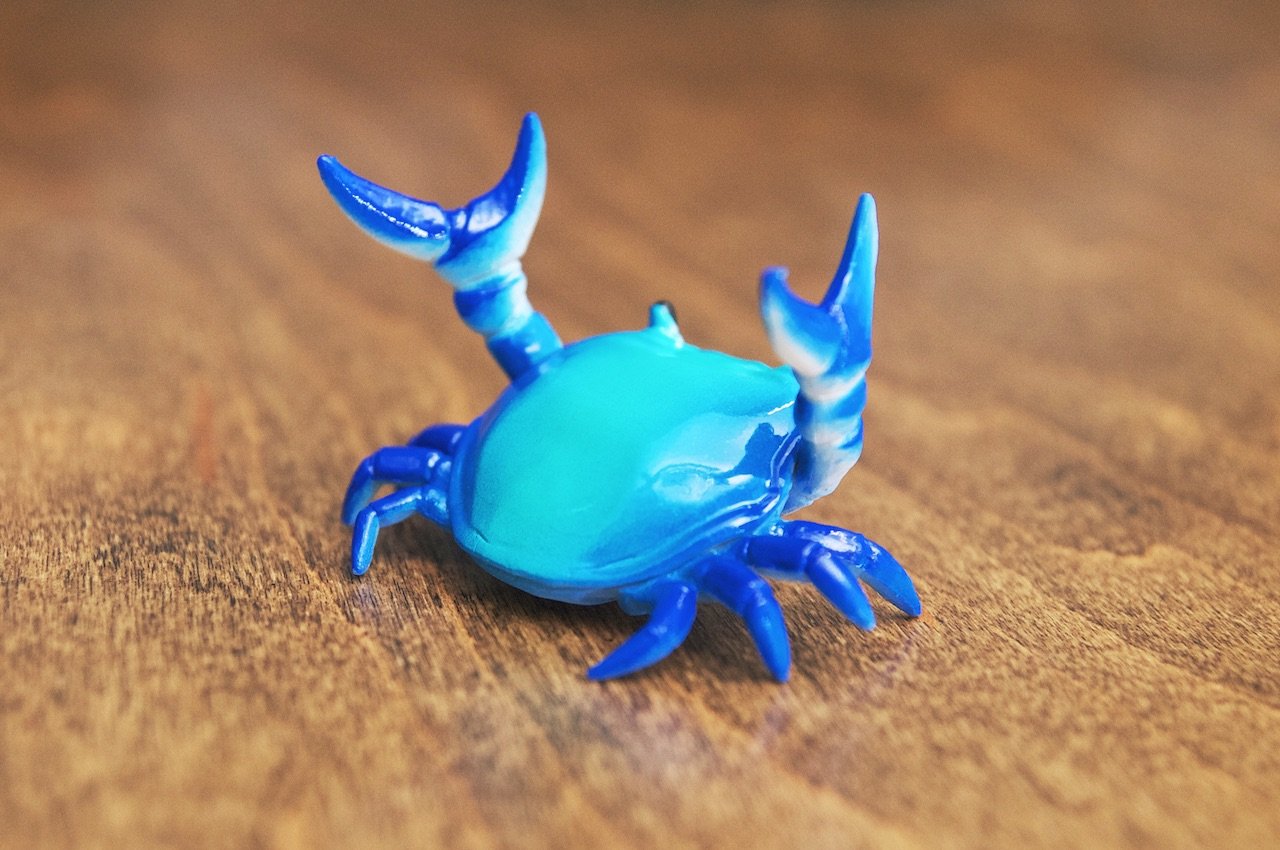
This is a simple product that does one thing, and it does it well. I can't say I've ever had a particular interest in crabs, but it looks fairly realistic to me. The little crab legs and pinchers have a good amount of detail, and the little eyes appear to be looking up at you. The bright blue/green colorway I have is also a really fantastic color choice that compliments a lot of my pens.

I can't say I necessarily need this little accessory to hold my pen on my desk. But it's earned a spot on my desk with or without a pen simply because of how cute it is. When it's not holding a pen, it just looks like an eager, friendly crab that says, "Gimme your pen!" And when I decide to put a pen in its claws, it does a fantastic job at that and looks like such a tough, strong crab.

Ahnitol Crab Pen Holder

Apart from providing me with my own source of joy, it's also a great conversation starter that grabs the attention of anyone that comes by your desk. And this little crab doesn't judge what kind of pen you give it to hold. It can be a high-end fountain pen, a Bic Crystal, Apple Pencil, Sharpie, or anything else that fits in his little grip.

You can see more product photos of the Crab Pen Holder on Ahnitol's website, and you can also order these from Amazon US (affiliate link) if that's more convenient for you. There aren't as many color options on Amazon, though. At ten bucks, these make a great impulse buy or gift.

(Brad got crabs directly from Ahnitol at the 2022 San Francisco Pen Show, and paid full price for the pleasure.)


Enjoy reading The Pen Addict? Then consider becoming a member to receive additional weekly content, giveaways, and discounts in The Pen Addict shop. Plus, you support me and the site directly, for which I am very grateful.

Membership starts at just $5/month, with a discounted annual option available. To find out more about membership click here and join us!
Ahnitol Crab Pen Holder
Posted on December 14, 2022 and filed under Ahnitol, Accessories Review.

Sample Vials - A Mini FAQ

(Kimberly (she/her) took the express train down the fountain pen/stationery rabbit hole and doesn't want to be rescued. She can be found on Instagram @allthehobbies because there really are many, many hobbies!. This post contains affiliate links.)

If I had a dollar for every time someone asked me which sample vials to get, or how to prevent them leaking, I’d have lots of dollars…..at least $30, which would get me another bottle or two of ink! And with the holidays coming up and people sending ink samples for Inkvent (this started before you, Diamine!), I thought I’d share what I’ve learned about sample vials with you so you’re good to go!

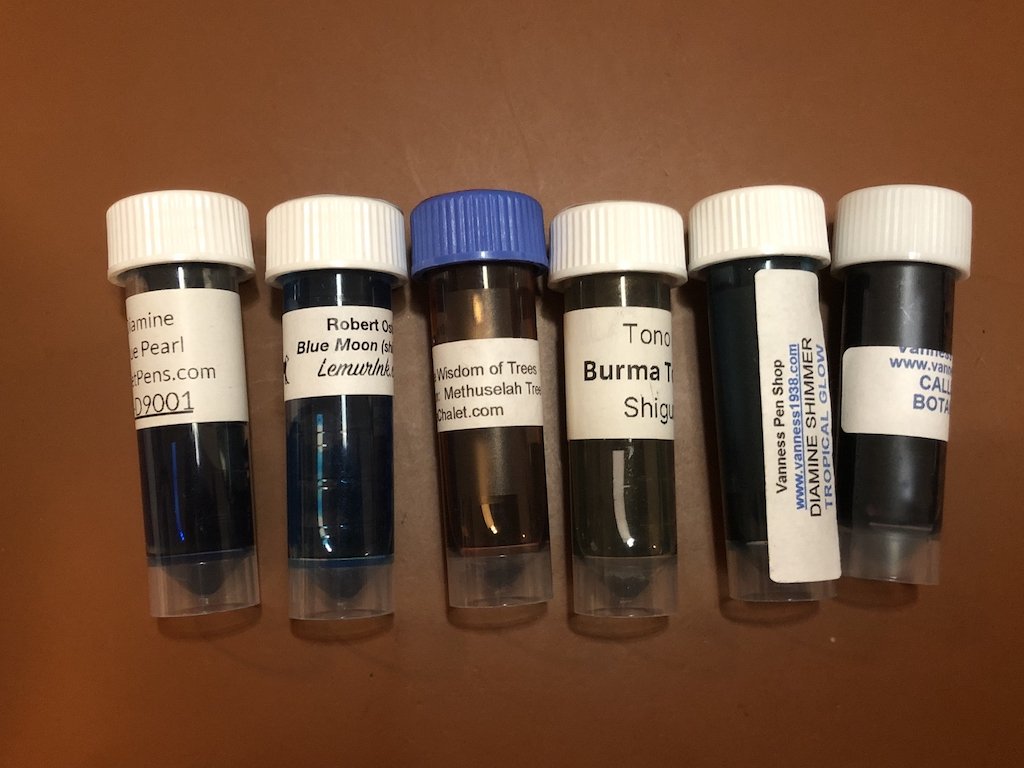
What’s a sample vial? It’s typically a 5ml plastic vial with a screw top cap that is commonly used in the fountain pen world to store ink samples. There are other containers used for samples, but the ones I’m focusing on are the ones traditionally used and sold by pen shops for ink samples (pictured below).

Samples from Goulet, LemurInk, Pen Chalet, Shigure Ink, Vanness (older and newer vials, respectively.)

What are sample vials used for, besides ink samples?

  • Nibs (I store them nib pointing up so they don’t get banged around the bottom) and use a small piece of wadded up paper towel or non-biodegradable foam for padding if you need to transport or ship it. Don’t use biodegradable foam because it can start degrading/falling apart if your nib/feed is remotely damp and may start molding.
  • Non-ink fluids like White Lightning, Rapid-o-eze, pen flush, even water - great for a quick dip when you don’t wanna lick your finger or, gasp, lick your nib to get it going. Tip: I also use this for skin care when I don’t have travel sizes of stuff like toner, essence, serum, nail polish remover, etc.
  • Feeds, housings, screws, even tiny Kaweco converters, wax beads - pretty much anything!

How can I tell if I have a good vial or not? In the past, I’ve used vials from Stockwell Scientific and they’ve been excellent and rarely leak. I suspect that many of the vials made for scientific uses are made by the same companies so there may be similar ones under other brand names. I often hear “don’t get the blue capped ones because they leak”, but that’s actually not quite right. Don’t be fooled into thinking that only certain colored caps leak/don’t leak. Here are the two ways I can tell a “good” vial from a lesser one by inspecting the top of the cap:

  • Look for a dimple in the very top (the purpose of which is unknown to me)
  • Check for a slightly rounded edge from top to side. The lesser quality vials tend to have a pretty sharp edge.

Left: Stockwell Scientific vial, Right: inexpensive vials from eBay. Notice the dimple on the top of the white cap as well as the curved edge at the top vs the 90 degree edge from top to side on the orange cap.

With the pandemic, the high quality vials have been taken up by scientific research companies, making them harder to find and at higher cost. The vials that some of the pen shops are using now are different, but I haven’t had any leaks with these vials either, so I would feel good recommending them in lieu of the Stockwell Scientific ones. You also don’t have to buy them in 250 or 1000 quantities either, lol.

But I already have some vials that may not be as good, do I need to buy new ones?

  • Vials aren’t 100% leakproof, not even the good ones I’ve used. While the good ones rarely leak, I’ve seen ~20-25% failure rate on the other ones. Consider using those vials for non-ink storage purposes, for storing inks upright, or for giving to local friends, e.g. not via mail. I actually buy these cheaper vials for storing my nib units.
  • If you want to use your vials for mailing, make sure you inspect the cap closely. You’re looking for signs of a missing or broken cap seal, or where it has dislodged partially (or fully) from the cap. These will make it very likely that you’ll get a leaky vial which no amount of parafilm can save (more later).
    • Note that I haven’t found any gaskets or rubber seals in the good vials. It’s like they were designed not to need them. You do need to make sure you’ve screwed the cap all the way. There is an initial resistance that makes you think you’re done but you need to screw past that until it’s definitely on tight.
  • If the cap seal isn’t fully seated, gently push it back down and make sure it’s in all the way. If the seal is broken or missing, consider not using that cap.

Notice that the orange cap has no seal/gasket, whereas this clear cap does. I would totally use the clear cap/vial for ink before the orange one.

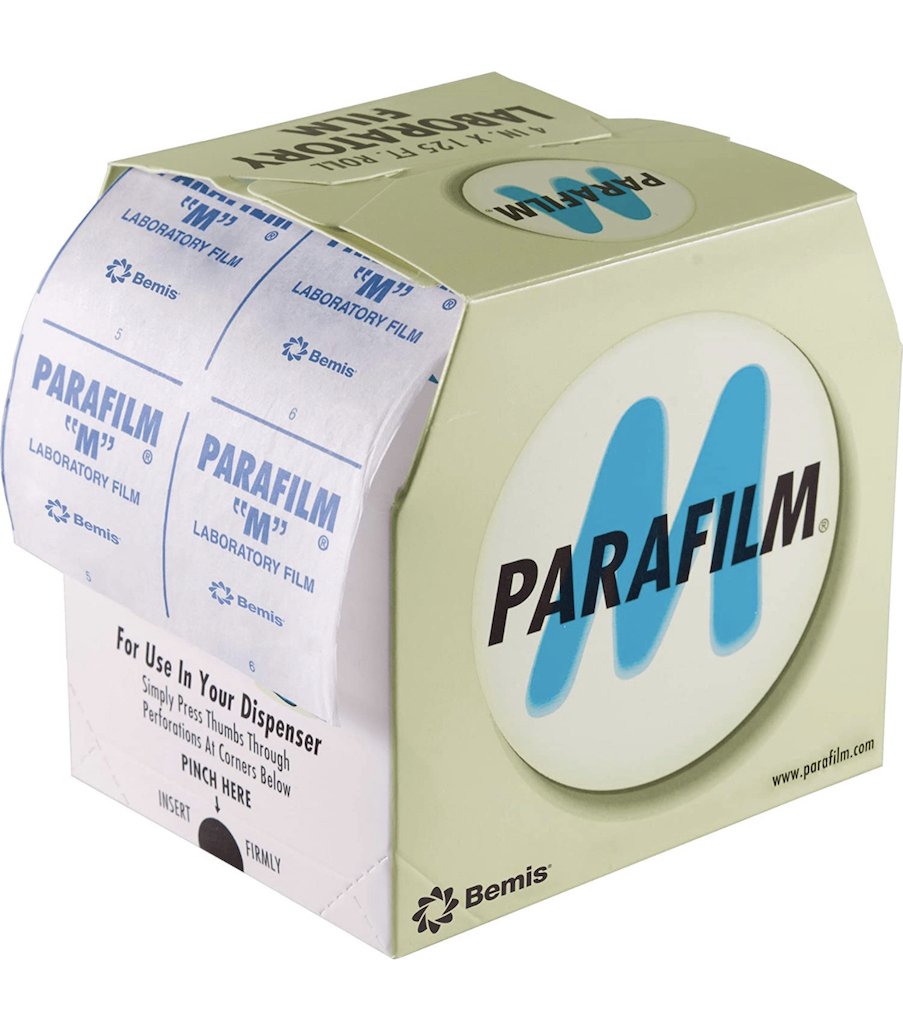
What’s this parafilm stuff and do I need it? According to wikipedia, “Parafilm is a semi-transparent, flexible film….is ductile, malleable, non-toxic, tasteless and odorless, and self-sealing thermoplastic.” In short, among other things, you can use it to help seal a vial. As I mentioned above, if you have a bad seal on your cap, parafilm won’t keep the ink in, though it may minimize how much leaks out (and sometimes, it won’t do that either). And no, you don’t have to use it. I don’t think any of the pen shops that sell samples use parafilm and they have a really good track record of not having leaky samples. I’m a little on the paranoid side, having received and sent leaky samples, so I take it one step further by wrapping the sealed vial in parafilm. You can buy parafilm here, though that’s a bajillion times more than anyone needs in a lifetime. I would recommend asking your pen group (local or otherwise) if they can send you some for a couple bucks.

How do I use parafilm?

  1. Parafilm comes in monstrous rolls, usually in 2” or 4” widths, so you’ll need to cut it down to size. You can get 3 strips of parafilm out of every 2” square, so cut them into 1/3s.

This is what mine would look like if it wasn’t in storage (photo from Amazon.)

I have a roll of 4” wide parafilm. Cut to 2” squares. Then cut further to get 3 strips per square. As you can see, it doesn’t have to be straight or exact.

  1. Remove backing from the strip. Parafilm isn’t sticky like an adhesive but it does stick to itself, so the backing is there to prevent that. Sometimes it’s easy to get the backing separated from the parafilm and sometimes not. When it isn’t cooperating, I will gently tear the backing which will allow me to remove it from the parafilm.

Other times, you have to resort to a gentle tear.

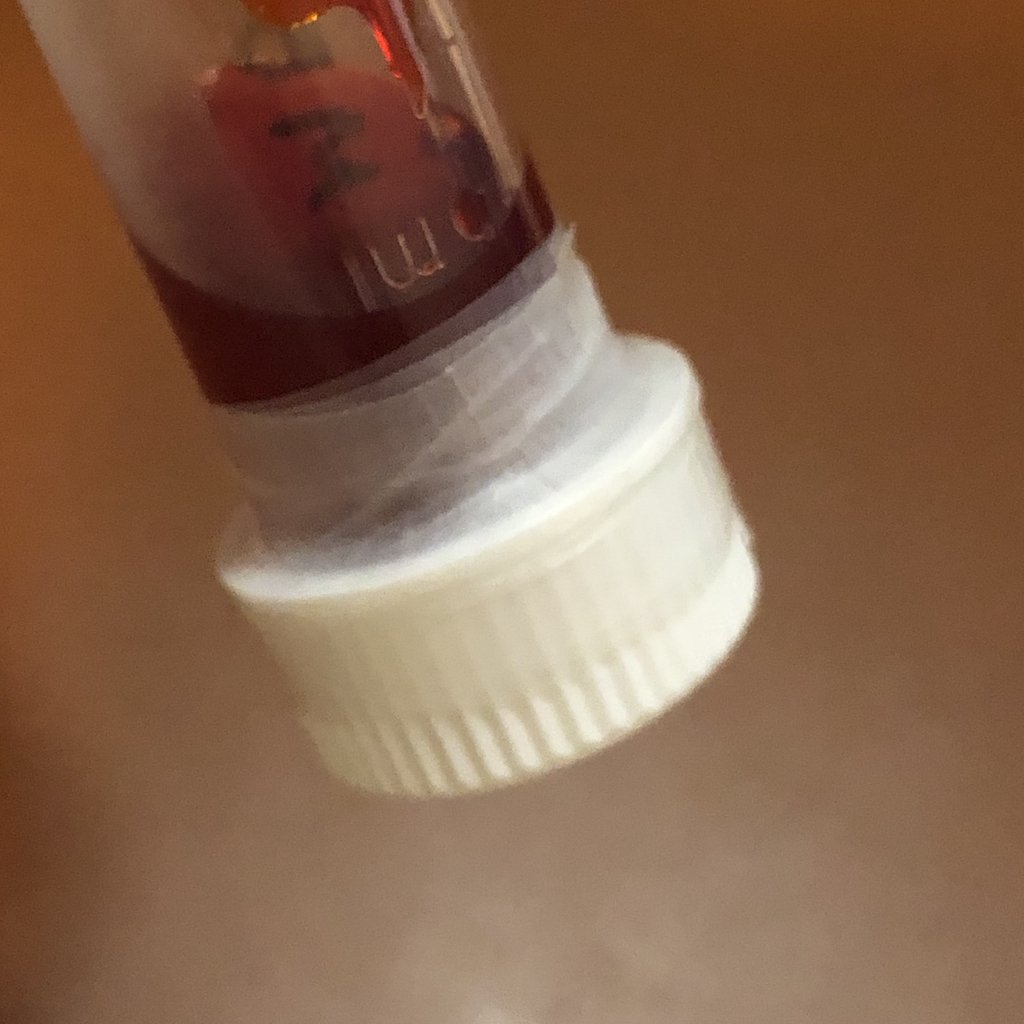
  1. Hold one end of the parafilm with your thumb against the vial and gently stretch the other end with your other hand, while simultaneously wrapping it around the base of the cap and onto the vial. Keep going until you’re done.

Gotta hold it down to get it started (wrapping)Stretch and roll the vial around (tada) Nice and tight and no leaks!

Stretch and roll the vial around.

Nice and tight and no leaks!

NOTE: Do not parafilm the vial before capping. I have found that this will cause leaks more often than it will prevent leaks.

How should I ship ink samples (or bottles)? While it’s tempting to ship ink samples or bottles in a padded envelope to save a few bucks on shipping, you’re risking damage and leakage. Do the following at a minimum:

  • Make sure your caps are sealed tightly
  • Put your samples in a ziplock baggie.
  • Pad the samples well -- I usually wrap all the samples together in a paper towel before putting them in a bag. Then use bubble wrap or other padding when packing them in a box. (I save and reuse bubble wrap from other purchases)
  • Avoid sending ink when the weather is near or below freezing - ink expands when frozen and can break glass bottles and cause leaks from vials as well. Make sure your recipient will be able to get the inks before it sits in an outdoor mailbox for too long.

If you wanna go all out:

  • Add labels to the cap and vials and ink the cap label.
  • Parafilm each sample. You can also parafilm bottles but usually they are less likely to leak if they are packed well.
  • Put each sample in its own baggie (I use 2”x3” baggies which you can easily find on Amazon or your local craft/hobby shop)
    • If you wanna be even more extra, add a label to each baggie (this is helpful if there is a leak which sometimes happens despite your precautions)

If I don’t have tons of samples to make, I will go to this extreme, lol.

  • Put all samples in yet another bag
  • Continue packing as per above

Other tips:

  • Bring extra vials, parafilm, labels and baggies when going to pen meetups or pen shows. You may have the opportunity to snag a sample from a friend’s new bottle of ink!
  • Don’t forget to bring a blunt tip syringe or pipette for getting ink into your vial! (Pro tip: Robert Oster ink bottles pour easily and cleanly into vials, no syringe needed!)
  • Bring a small box with some padding in case you are flying and need to bring inks home.

That’s it! I hope this is helpful as you ink-able your friends with ink samples!

(All products have been purchased by me. I have received no compensation for including the products shown in this article. None of the links are affiliate links.)

Posted on October 29, 2021 and filed under Accessories Review, Fountain Pens.