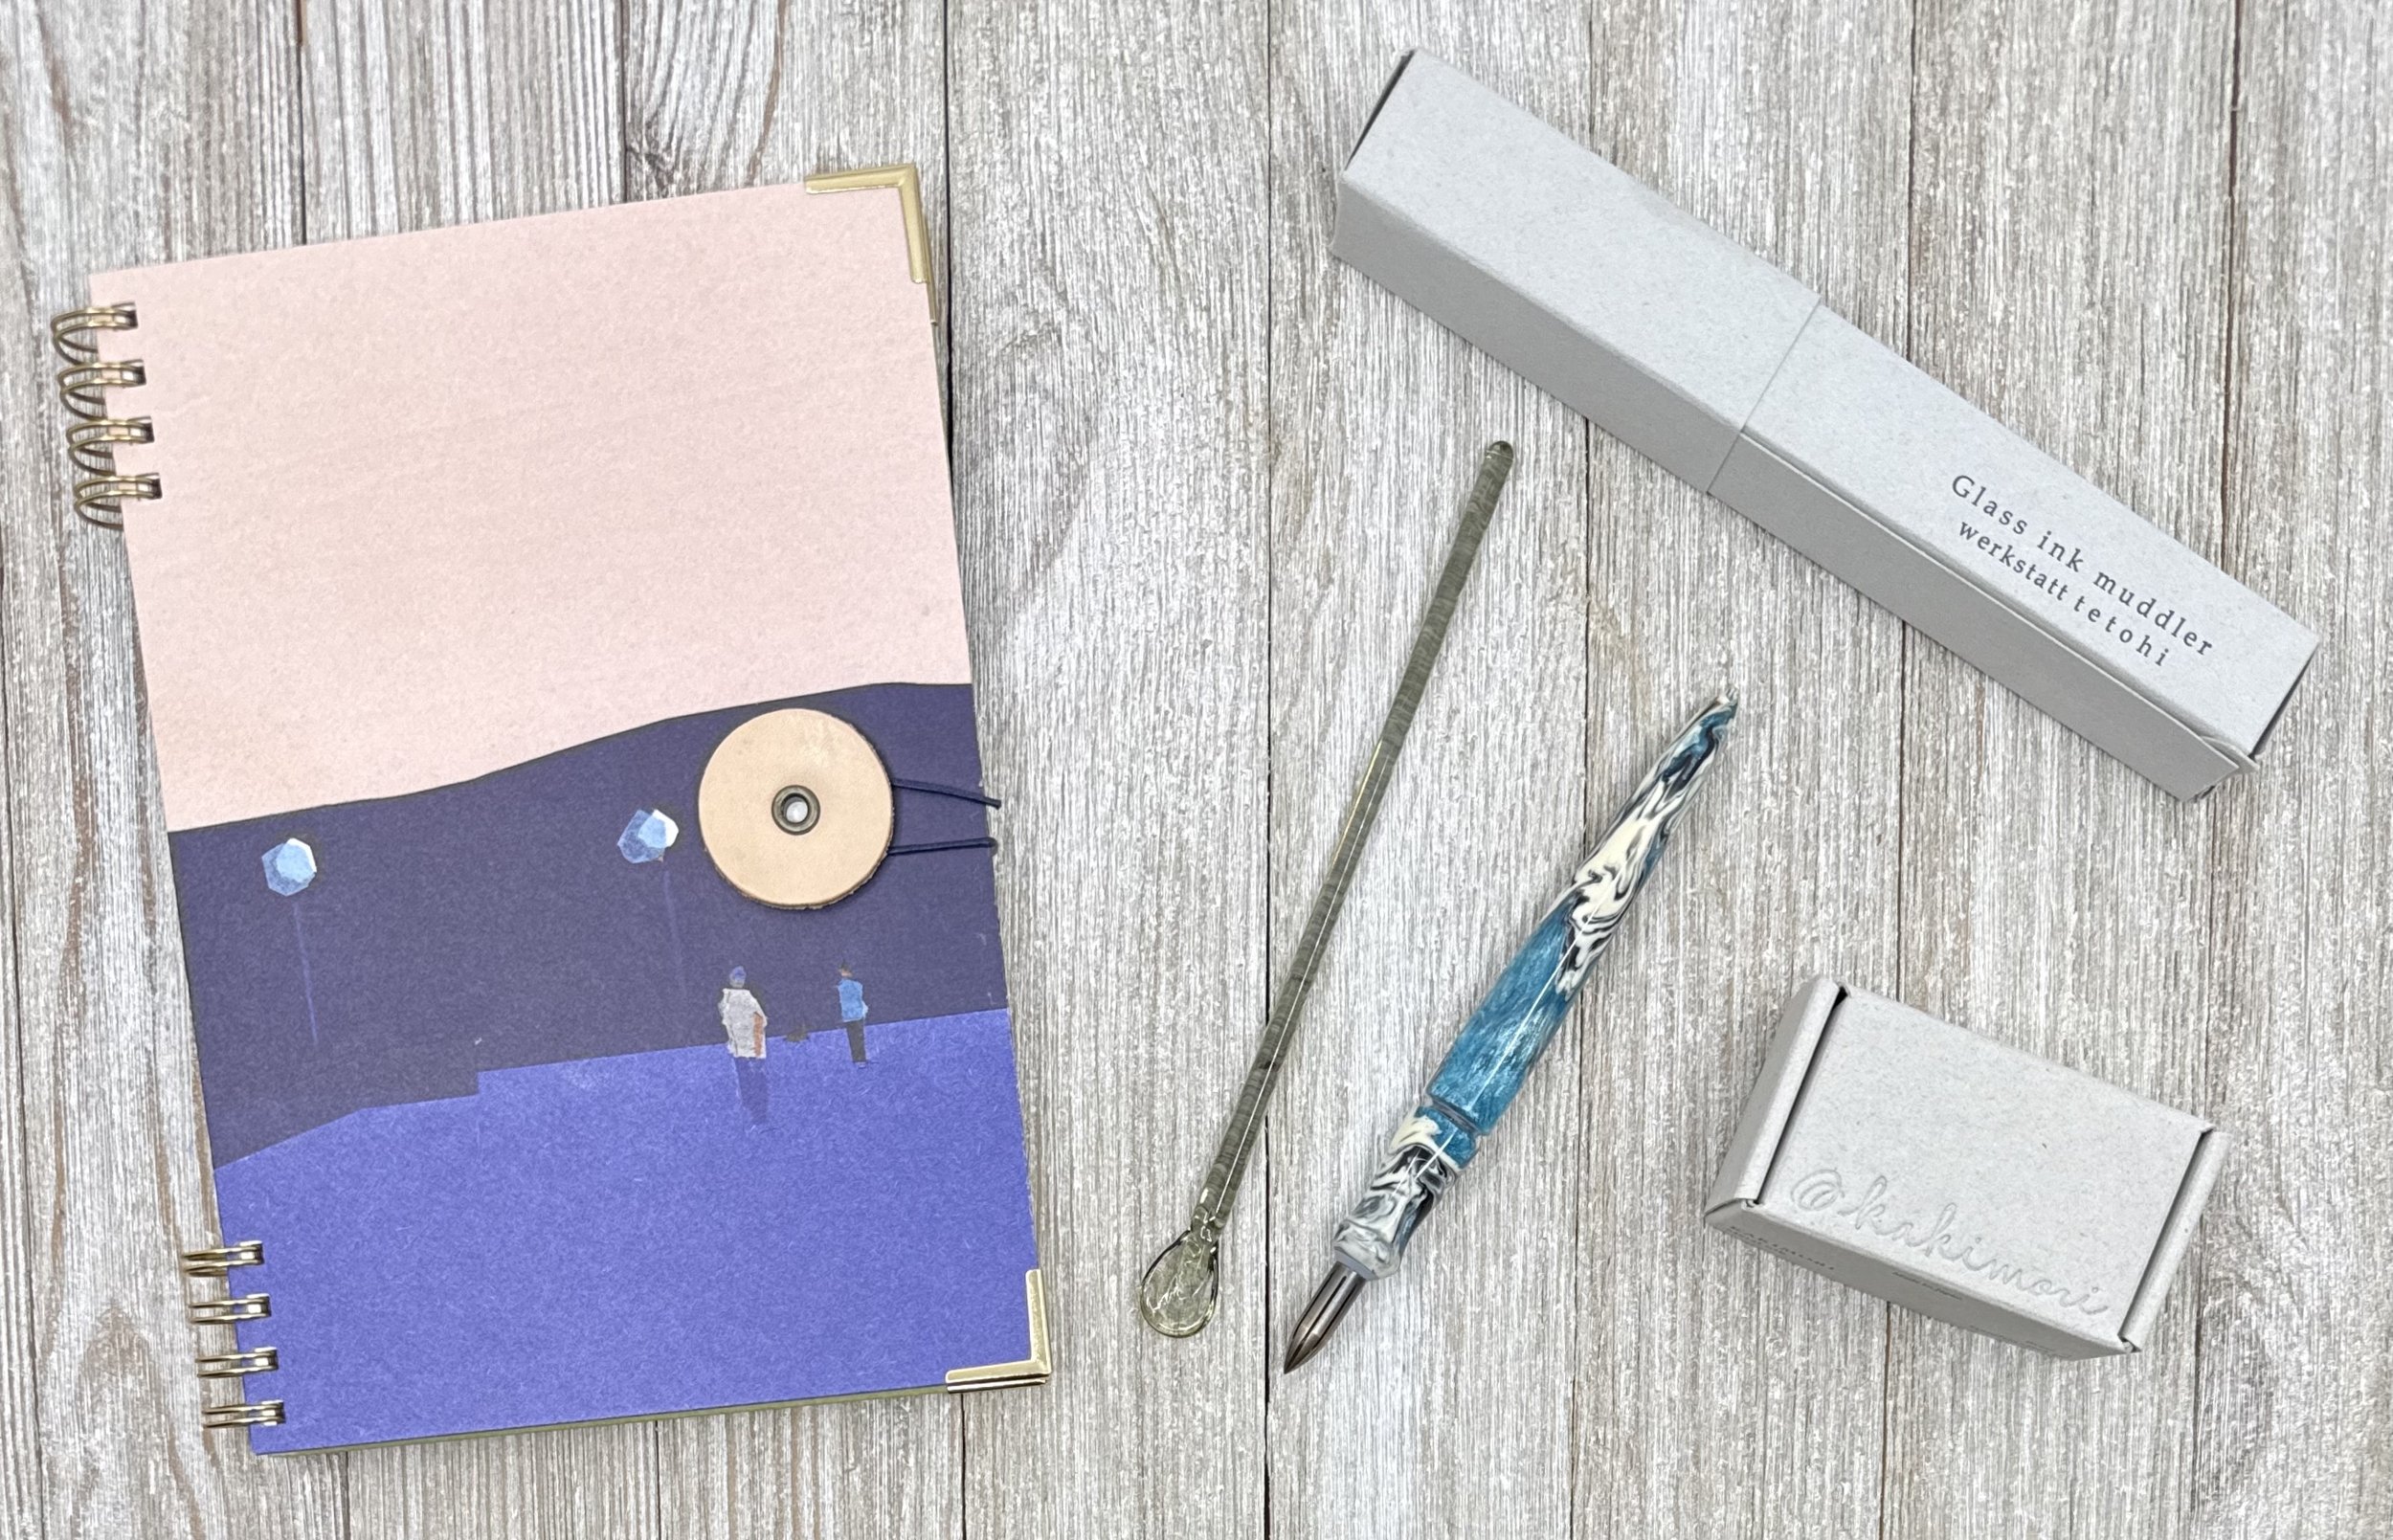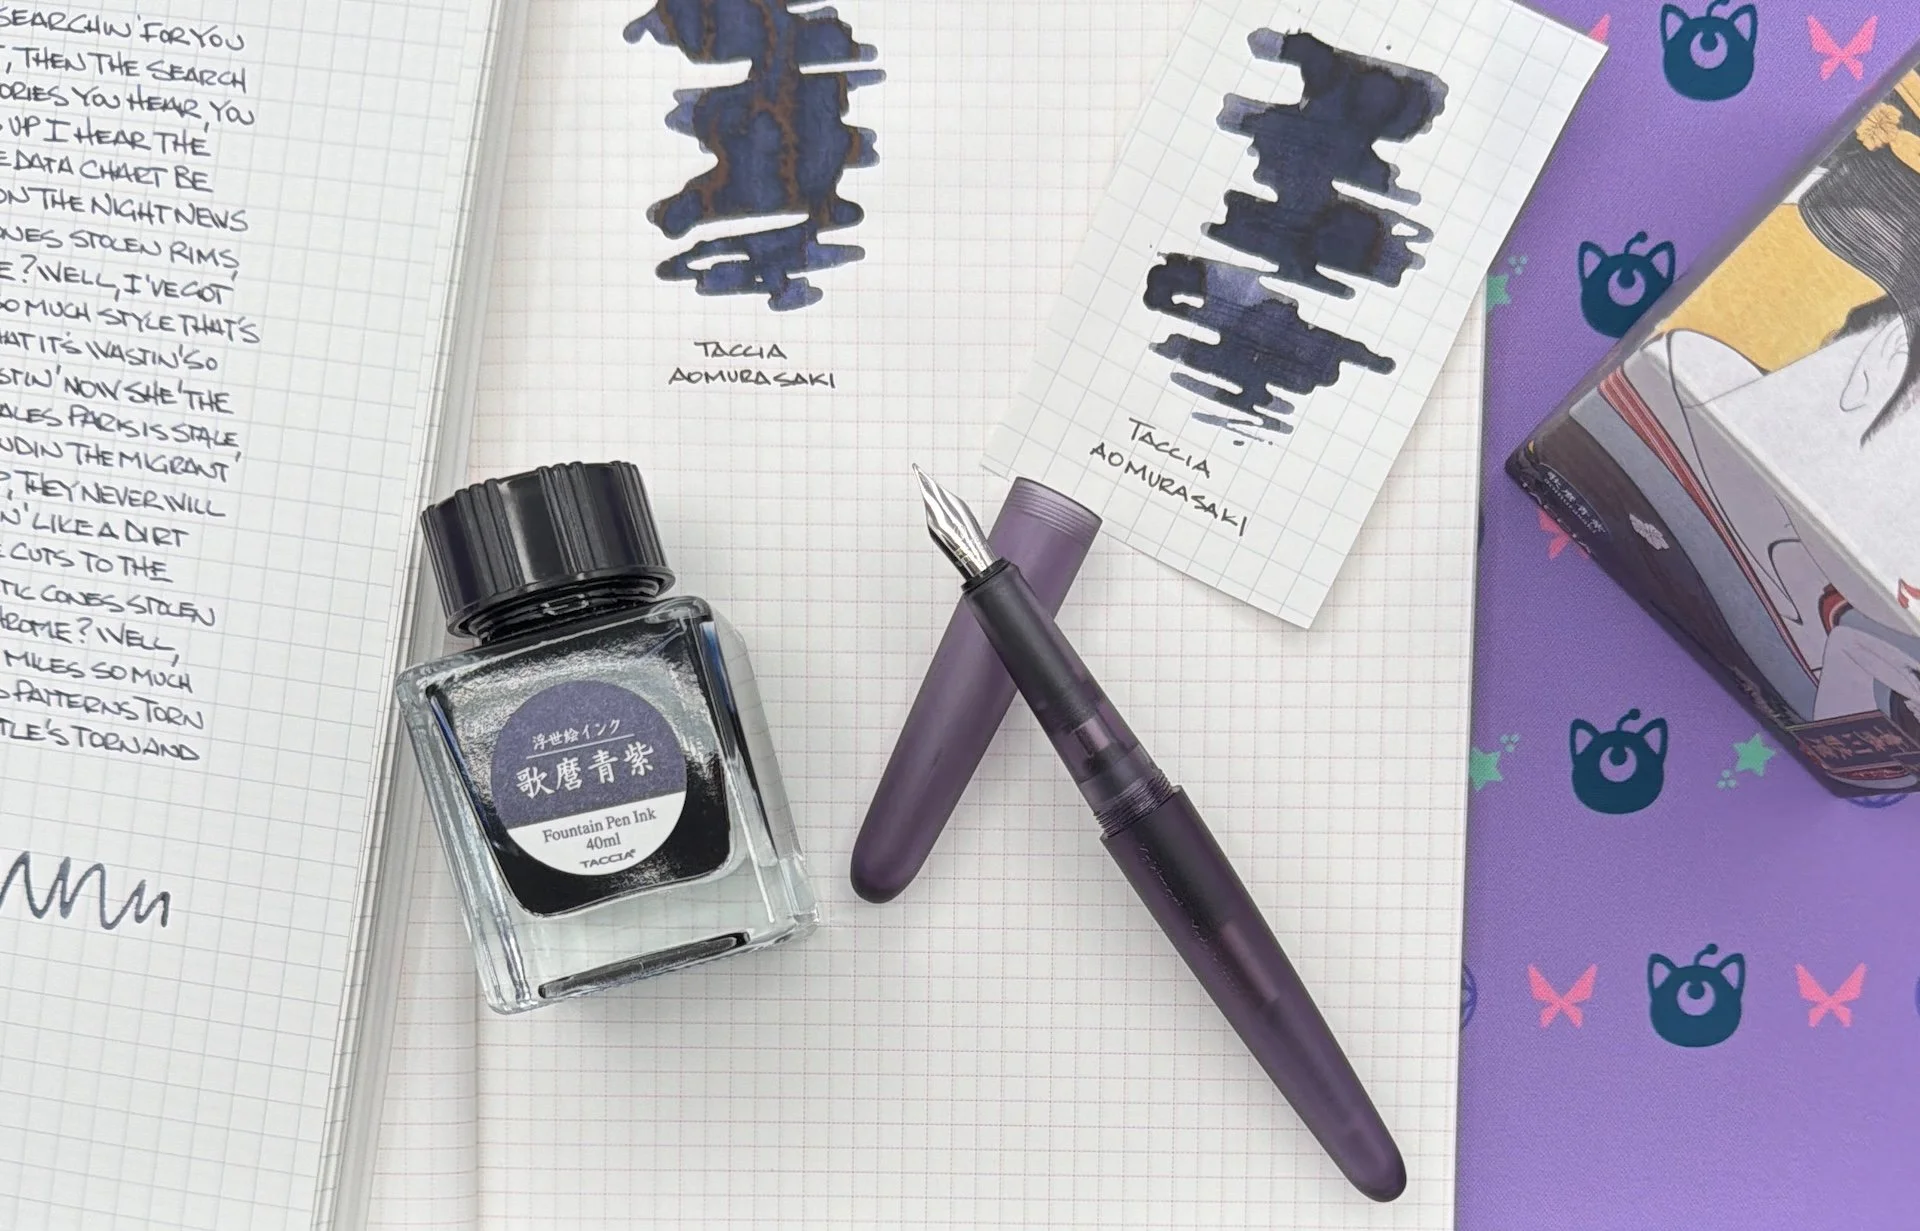
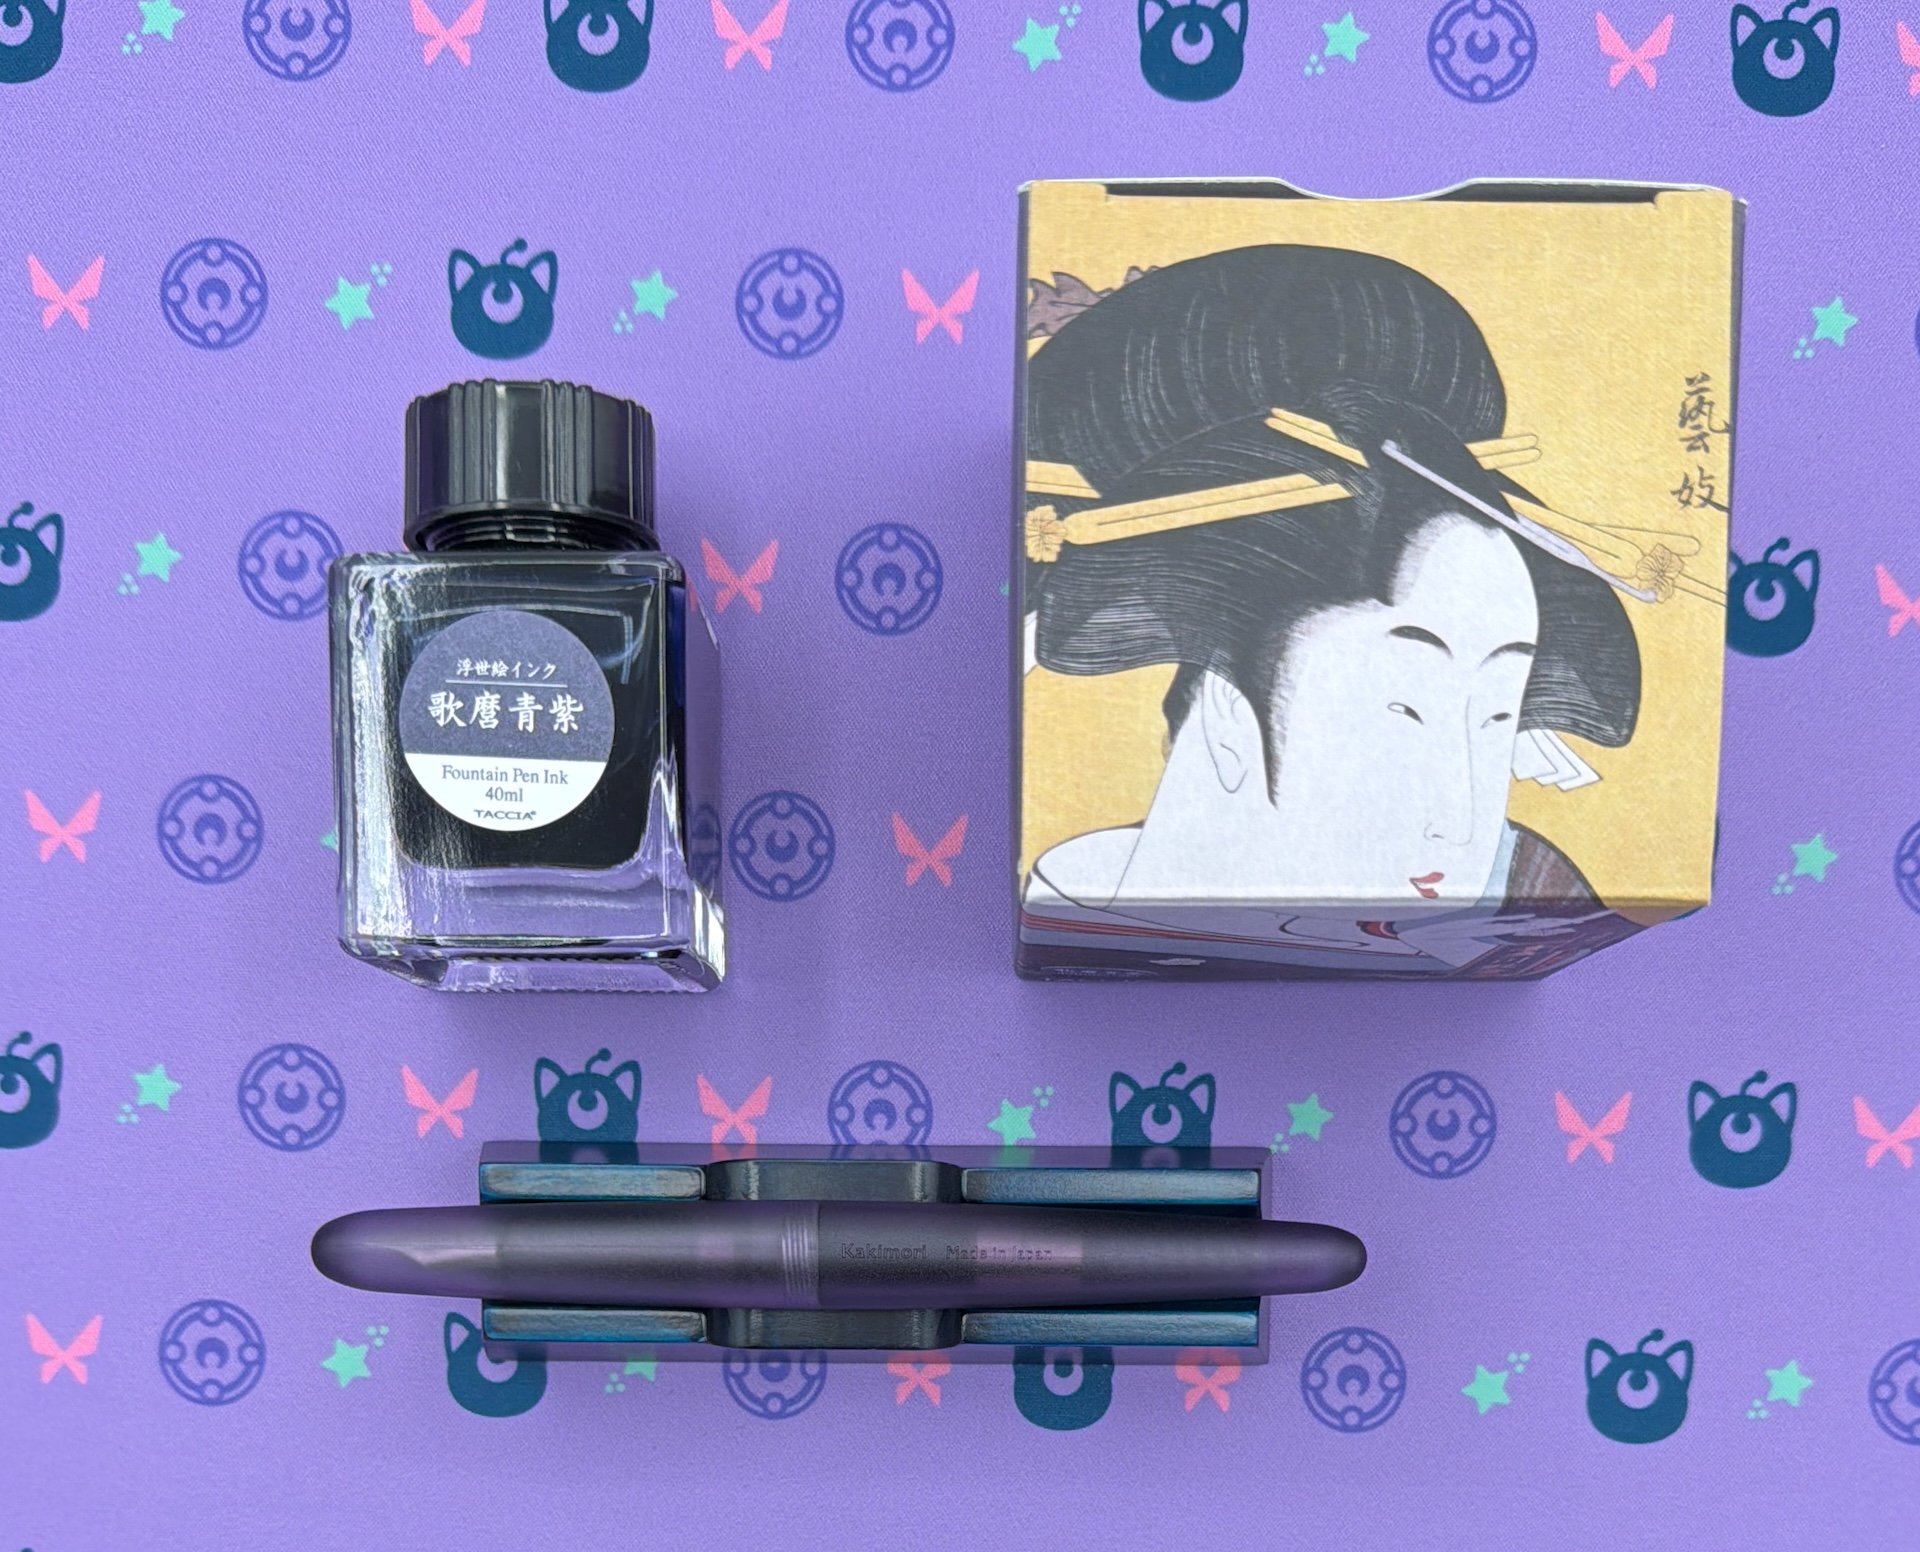
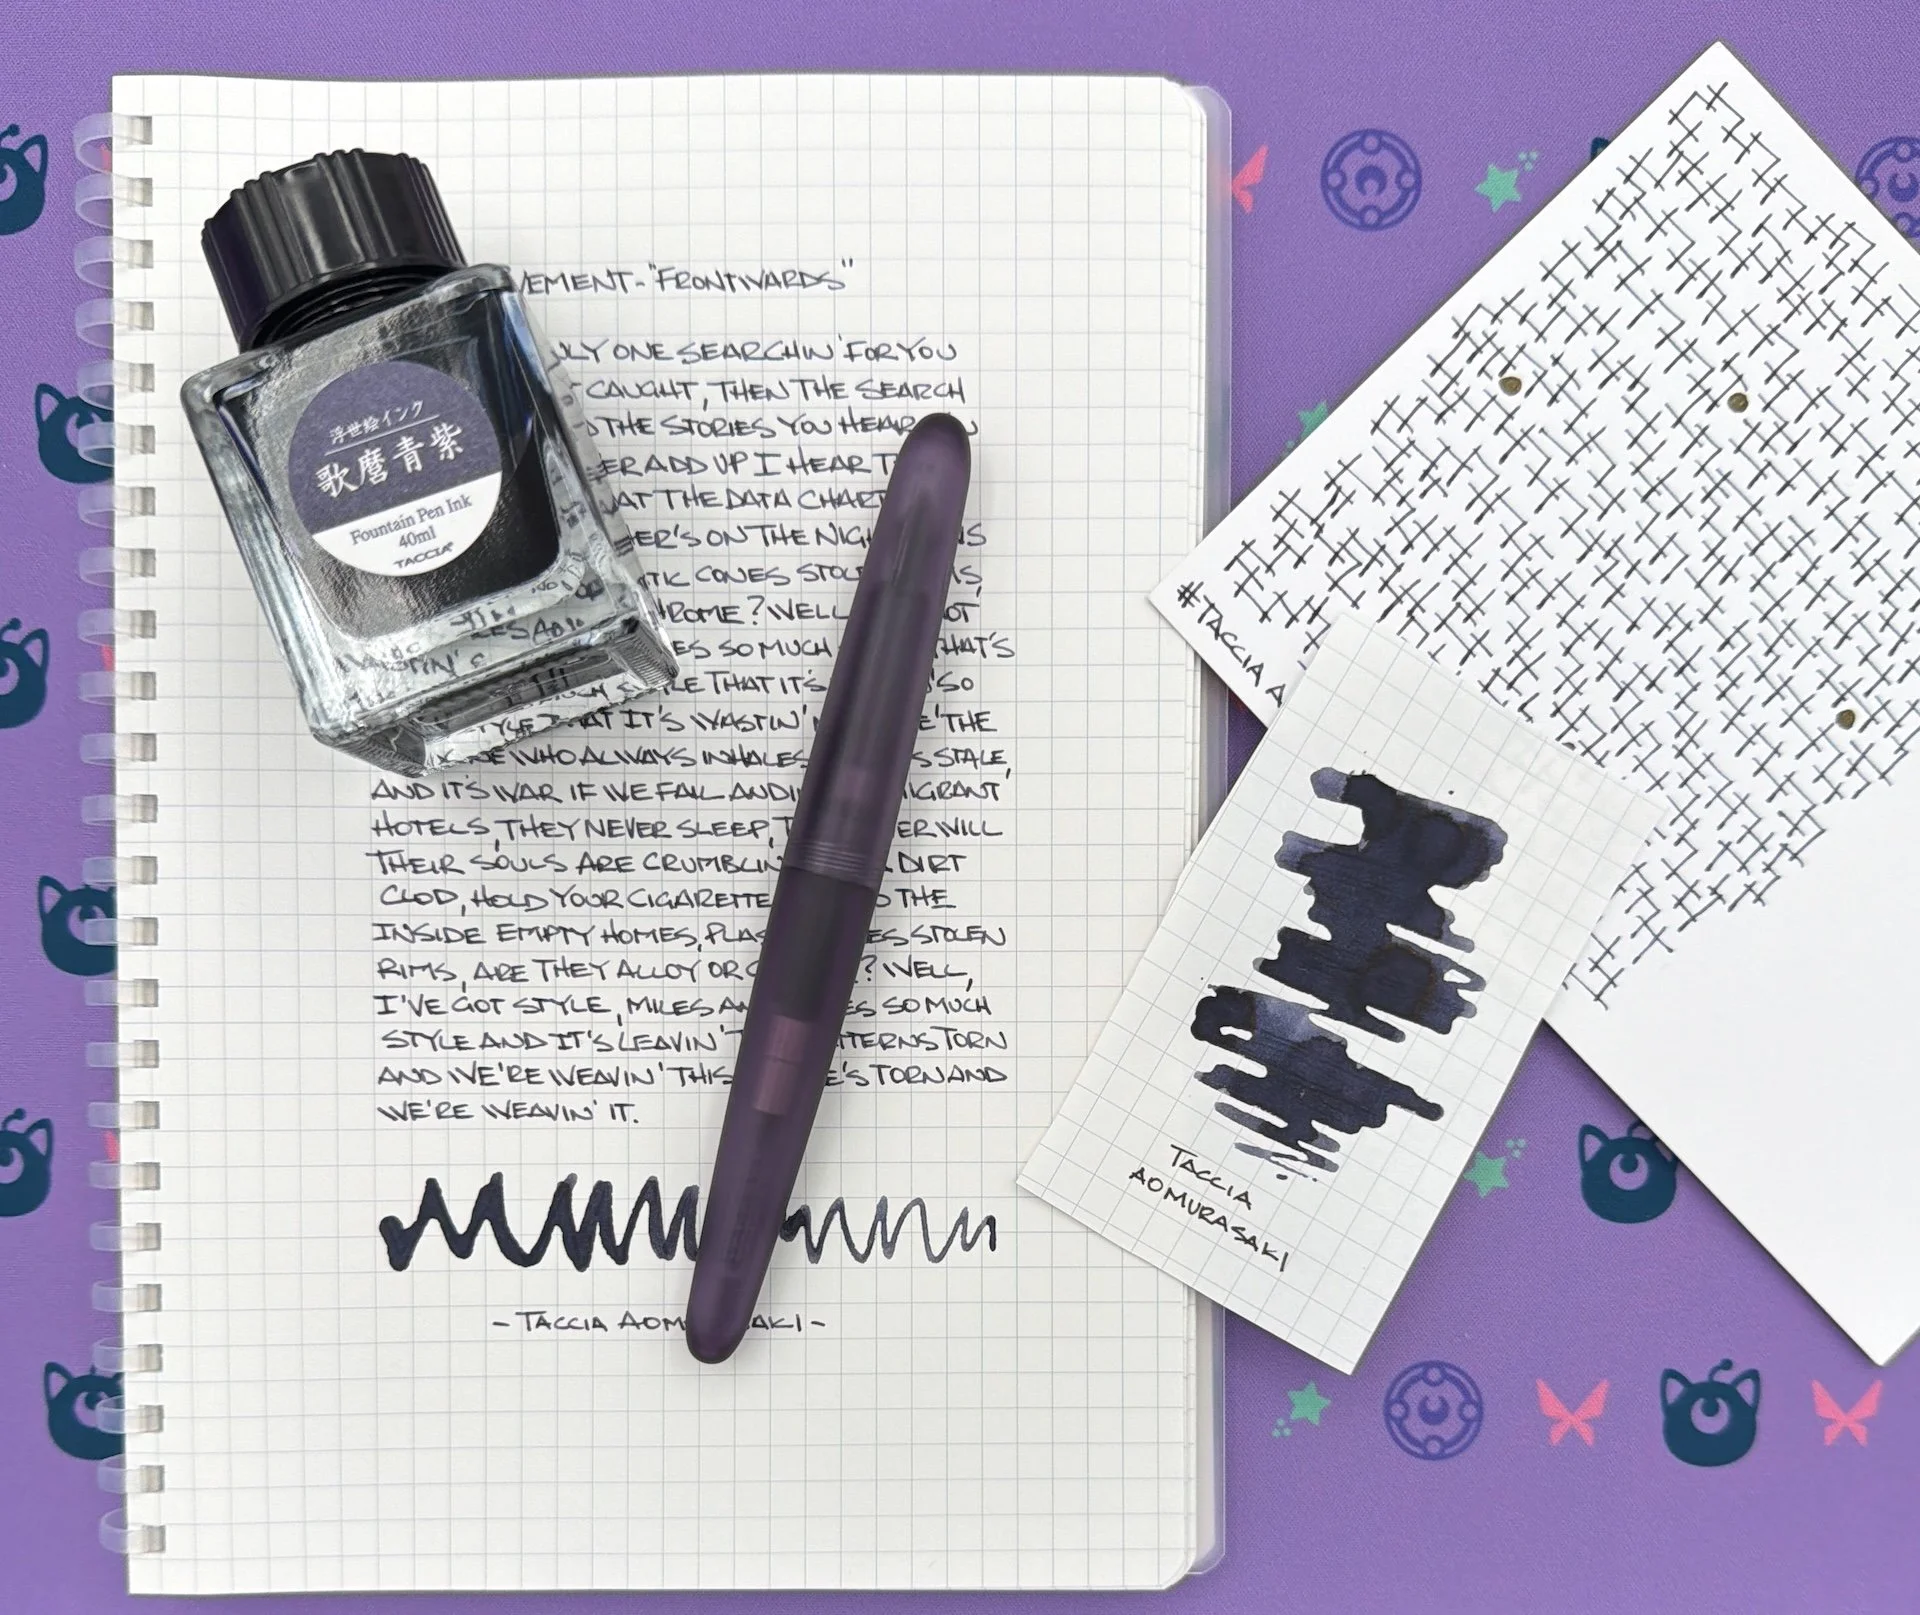
Dark Purple has always been my vibe, and these two separate acquisitions - the Kakimori Frost Violet Fountain Pen and Taccia Aomurasaki Ink - ended up being the pairings party I didn’t know I needed.
Let’s kick things off with a review of the fountain pen. Kakimori introduced their Frost pen series back in 2024 with both a fountain pen and rollerball version. The idea being that the nibs were swappable, meaning you could buy the fountain pen setup, add on the rollerball nib, and use it with an ink cartridge or converter. The reverse is also true, and the total price ends up the same no matter which base you start with.
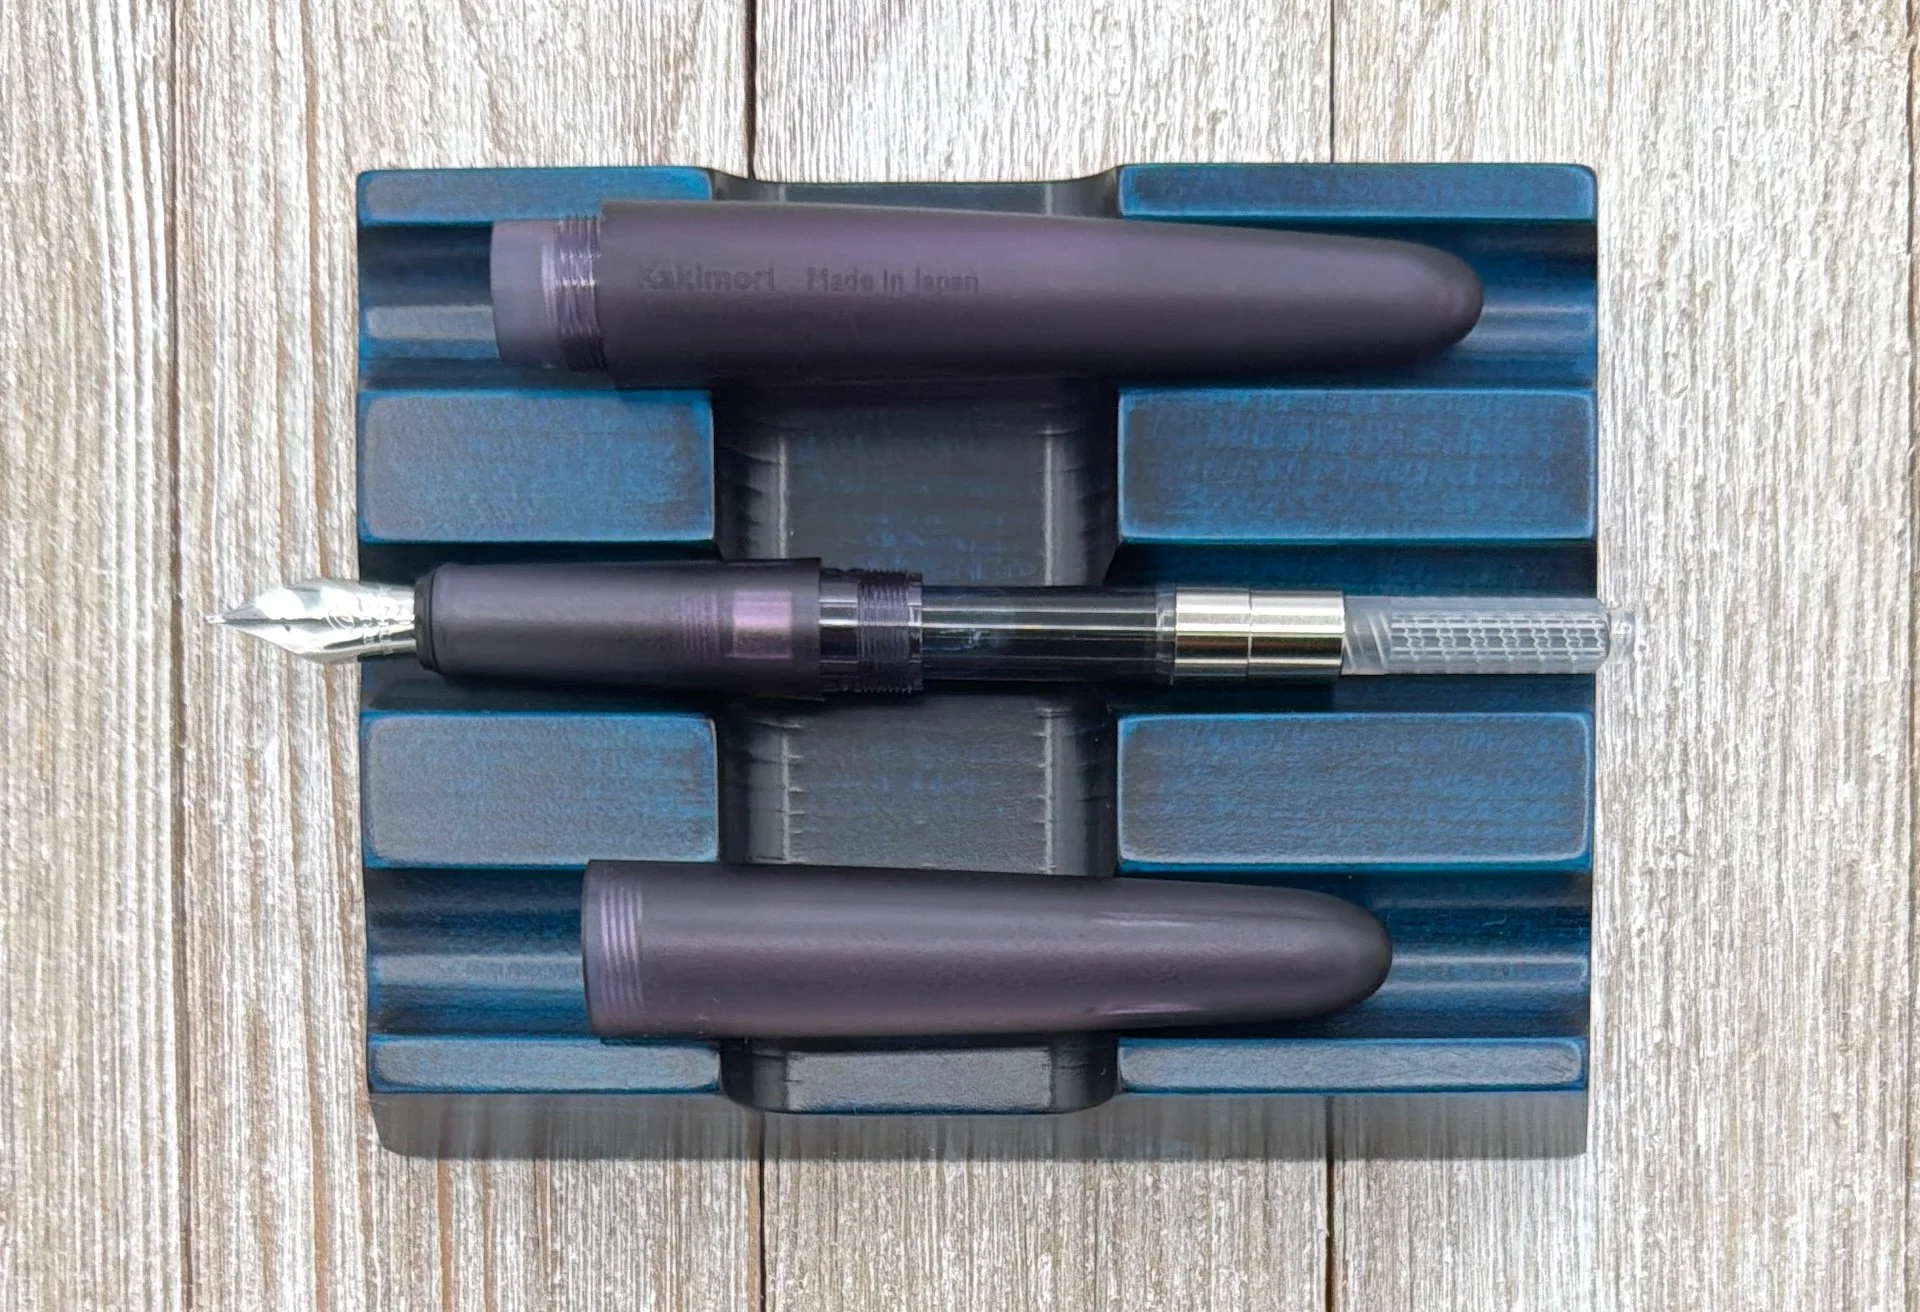
I stuck with only the fountain pen, as I traditionally don’t care for the rollerball nib/fountain pen ink setup. The option is there is I ever decide to, though. The fountain pen is only available with Fine or Medium nibs, so I went with the narrower of the two. It’s a Steel nib, and looks like a #5 with Western tip sizing, and the line width agrees with that. I would prefer Extra Fine, but the ink flow is consistent, and shows off well.
The Frost Fountain Pen is lightweight, checking in at only 14 grams. That’s identical to the Pilot Prera, another small and light fountain pen. The Frost also has a very narrow tapered grip section (9.2 mm, compared to 10.6 on the Prera,) and may pose a problem for some. It works for me, but the Frost finish on the pen gives it a satin-y feel that can be slick with dry fingertips.
The cap is threaded, and only takes a fraction of a turn to open. With that quick opening I wonder about the cap coming loose, but I haven’t carried it in my pocket enough to tell. It should be fine give it is plastic on plastic. The cap does post, but not deep enough to make it a viable option.
Given my preferences for small, light, and narrow pens, the Kakimori Frost should be right up my alley. It is, visually speaking, but I would be hard pressed to recommend it for $58. That’s simply too much for this “feel” of a pen. I get that they are made by a small maker (a personal favorite, at that,) and likely in small batches so there is real cost involved, but the nib swappability ($72 total for one barrel and two nibs,) isn’t enough of a feature for me.
I like it, but in the land of pens like the Platinum Prefounte and Pilot Kakuno, I’m not sure the Frost can compete.
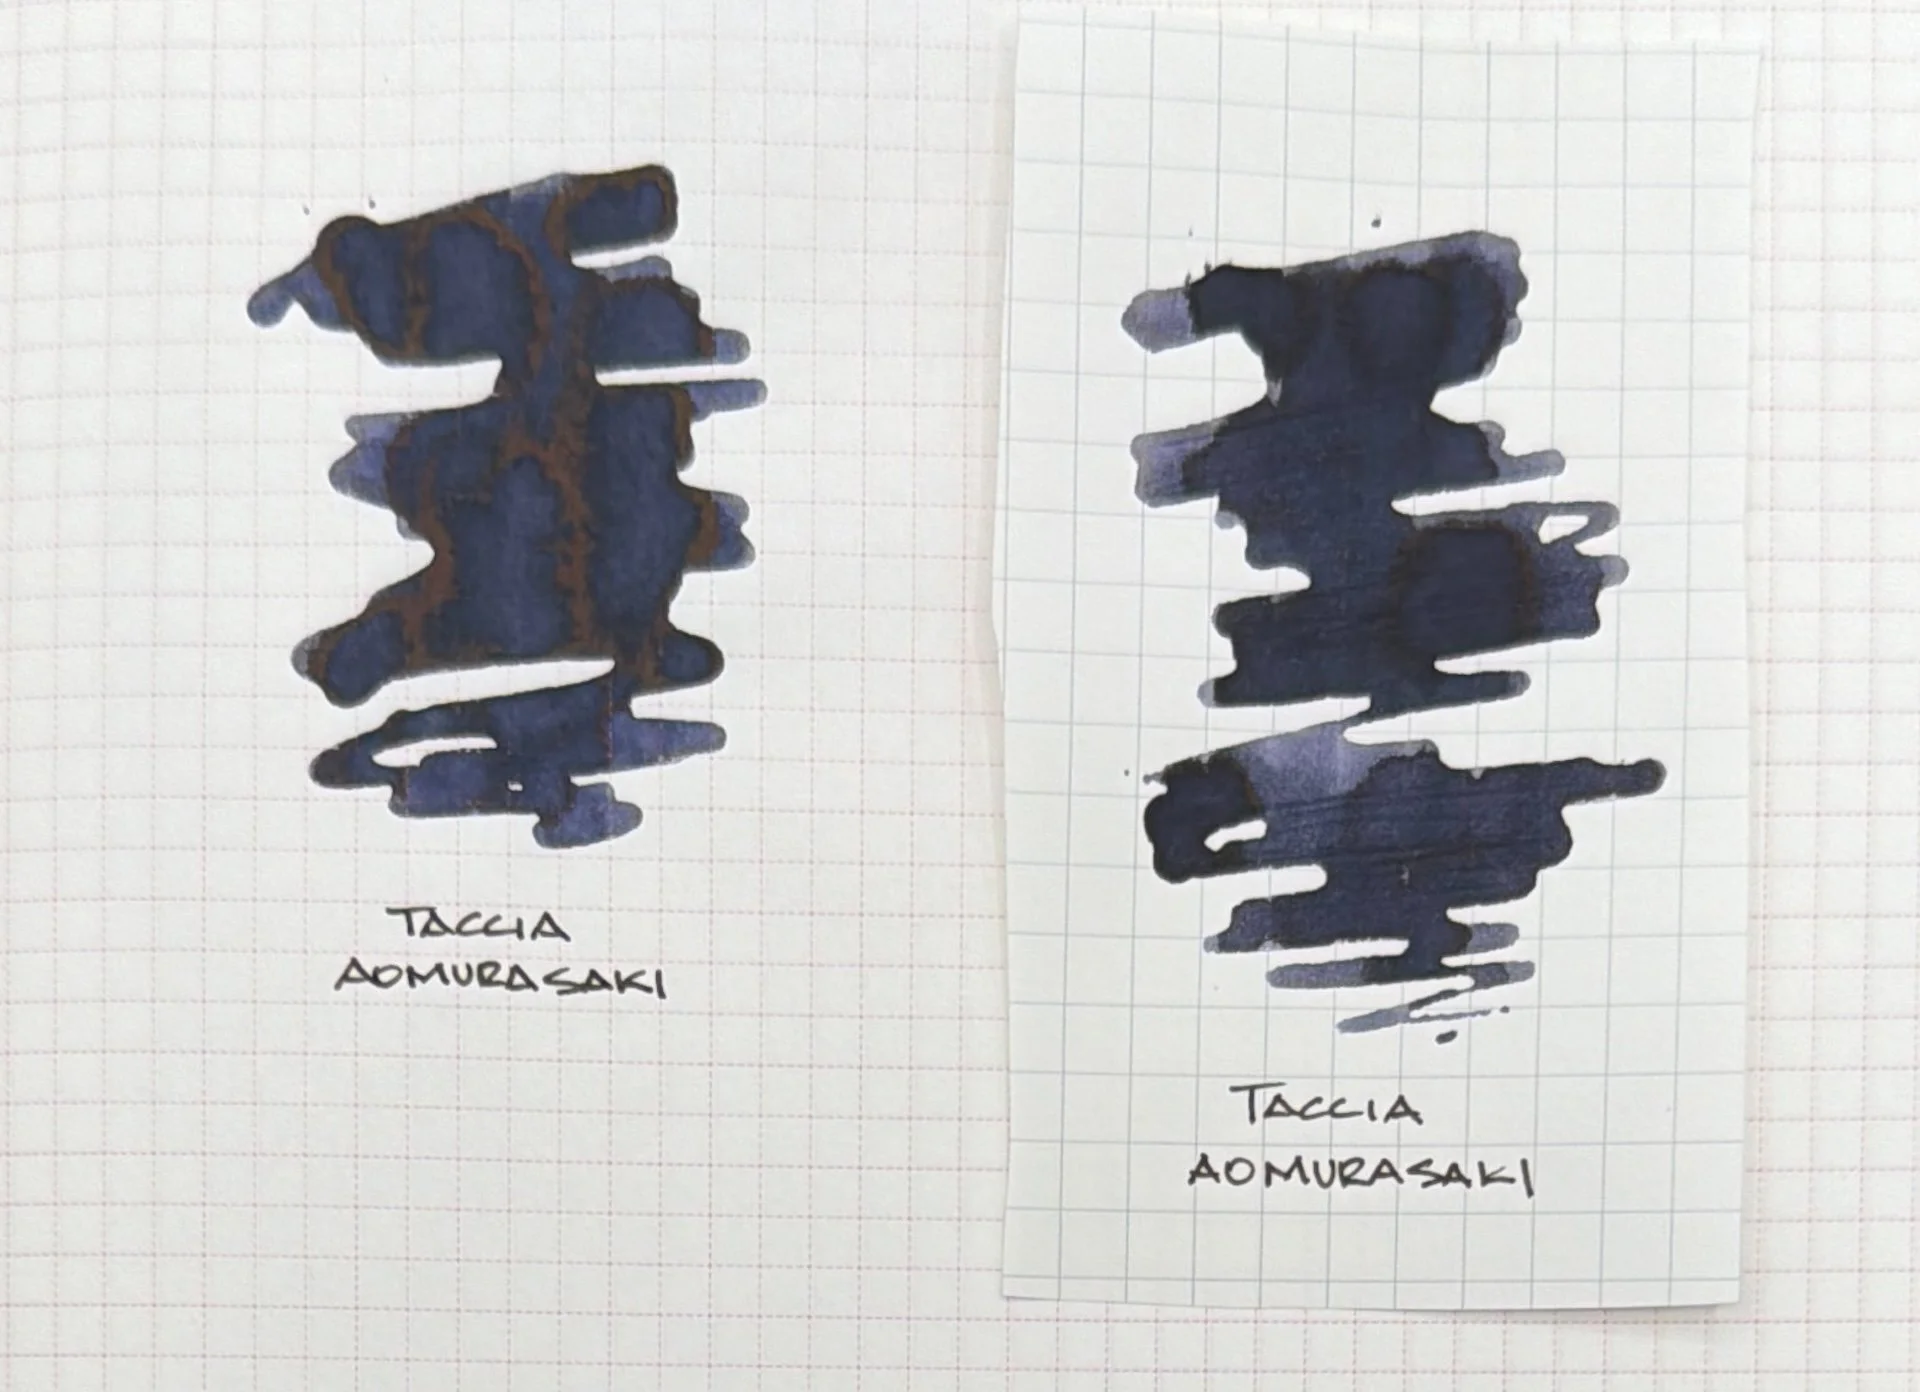
OG Tomoe River 52 gsm, left, Kokuyo Good Tools, right.
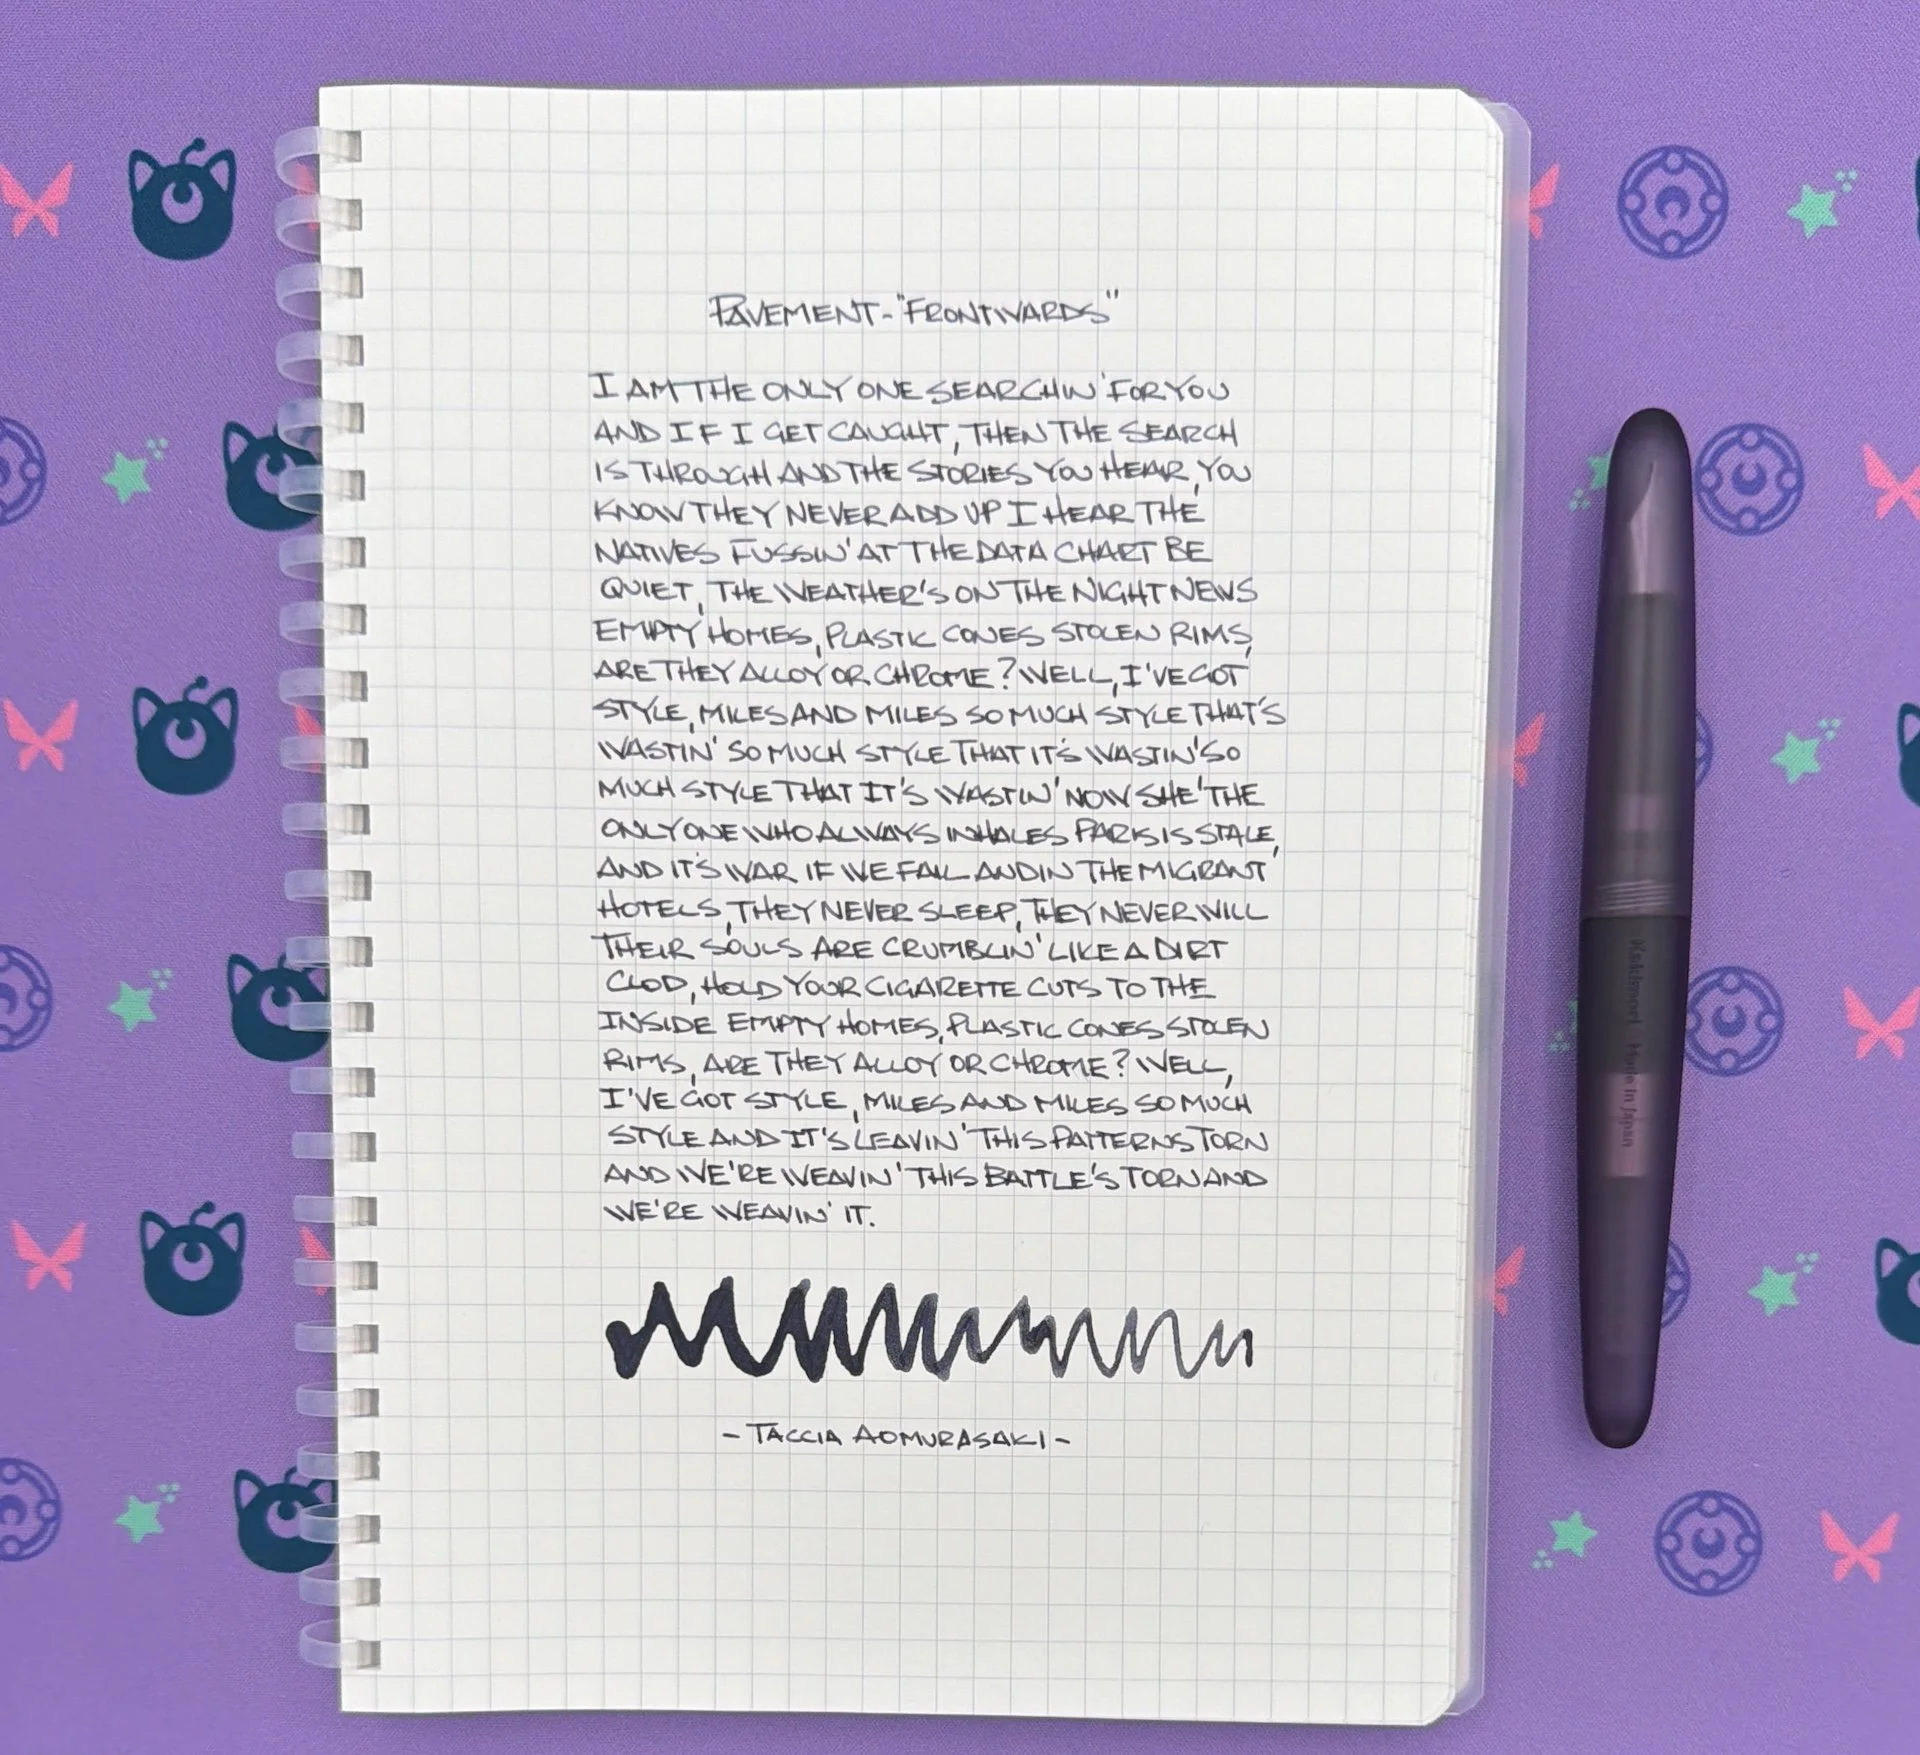
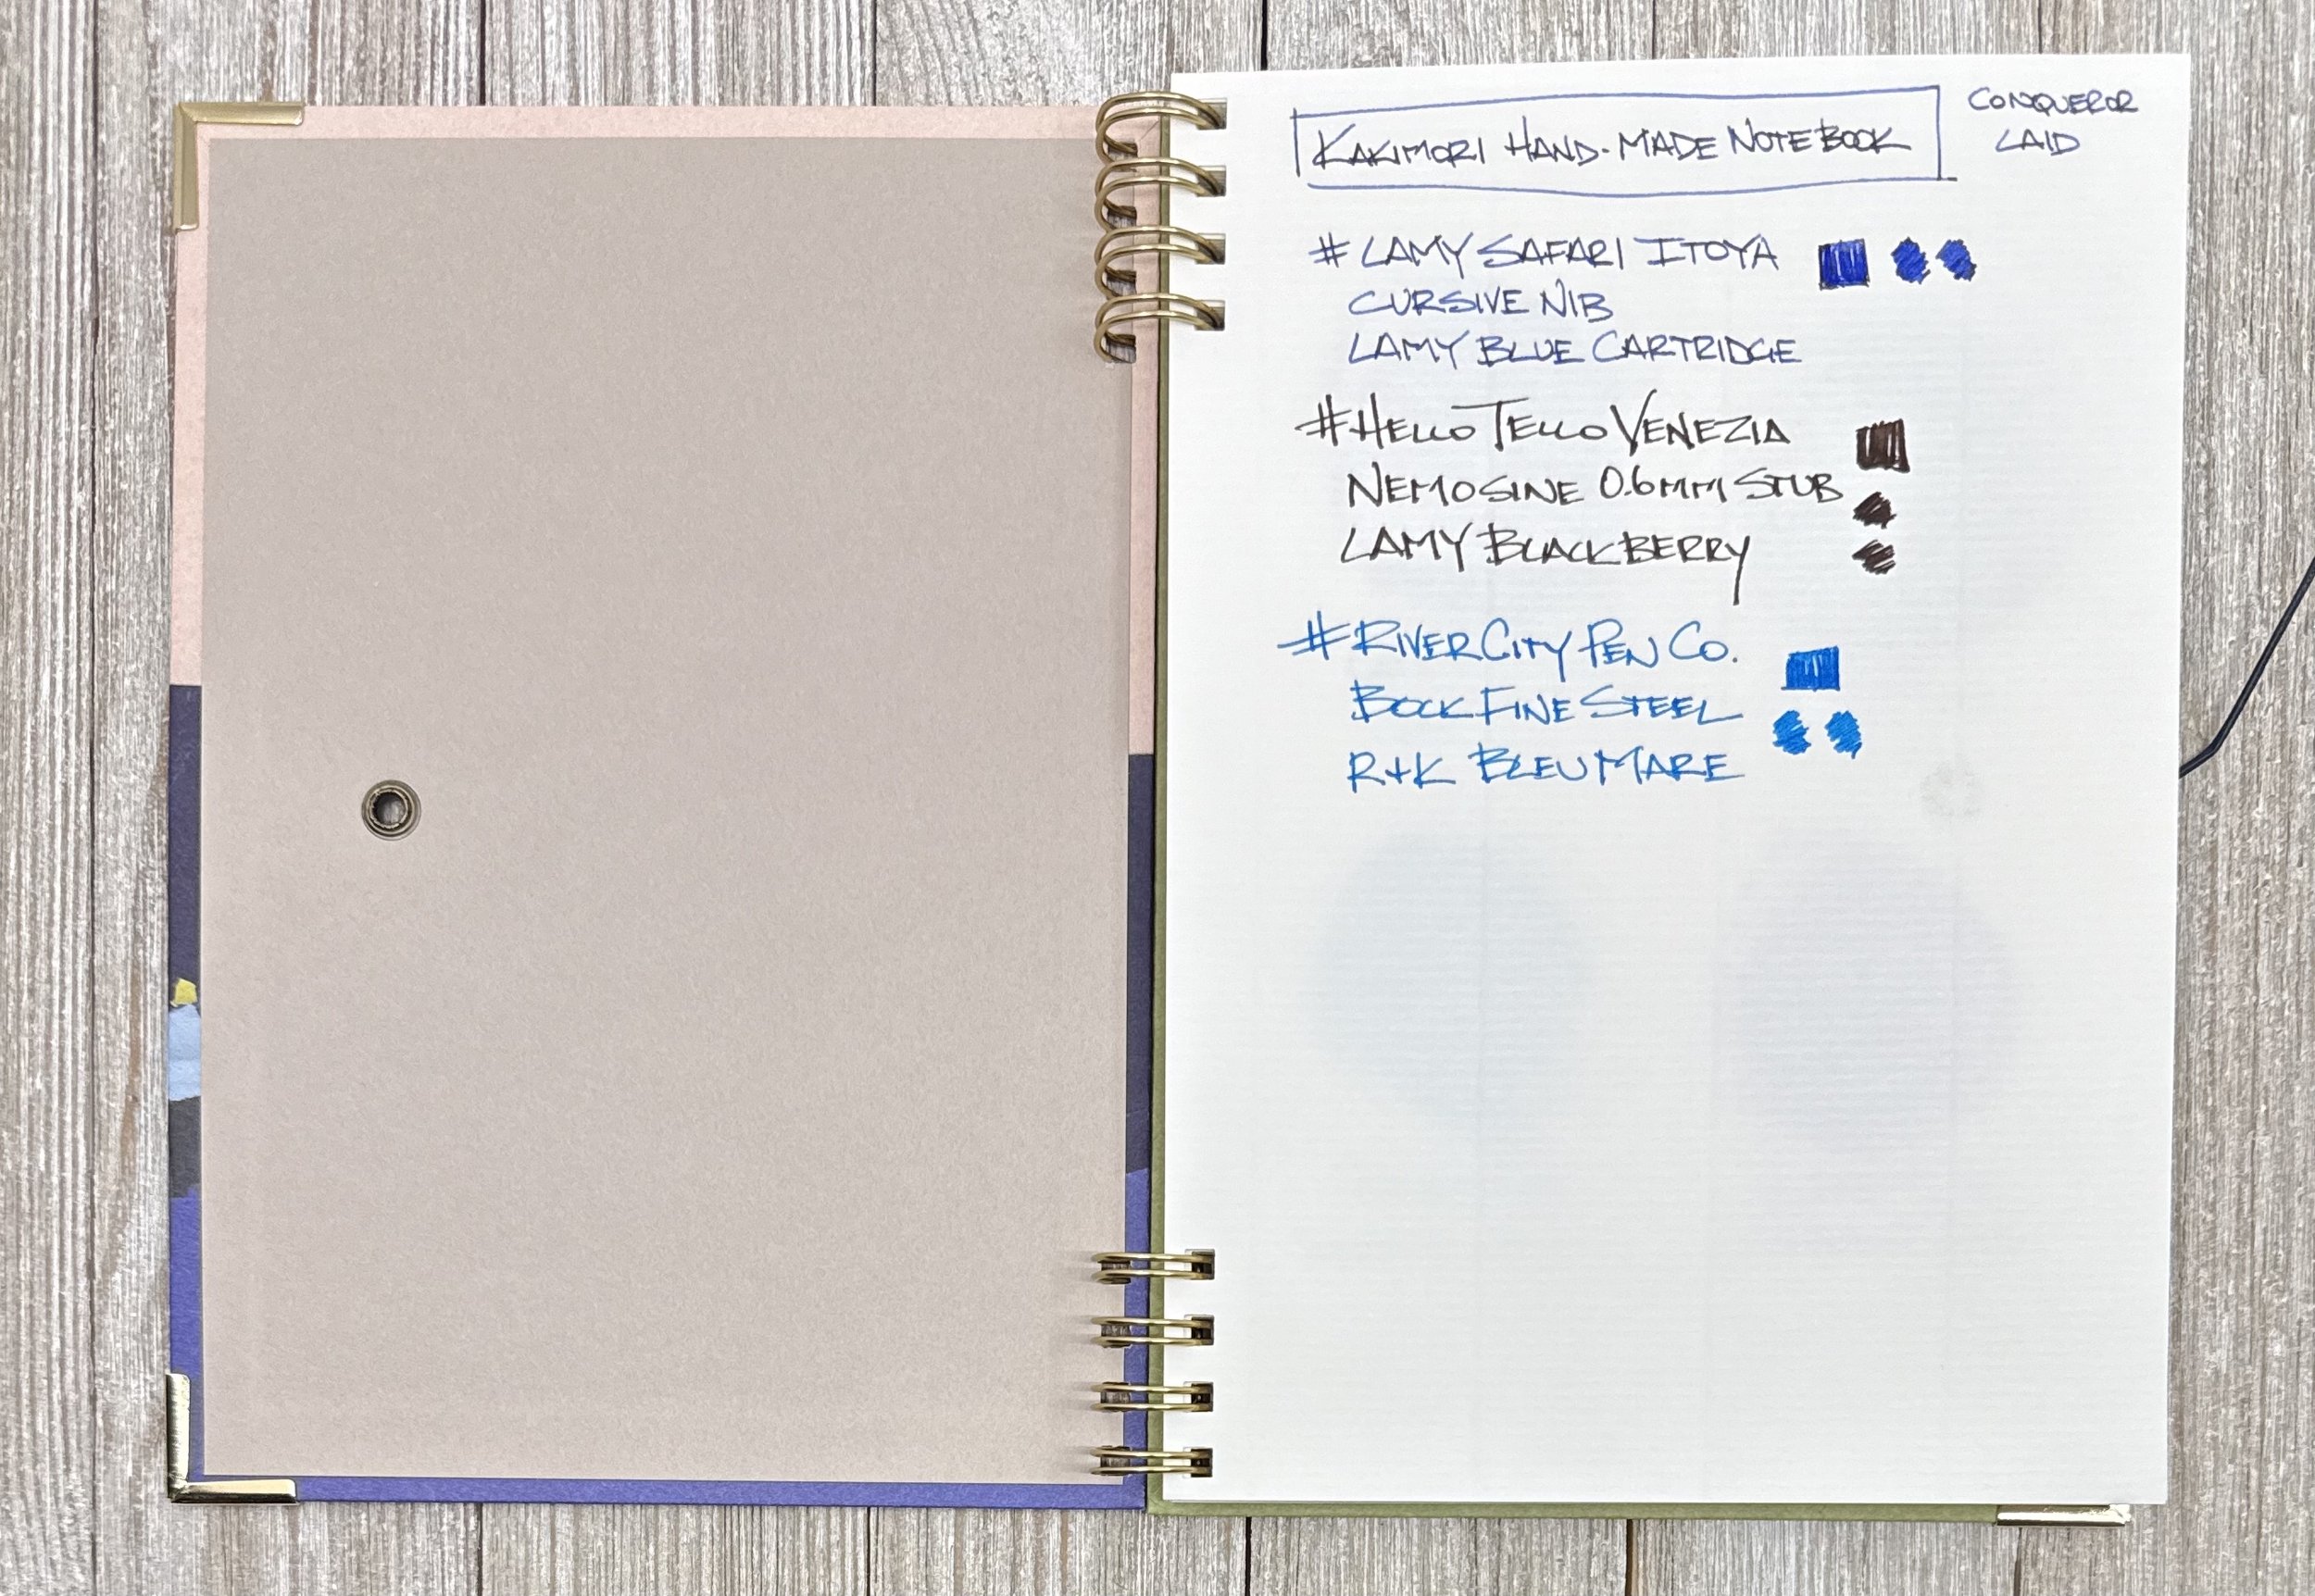
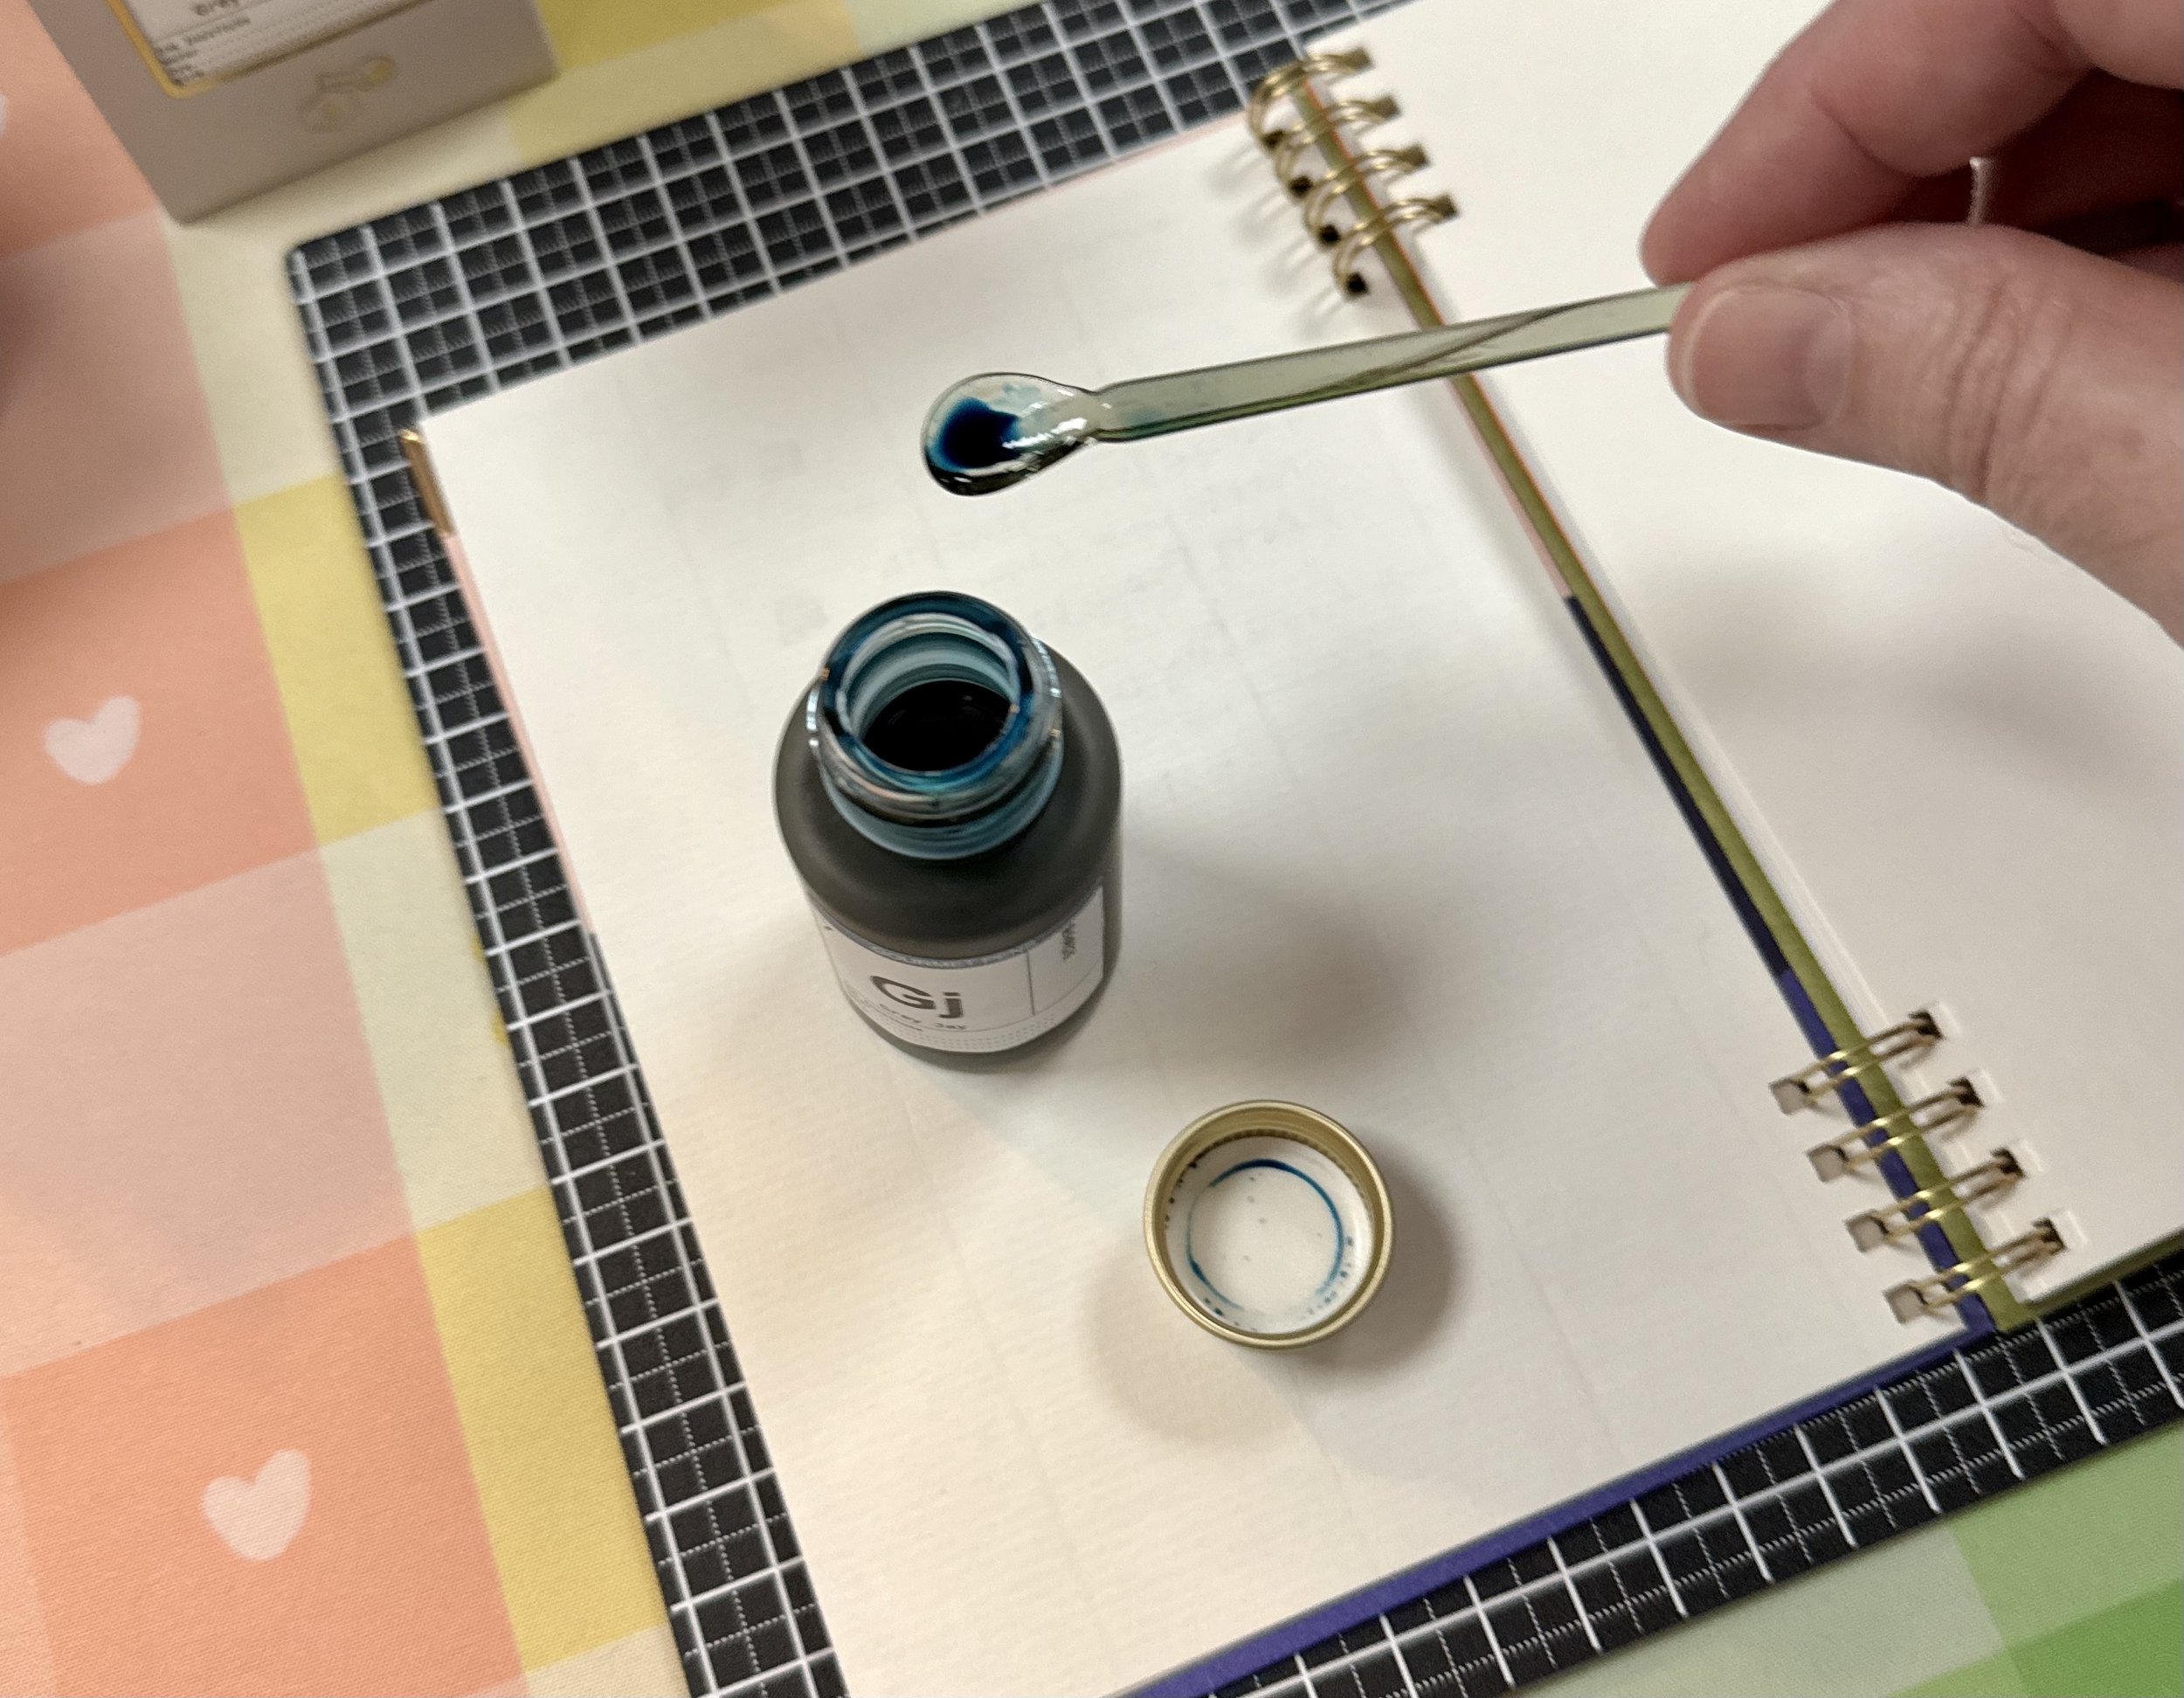
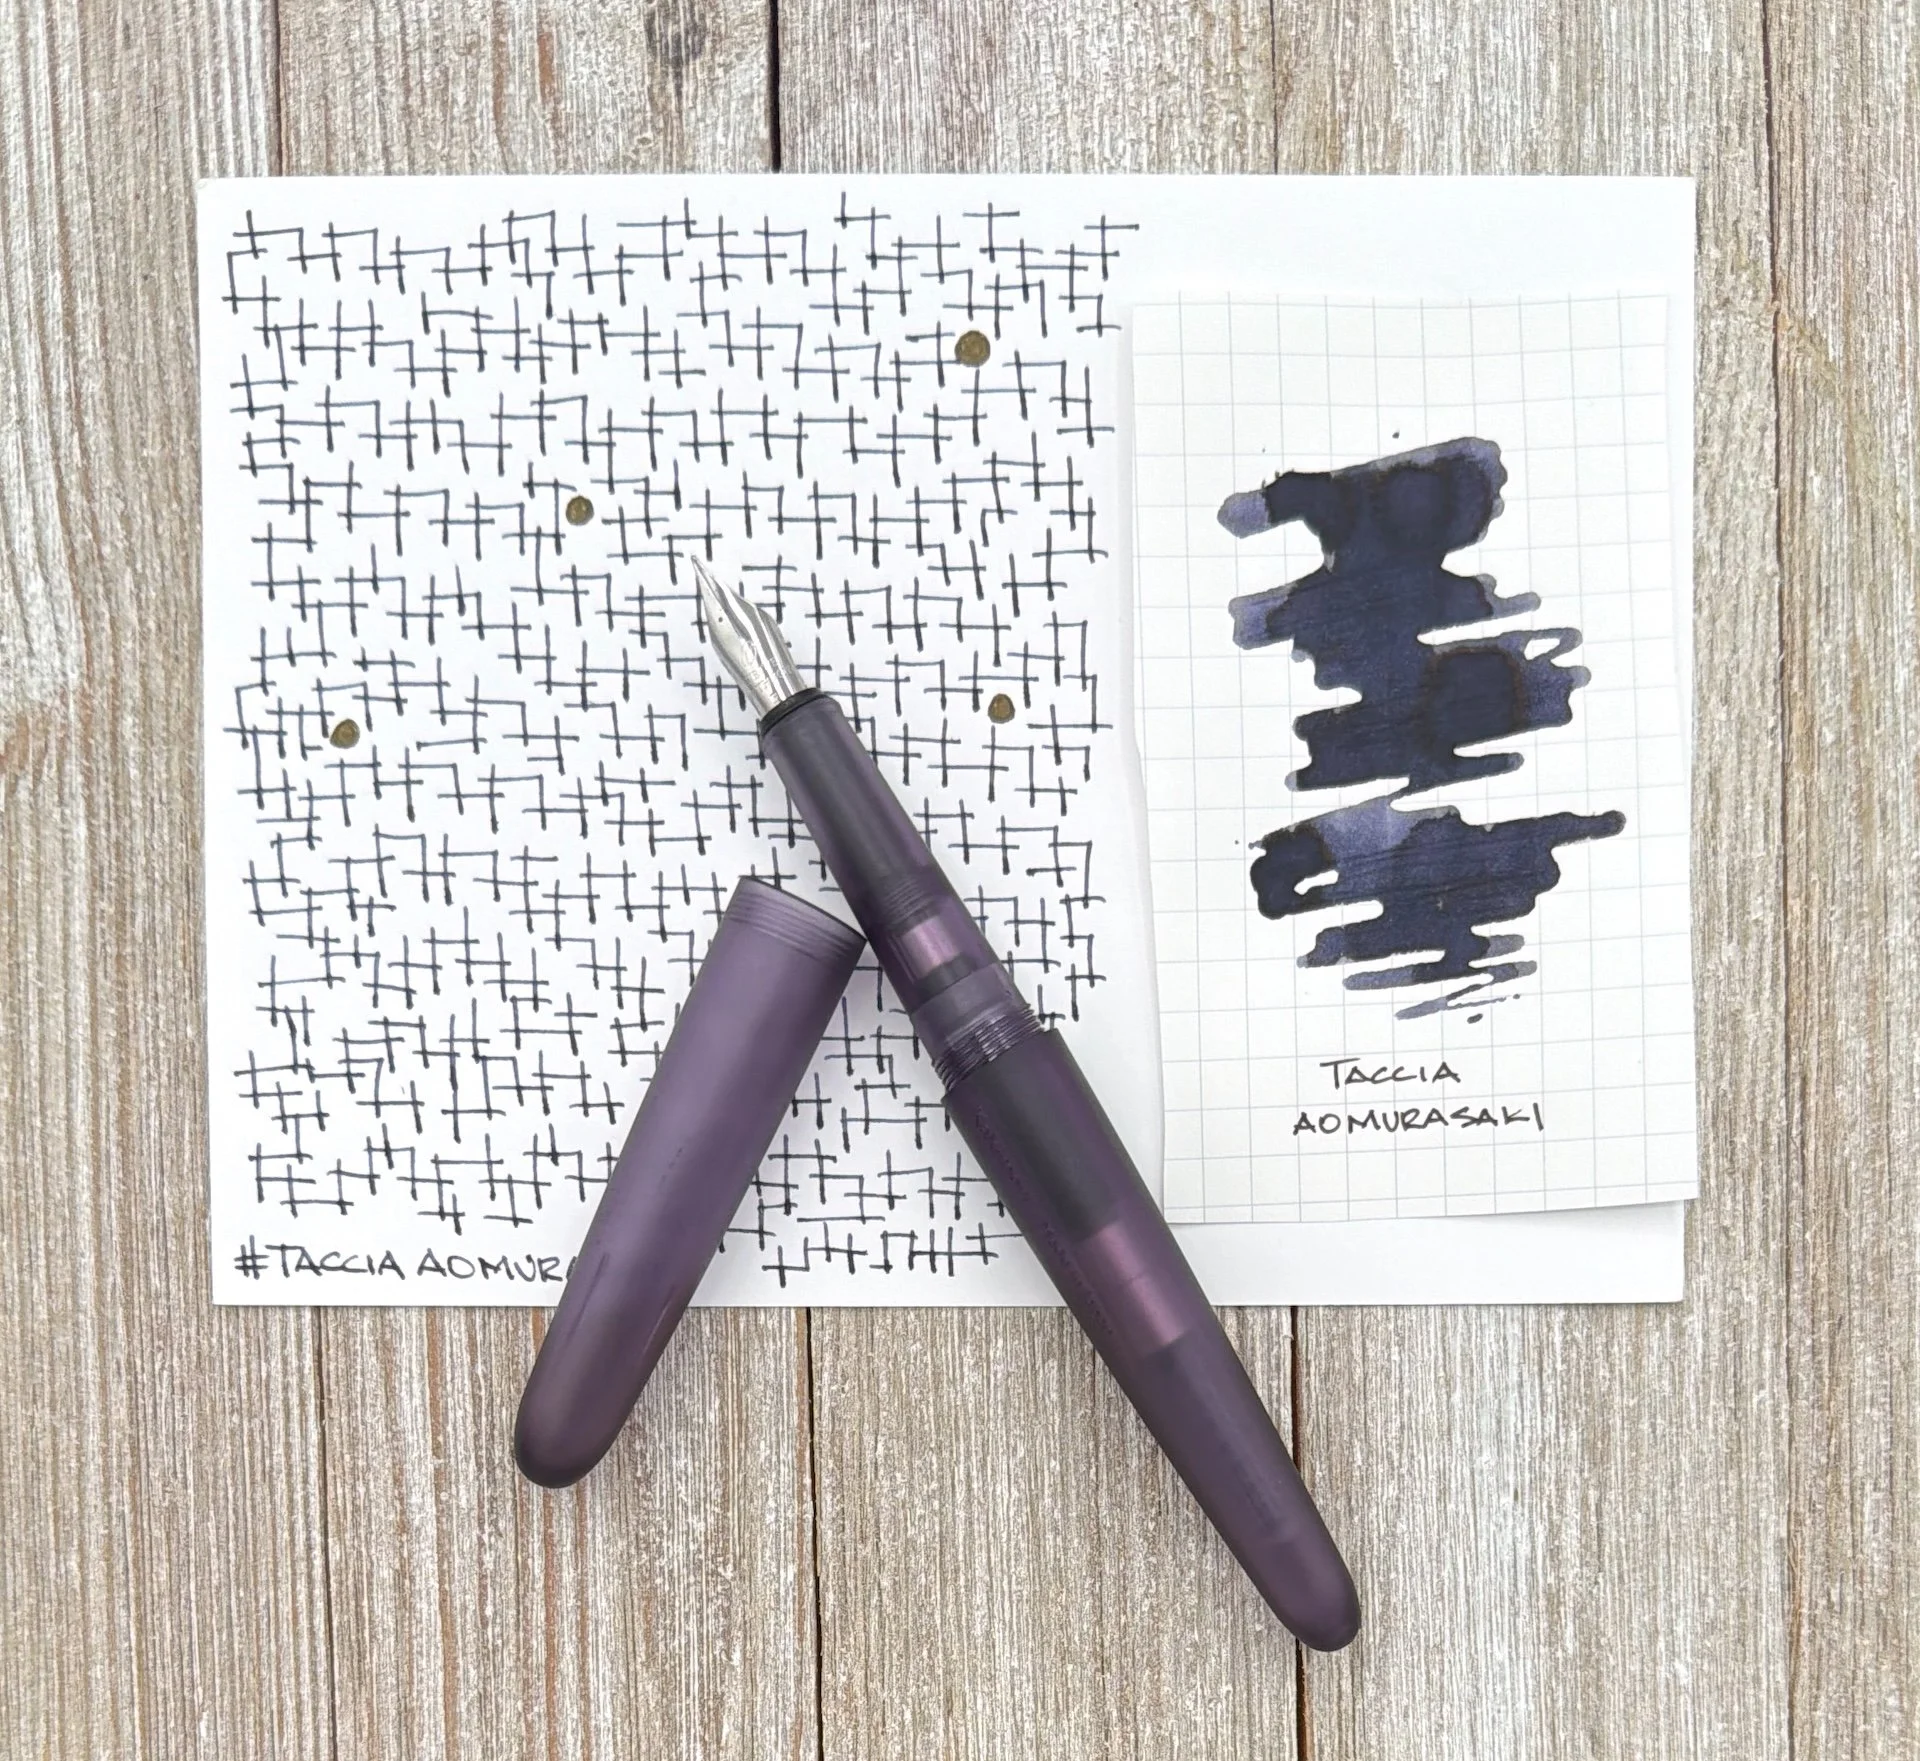
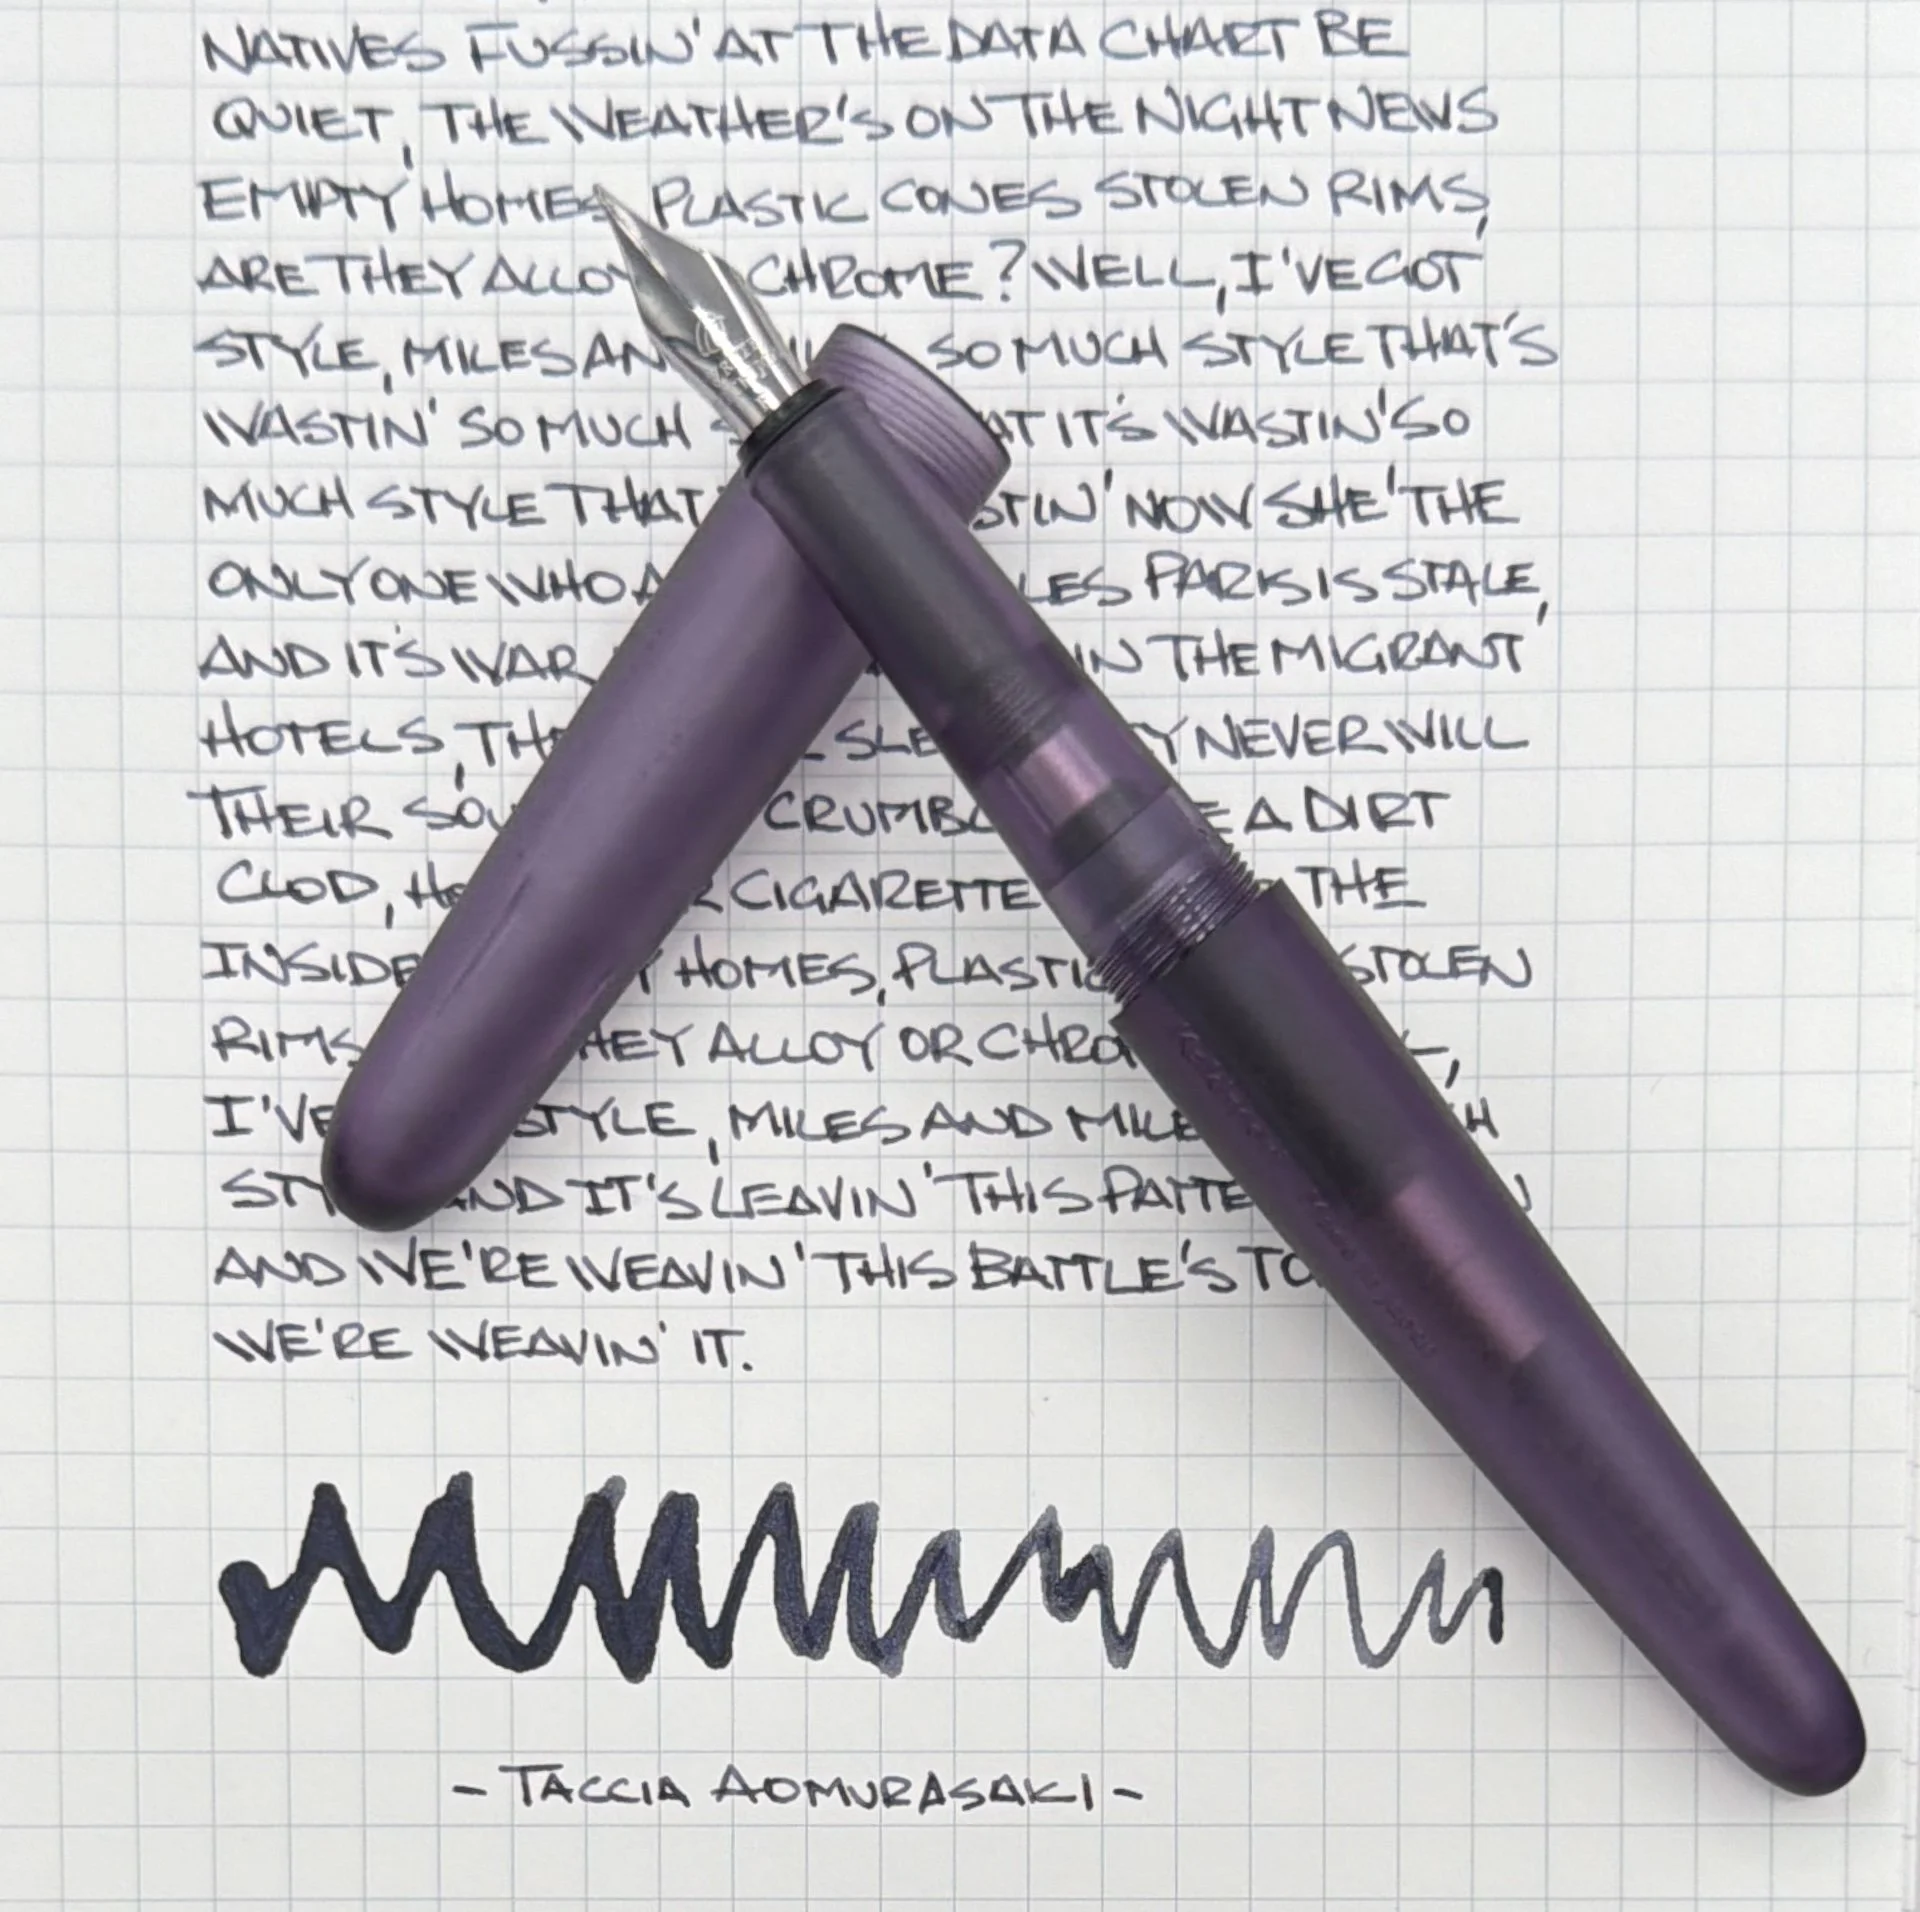
It’s saving grace, for the time being, is my acquisition of Taccia Aomurasaki Ink. Given its name, with ao meaning Blue and murasaki meaning Purple, I would think the Blue tones would pop more, but I’m glad they don’t. This is more of a Purple/Grey or Purple/Black, and it’s glorious. From the moment I inked it up I’ve been hooked, and that hasn’t changed given the different paper types I’ve tested it on.
It flows well from the Fine nib in the Kakimori, and my next fill will be something in the XXF category to see if I can still pull Purple out of it, or if it is too dark for that fine of line. Regardless, it looks great, and I can see it being used in many pen types and nib sizes. It’s jumped immediately up towards the top of the list.
So there you have it: mixed reactions at this party, with the pen leaving a bit to be desired, and the ink off the charts good.
(JetPens provided the Kakimori pen at no charge, and Vanness Pens provided the Taccia Ink at a discount to The Pen Addict for review purposes.)
Enjoy reading The Pen Addict? Then consider becoming a member to receive additional weekly content, giveaways, and discounts in The Pen Addict shop. Plus, you support me and the site directly, for which I am very grateful.
Membership starts at just $5/month, with a discounted annual option available. To find out more about membership click here and join us!