Posts filed under Journal

Midori MD Diary Stickers Review

(Kimberly (she/her) took the express train down the fountain pen/stationery rabbit hole and doesn't want to be rescued. She can be found on Instagram @allthehobbies because there really are many, many hobbies!.)

It’s apparently planner season and since I don’t use a traditional planner, I decided to get these Midori MD Diary Stickers from Vanness Pens when I was at their shop back in late March (thank you to them for providing these items for review.) These stickers from Midori are meant to be used in notebooks (or really anything) where you need monthly layouts. They come in three sizes (Small, Medium, and Large), but I am only reviewing the Small and Medium ones.

Midori MD Diary Stickers Review

D Diary Stickers in M (left) and S.

Both sticker sets come with the following:

  • 16 monthly calendar stickers (starting with December of the prior year and going through January of the following year). The sets I got were for 2024, so the monthly stickers went from December 2023 to January 2025.
  • 2 yearly calendar stickers for the current year and next year (in my case, 2024 and 2025).

Small (top) and Medium monthly and year stickers.

The Small stickers measure roughly 5.5” x 3.75” (or 14 cm x 9.5 cm), while the Medium Stickers are 6.75” x 4.5” (17.2 cm x 11.8 cm). The Large set is 8” x 5.5” (20 cm x 13.8 cm).

The monthly calendar stickers are Monday - Sunday and also have the year in the bottom right corner, which is very handy as there are 2 December and 2 January stickers. They also have Sundays and Japanese public holidays circled. Japanese and international holidays are noted in Japanese as well. Other than Christmas Eve & Christmas and New Year’s Eve & New Year’s Day, the holidays aren’t particularly useful for most folks.

Christmas Eve and New Year’s Eve (as confirmed by Google translate) both fell on Sundays last year.

Since I don’t use A6 for my bullet journal, I decided to use the Small monthly sticker as a tracker for dental hygiene and skincare. I didn’t want to adhere the sticker to my bathroom mirror, so I used washi tape to put it on, where I tracked my skincare routine (A = AM, P=PM, and checkmark for evening flossing/brushing - I know, I know, I need to floss more, lol). I kept a Zebra Sarasa 03 handy to mark it up. I often forget what I did by the time I update my habit tracker, so this was a handy way to keep track.

I’m sure this wasn’t the intended use case but I kinda liked tracking things on the mirror.

The Small stickers fit nicely in an A6 notebook, and the Medium stickers are good for an A5 notebook. It could also fit on B6, but with very little margin on the sides.

The Small Diary sticker in a B6 notebook (I did not affix it to the notebook because this “The Little Prince” notebook is my only B6 notebook.)

The Medium Diary sticker in a B6 notebook - this would be more difficult to put in place due to the minimal margins and the curling (see below.)

The stickers are fairly thick and the sticker release/backing paper is much thicker than what you’d typically get with regular stickers. Midori recommends peeling just one side of the release paper, positioning the sticker onto your page, and then removing the other side. I didn’t follow this recommendation for the A6 monthly sticker. Even though the release paper is scored down the back, peeling the stickers took a bit of effort and the resulting curling made it a bit annoying to deal with. It was mostly fine once I got it on the page and was able to close the notebook and have it weighed down by another book for a few minutes.

This is what it looks like when I peeled both backing papers off of the sticker.

This is how the Small sticker looked when I first affixed it to the page. I quickly removed it and decided to move it to another Hobonichi.

Moved to another notebook and squished it down for a while and the sticker page is now behaving. You can also see the text underneath that I was covering up (more on that below.)

I used the Medium sticker in my A5 Leuchtturm and it fit just fine with some margins to spare on the top and bottom (I like to use washi tape to give it a little bit of flare and so I’m not just hoarding washi tape, lol). Following Midori’s recommendation to only peel and stick one half at a time did not make a difference in the curling but it did make placement a little easier. It was almost impossible not to bend it backwards when removing the backing paper so there is a bit of a crease in the middle after peeling. The creases are more noticeable in some angles than others.

You can just make out the horizontal crease in the middle of the Medium stickers.

The crease is much more prominent on the Small sticker in the Hobonichi. Not sure if it’s because I removed both backing papers or not.

I decided to follow instructions (for a change) and only peeled one side. It’s still very curly.

Because my current A5 Leuchtturm has 120gsm paper, you don’t really see much ghosting, so you don’t see any writing below the sticker from the other side. With the Hobonichi though, you can see what’s underneath, although the writing is “extra” visible because I put the sticker on top of the writing, whereas the A5 had writing on the other side of the page. You can get an idea as to how “see through” the stickers are, if you are going to put it on top of an already-written-on page.

The Medium sticker in the A5 Leuchtturm.

The stickers are fountain pen friendly, which is great because I only use FPs in my bullet journal. There was some slight smearing when I smoothed the Small sticker onto the sheet because I wrote on the sticker before sticking it in the notebook. It is the same paper that is in the Midori MD notebooks (but not MD Cotton), which means it is cream-colored and not white. The paper is fairly smooth but slightly toothier than Tomoe River. It was nice to write on and I didn’t have issues with the few FPs I used on them.

Overall, aside from the not-super-easy peeling and the resulting curling of the sticker, I liked the convenience of having the monthly sticker for my undated notebook. I used to print out monthly calendars and tape them to my bujo and now I don’t have to. I also liked that there are stickers for 14 months. I think the only thing I could do without is the holiday text since it isn’t useful for non-Japanese customers and it takes up room in an already limited space. I don’t know if I would use the yearly stickers but it’s nice to have for reference.

You can find the Midori Diary Sticker Small 2025, Midori Diary Sticker Large, as well as the day free/undated Midori Diary Sticker (same size as the Small), on the Vanness website. The Medium Diary Stickers have been ordered but are still making their way to the shop, so that’s what I’m going to be ordering when it arrives in the next week or so.

(Disclaimer: The Midori Diary Stickers were provided for review by Vanness Pens at no charge. The notebooks pictured are my own.)


Enjoy reading The Pen Addict? Then consider becoming a member to receive additional weekly content, giveaways, and discounts in The Pen Addict shop. Plus, you support me and the site directly, for which I am very grateful.

Membership starts at just $5/month, with a discounted annual option available. To find out more about membership click here and join us!

Posted on September 6, 2024 and filed under Midori, Journal, Stickers, Notebook Reviews.

2024 New Year, New Bujo, Who dis?

(Kimberly (she/her) took the express train down the fountain pen/stationery rabbit hole and doesn't want to be rescued. She can be found on Instagram @allthehobbies because there really are many, many hobbies!.)

I did a review of the Rhodia GoalBook a while back because it was what I use for my loose interpretation of the Bullet Journal (BuJo or bujo) method for planning. My first bujo in 2017 was a Leuchtturm, which had 70gsm paper. It was fine and had somewhat/mostly fountain pen-friendly, but I switched to GoalBook because of the index and calendars (though I stopped using those after time) and hadn’t looked back. Flash forward to now and I just finished GoalBook #8 last week, but there won’t be a GoalBook #9. Why? After trying out the Leuchtturm 120 gsm notebook oh-so-briefly at the Shoppe Object show back in August, and seeing that it looked to be FP-friendly, I knew I had to do it for science!

I picked the Leuchtturm 120gsm in Nordic Blue and had it embossed during the Leuchtturm event at Flax Pen to Paper.

Backside of this hardcover notebook.

Normally I wouldn’t bother to take a picture of this but the 120gsm “branding” was a lot bigger than I think it needed to be.

I wrote my name and info with a Pilot Custom 823 with the FA nib, inked up with Diamine Amazing Amethyst (apologies for the lighting). No feathering on this page but this isn’t the main paper either.

There is a pocket on the inside of the back cover. Also included are labels for the spine (which I have used for all my Rhodia GoalBook spines too) and other labels, possibly for covering up that 120 gsm branding, lol.

Since this isn’t the Bullet Journal™ notebook, there are only 2 pages for the index, which is fine by me since I use specific washi tape, clips and bookmarks for important sections.

The regular LT notebook has 251 pages while the LT120 has 202 numbered pages, not including the 2 index pages; both have 2 ribbon bookmarks as well as the pocket and labels mentioned above. The GoalBook has 222 pages, not including their multiple index and calendar pages in the front.

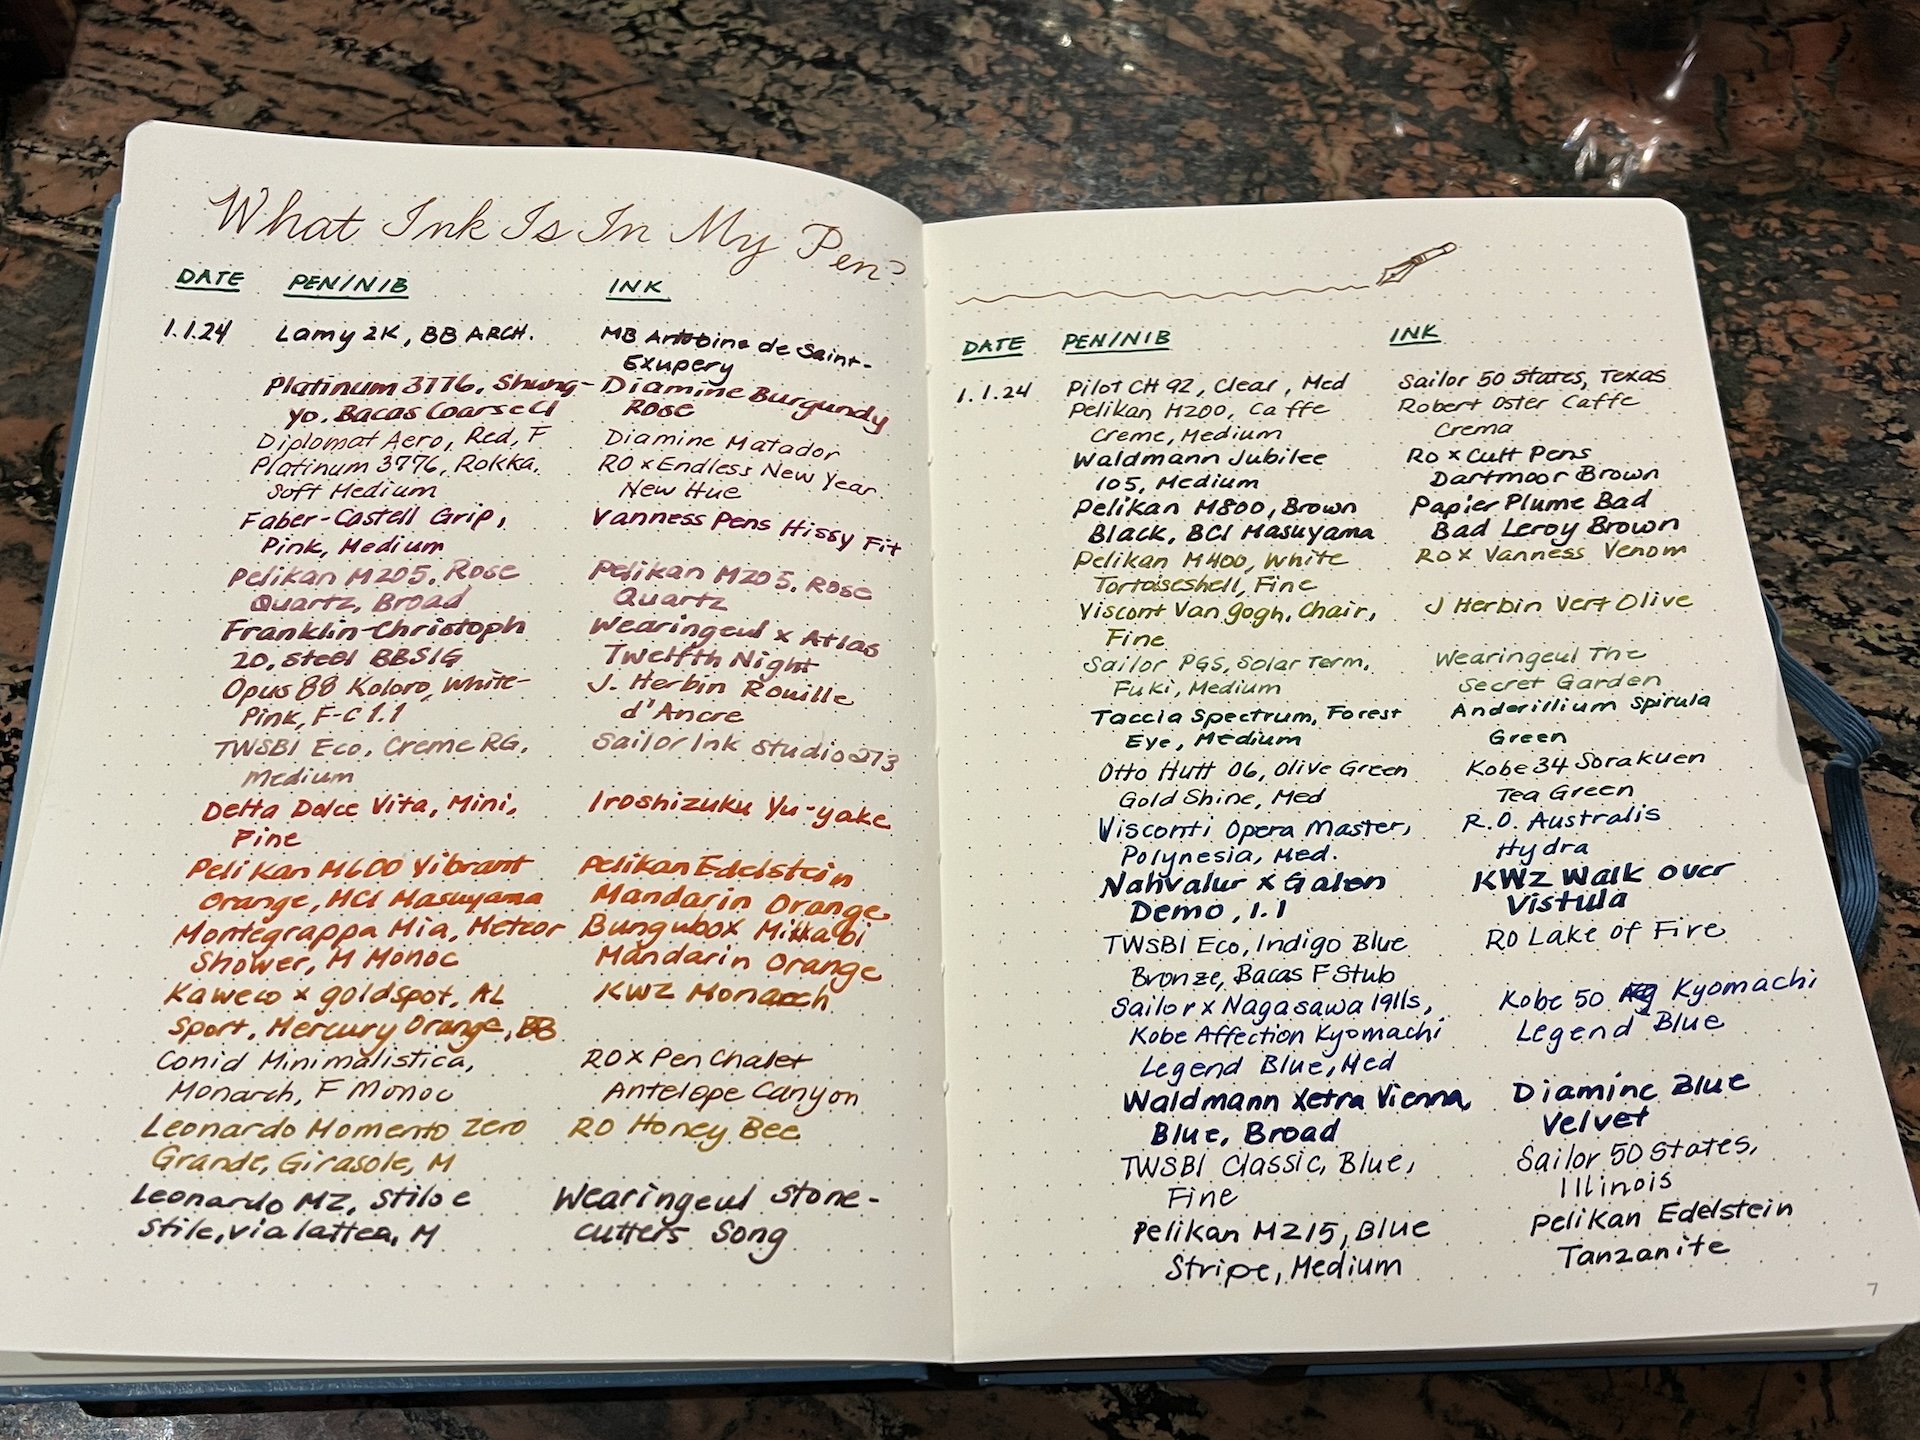
I wrote out the pens that were inked at the start of 2024 (I track their actual inking dates in FPC.)

For the most part, there weren’t any major issues with a variety of fountain pen inks and nibs. There is some shading visible with some of the inks, but not much by way of chromashading or sheen. Shimmer wasn’t an issue.

No real feathering on most pen/inks.

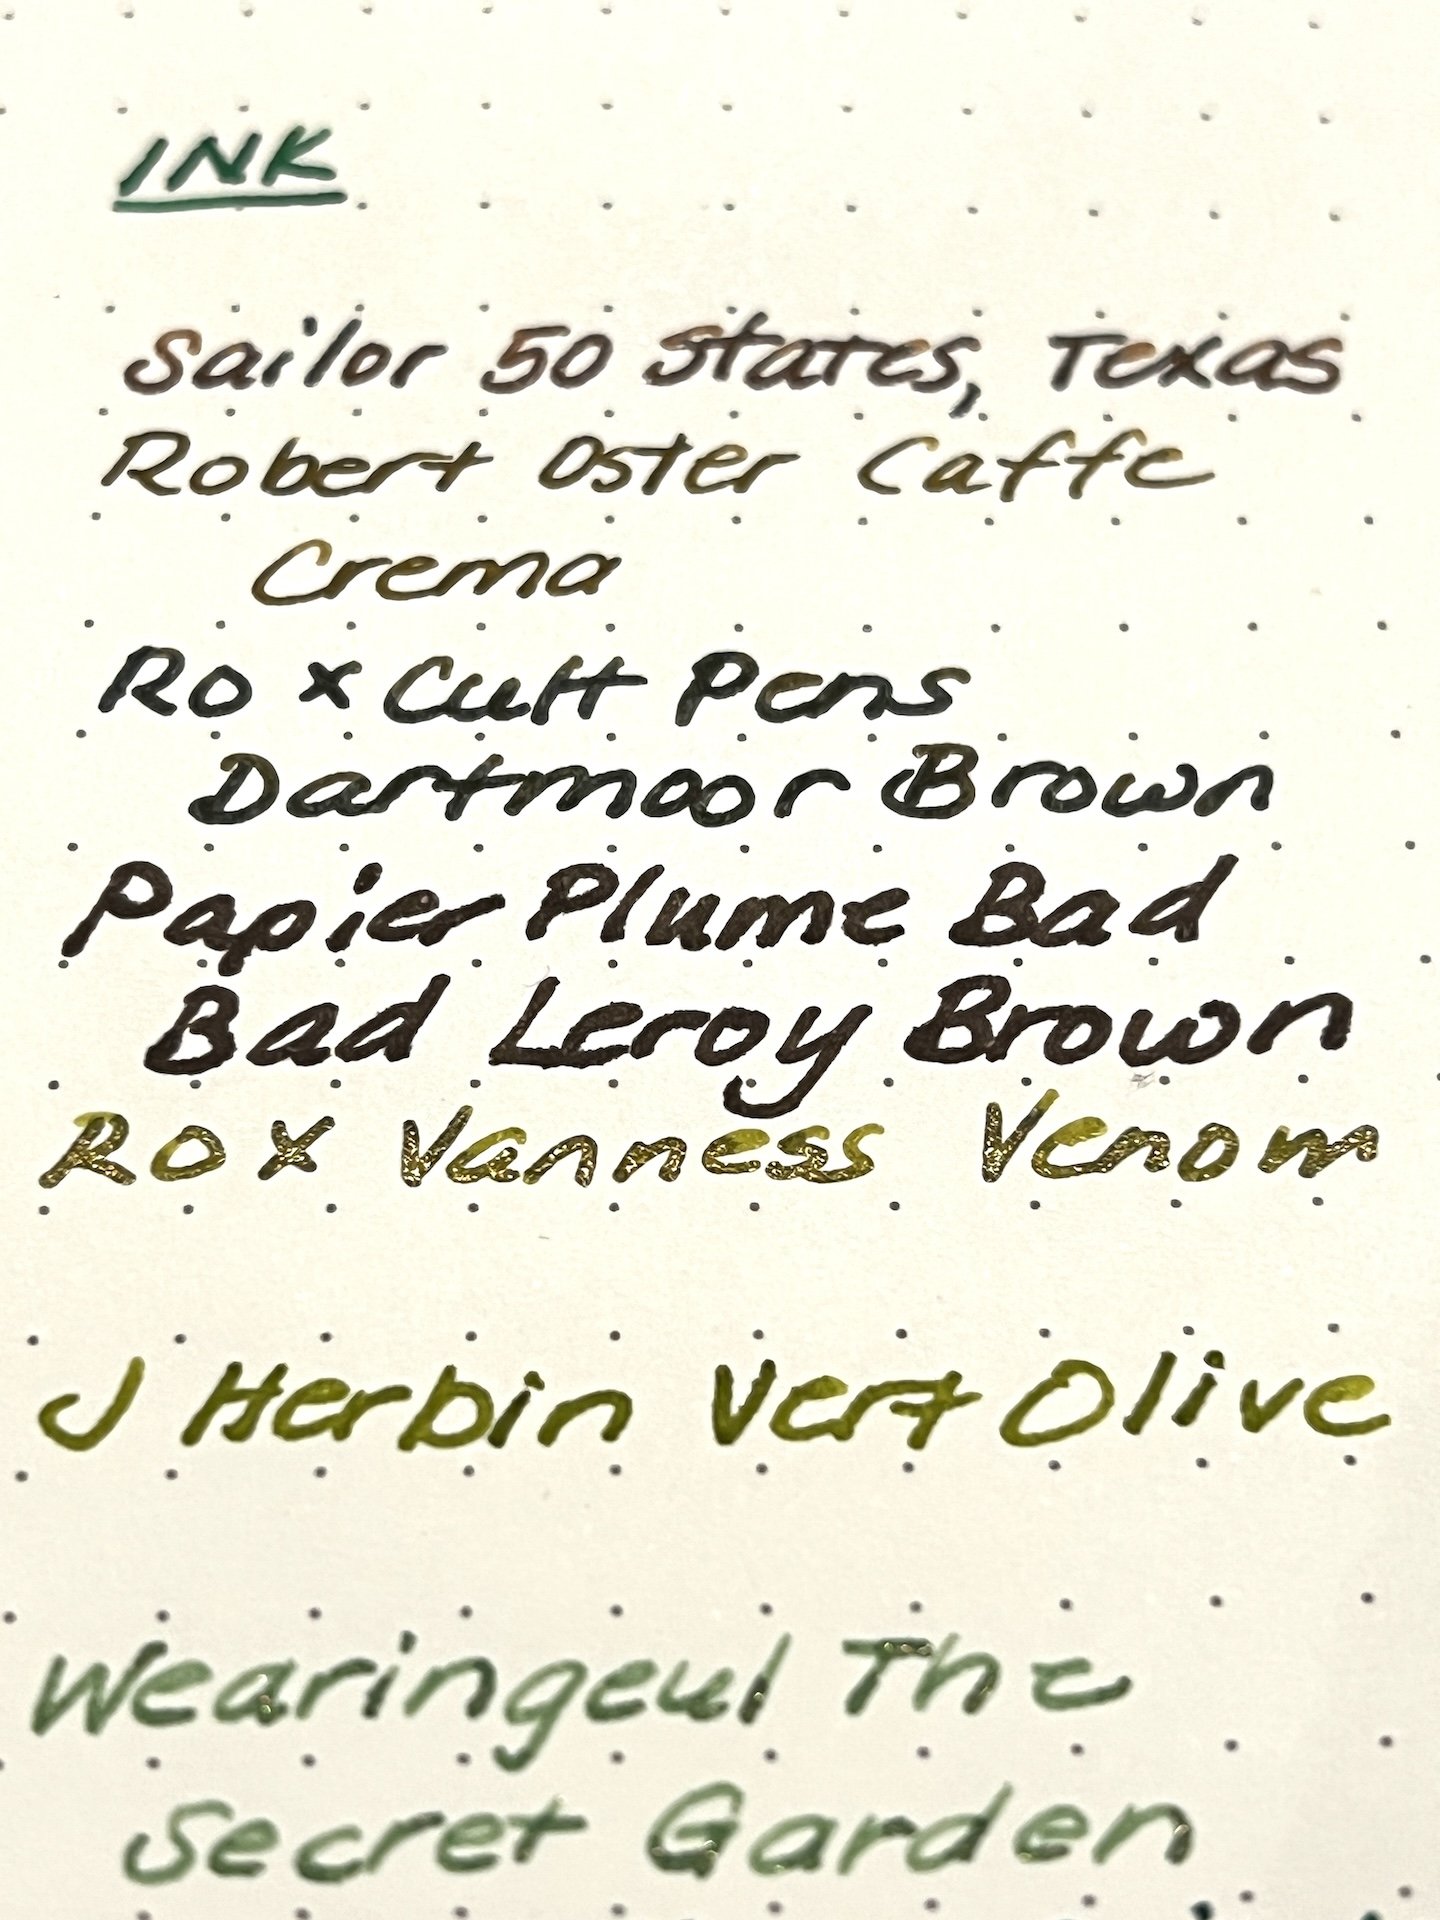
Papier Plume’s Bad Bad Leroy Brown is a moderately wet ink in a moderately wet Pelikan M800 and other than it looking like a brown sharpie (which it kind of is), the paper held up alright. You can see the shimmer from the Robert Oster x Vanness Pens Venom ink too.

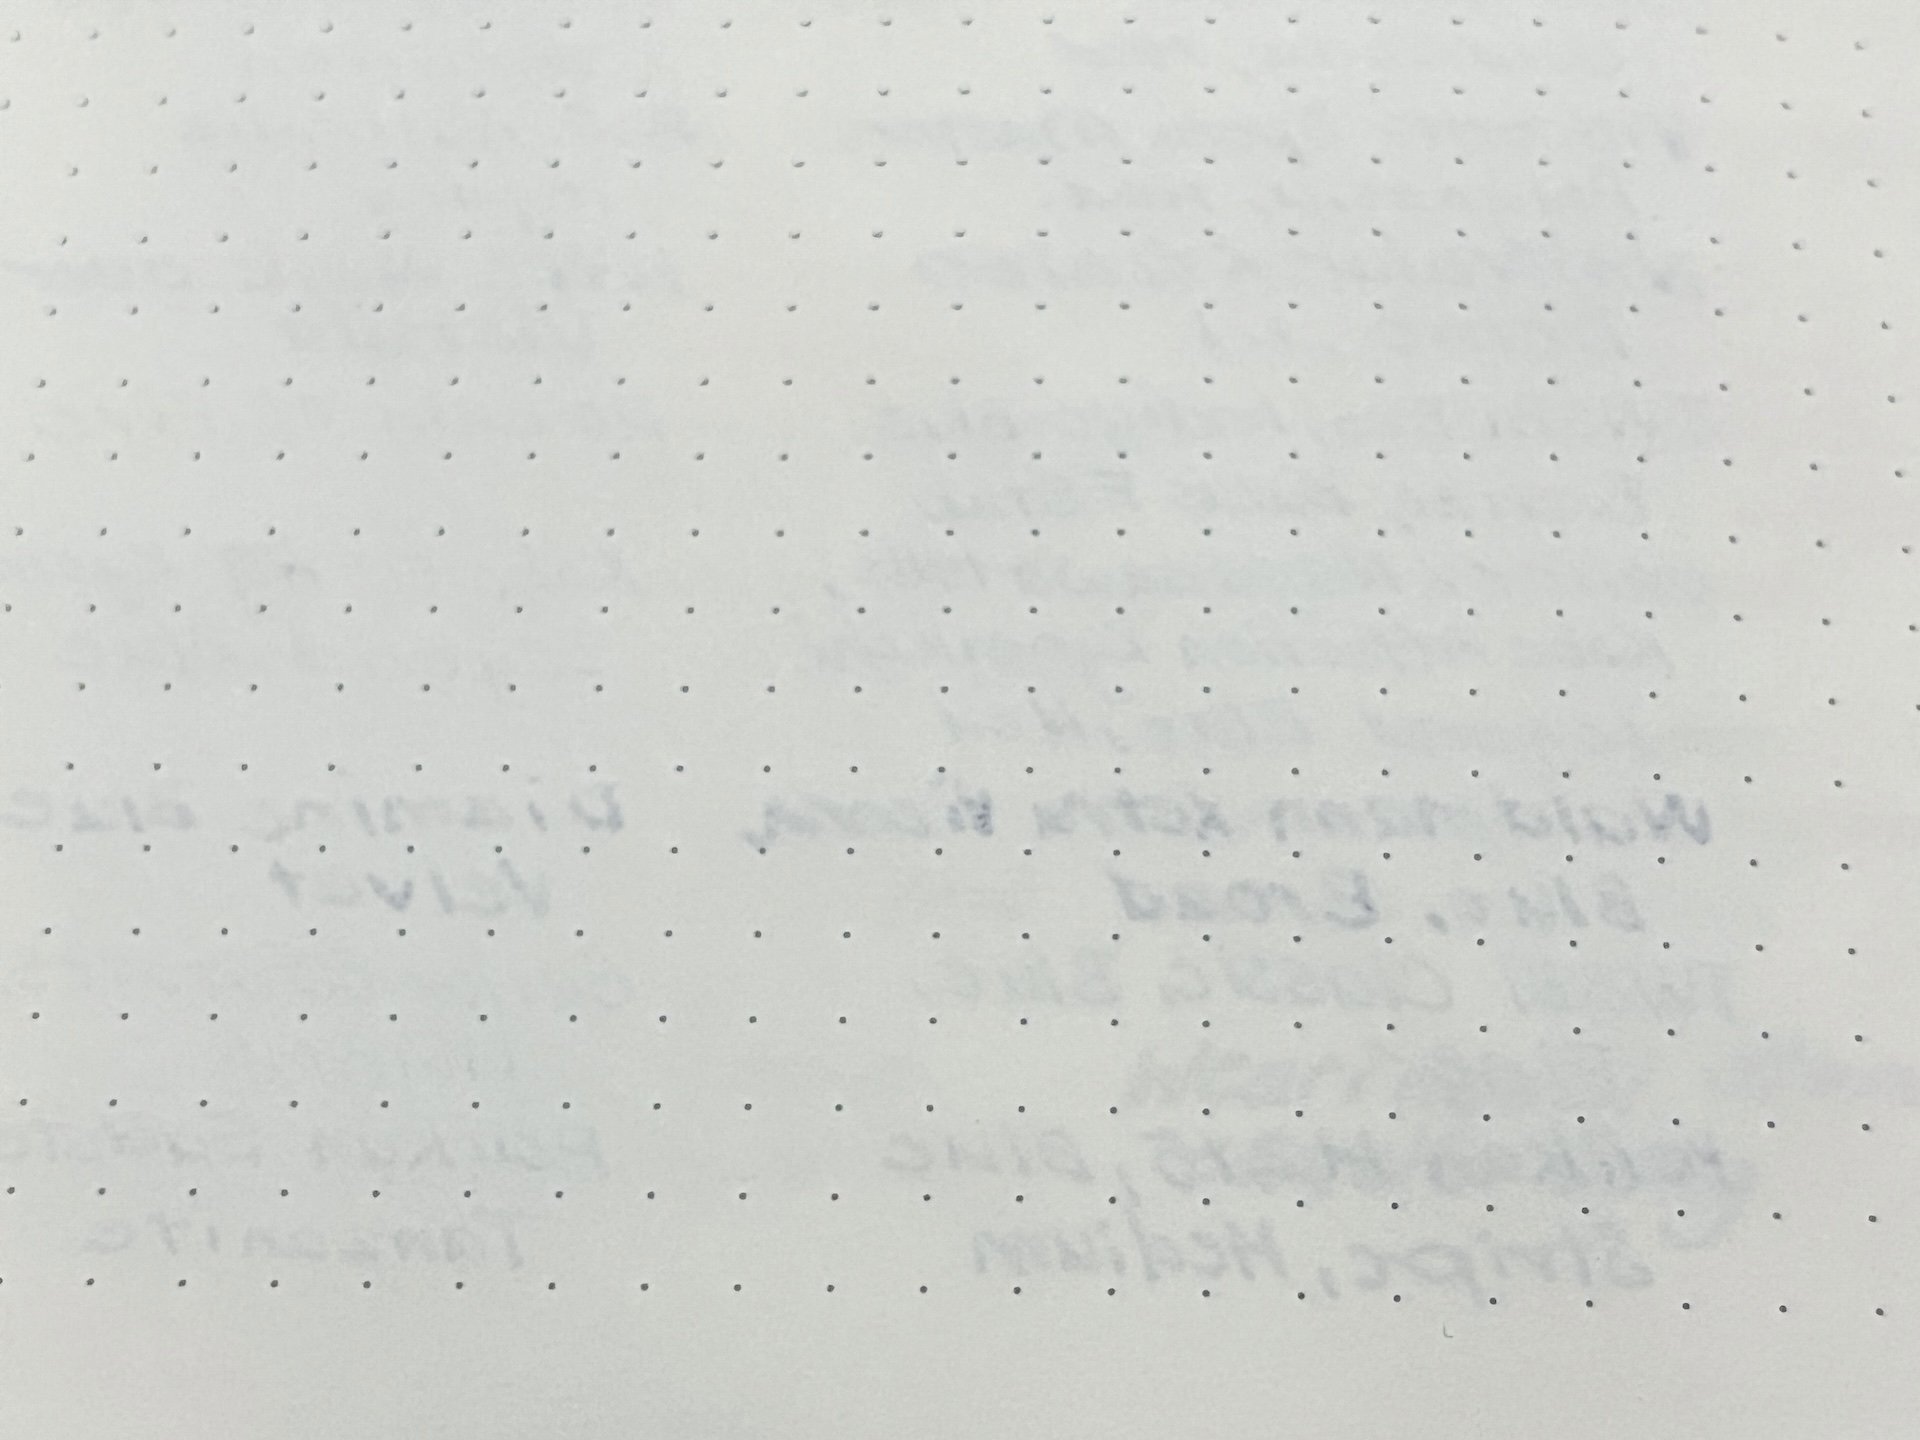
Minimal ghosting except with wet/broad nibs/inks, like the Waldmann Xetra Vienna with a broad steel nib inked with Diamine Blue Velvet. Even then it didn’t really bleed through.

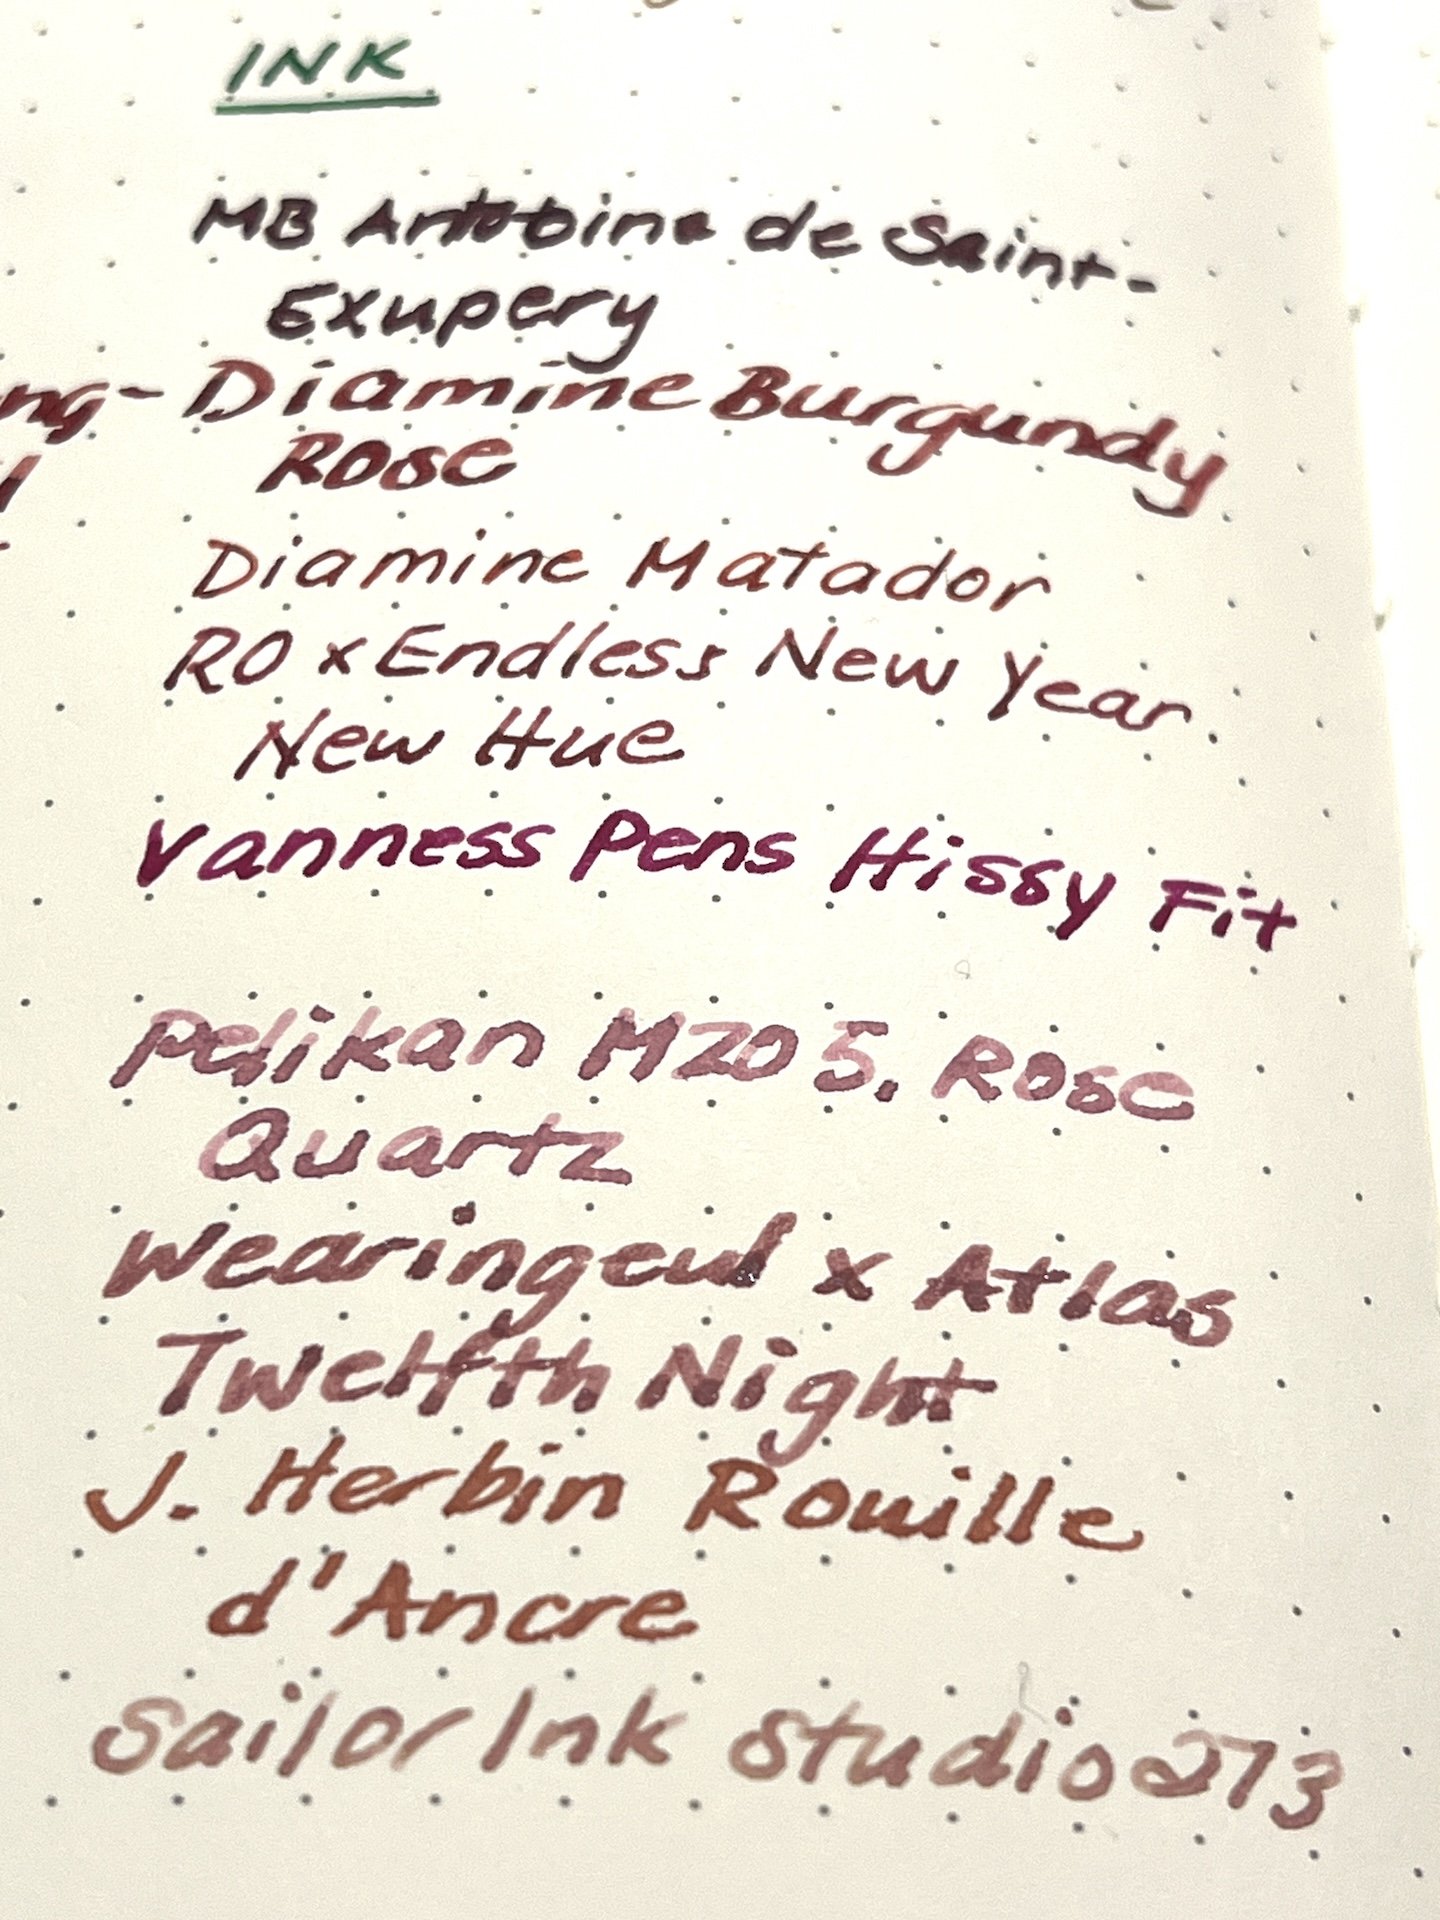
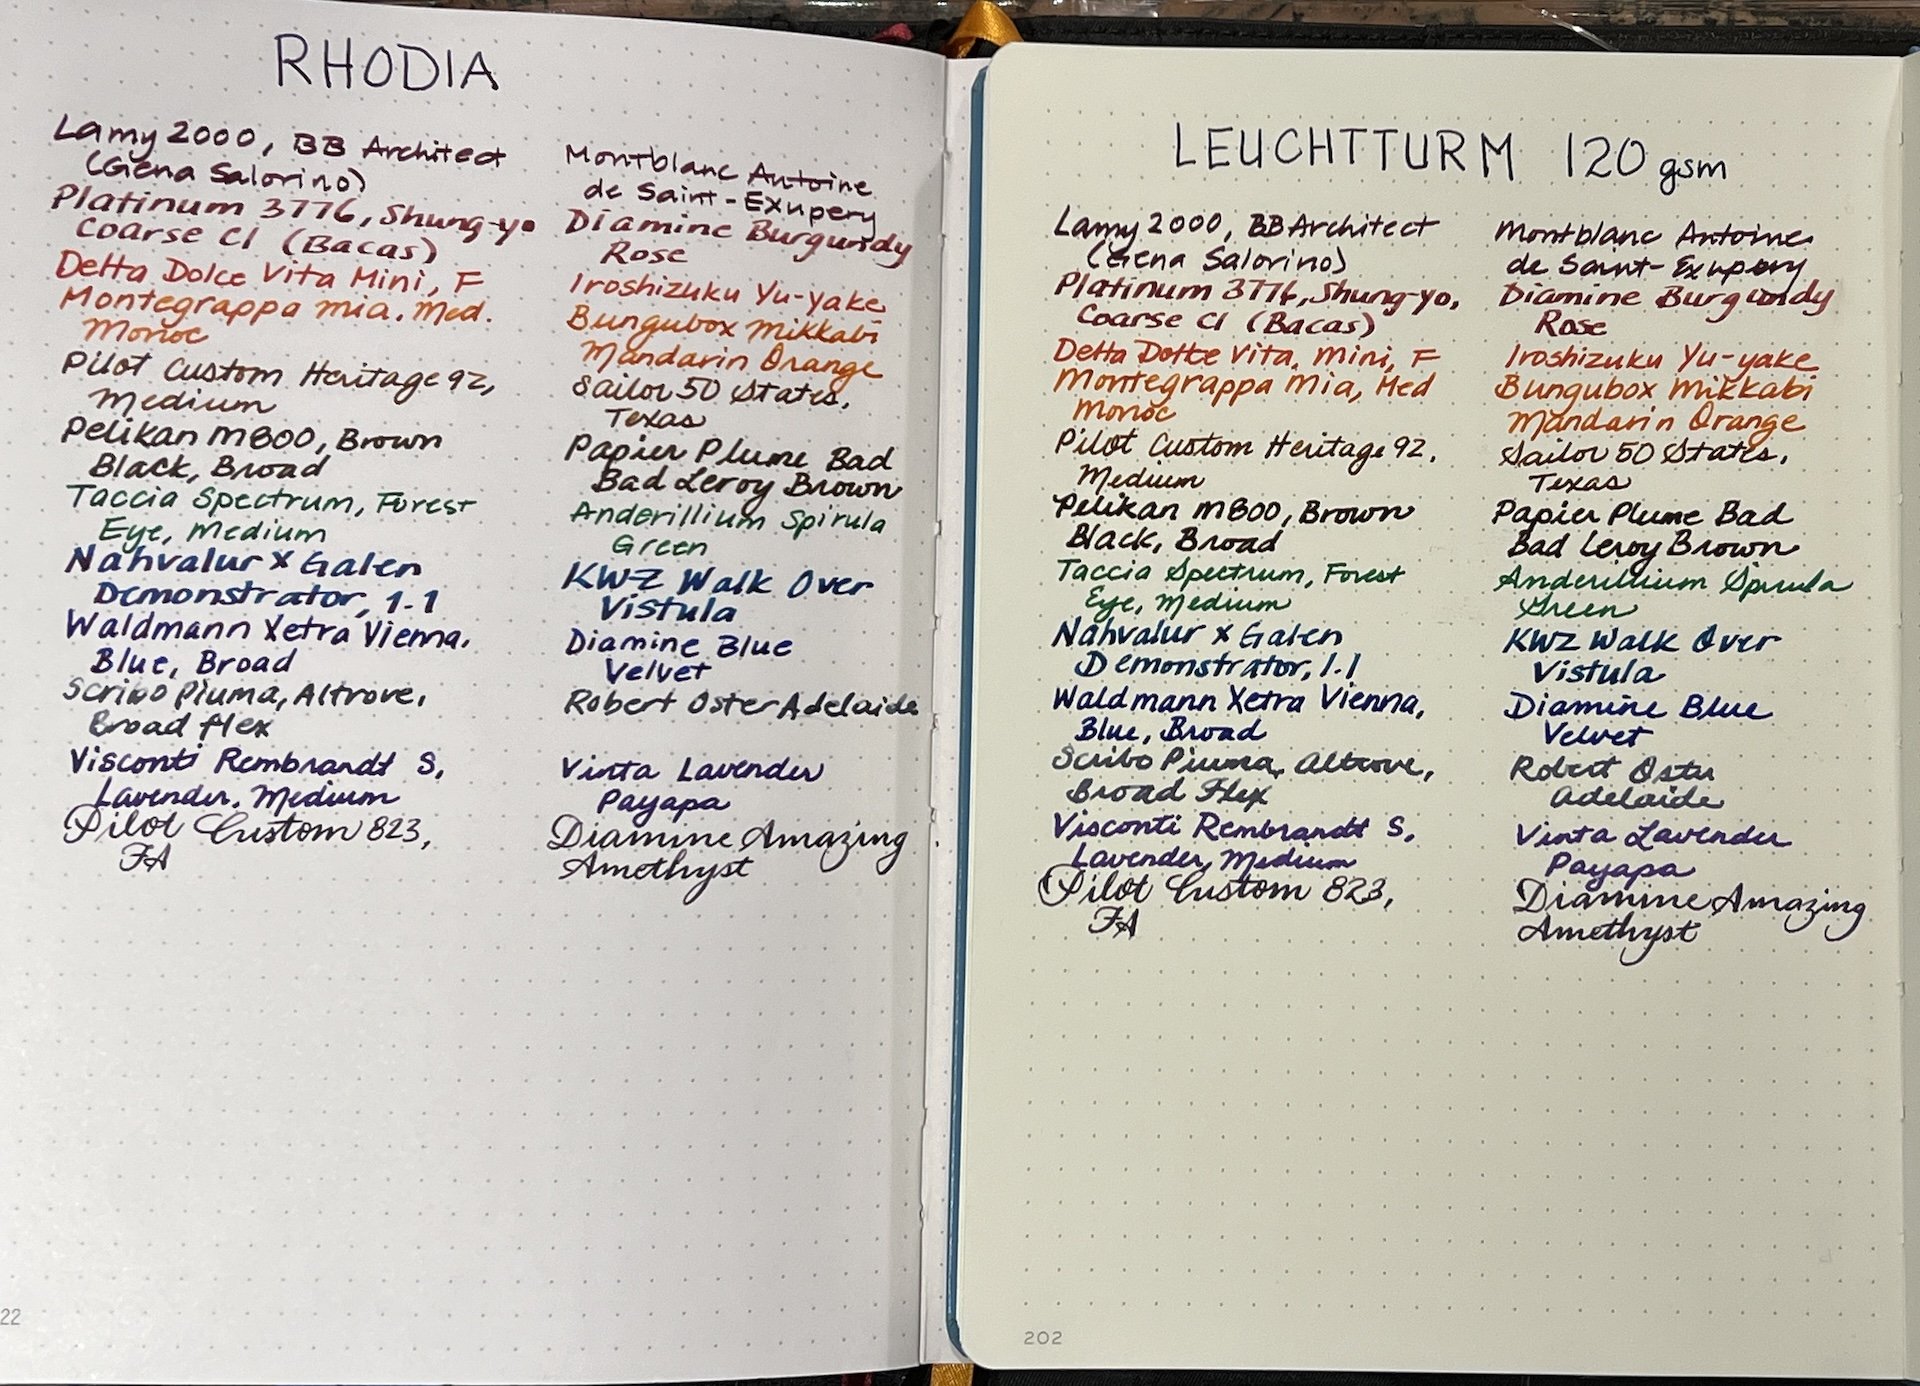
I looked through all the currently inked entries and picked out the ones that looked potentially problematic either due to nib size/grind or ink wetness and rewrote those entries on the back pages of both the GoalBook and the LT 120.

Rhodia GoalBook with white pages (left) and the LT 120 (right). You can see that the LT’s pages are definitely more cream than white.

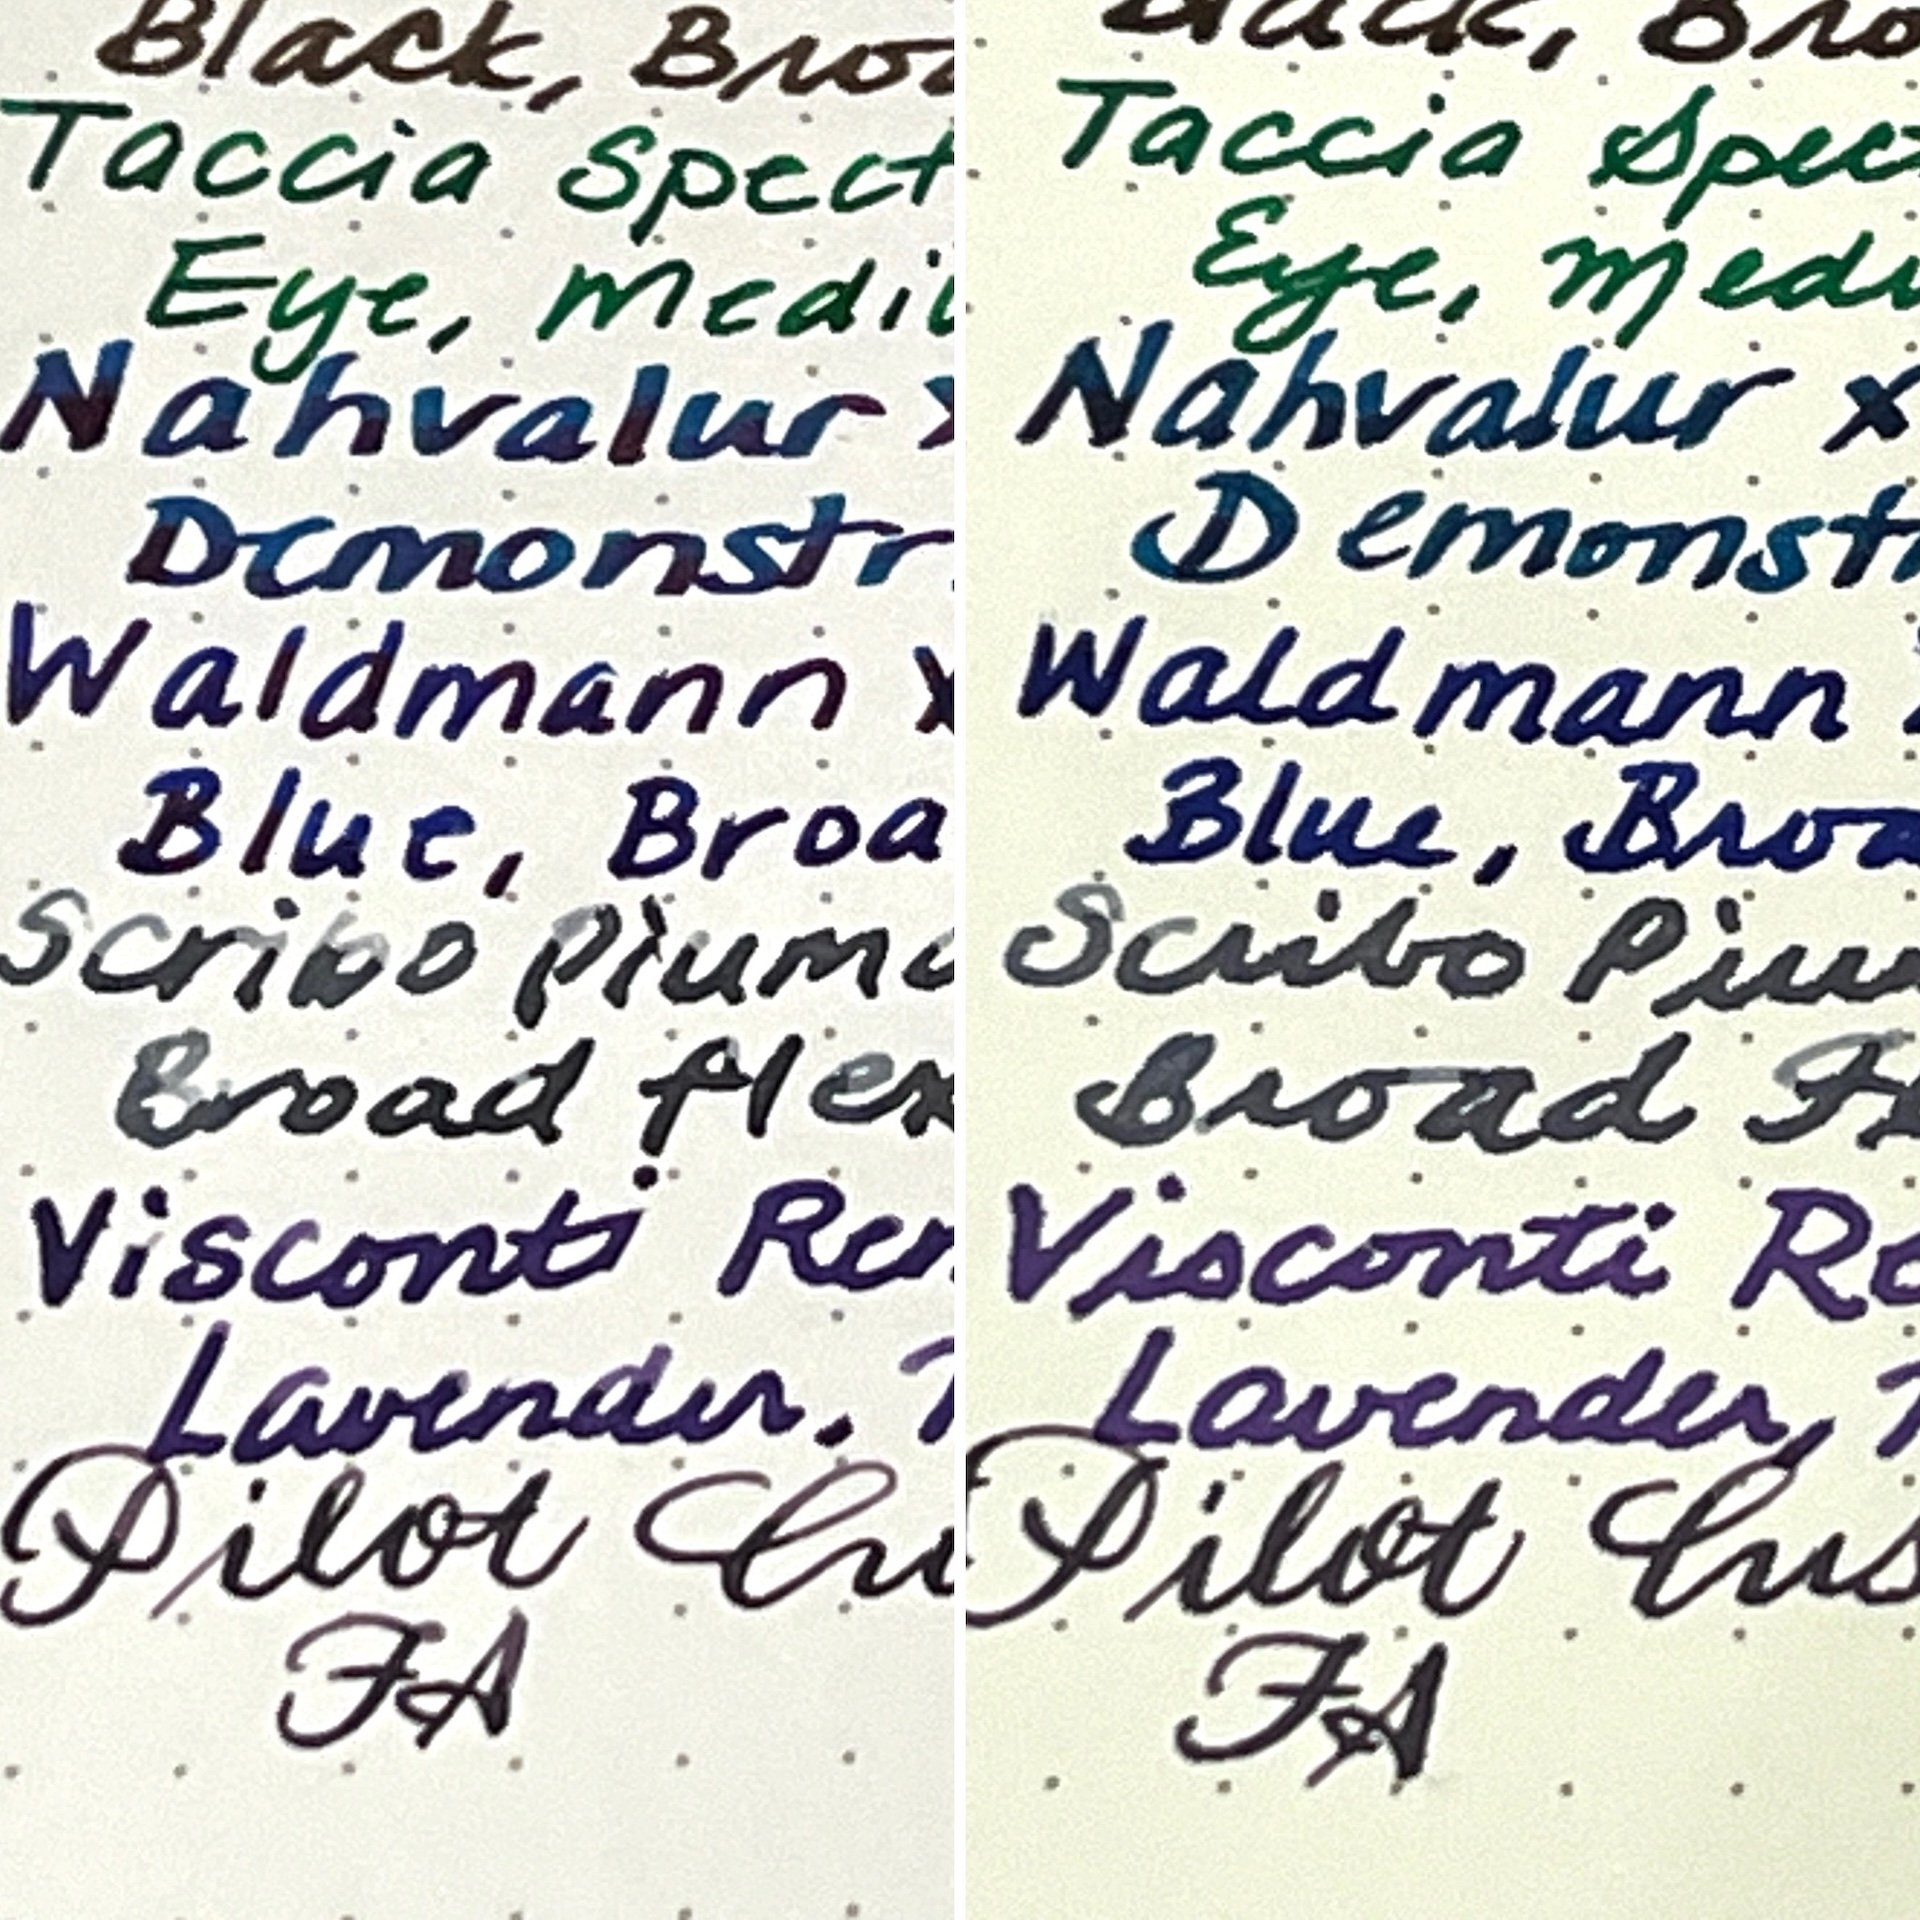
In almost all cases, the LT (right) absorbed a bit more ink than the Rhodia (left). This resulted in slightly broader lines from the LT as well as less shading.

In addition to the slightly broader lines, the writing experience on the LT 120 is a little “squishier” than other paper/notebooks, probably due to the additional weight. I hesitate to say that it has a bit more feedback than the GoalBook because it is still quite smooth. It is difficult to describe but it just feels like there is a bit more resistance, which I am attributing to the heavier weight. It isn’t unpleasant, just different.

And here are some “rare” additional pictures of spreads that I have in my bujo; “rare” because my bujo isn’t really for pretty social media posts. Mine has always been a functional bujo. I will add some more washi tape to color it up a bit but that’s about as much decorating as I do.

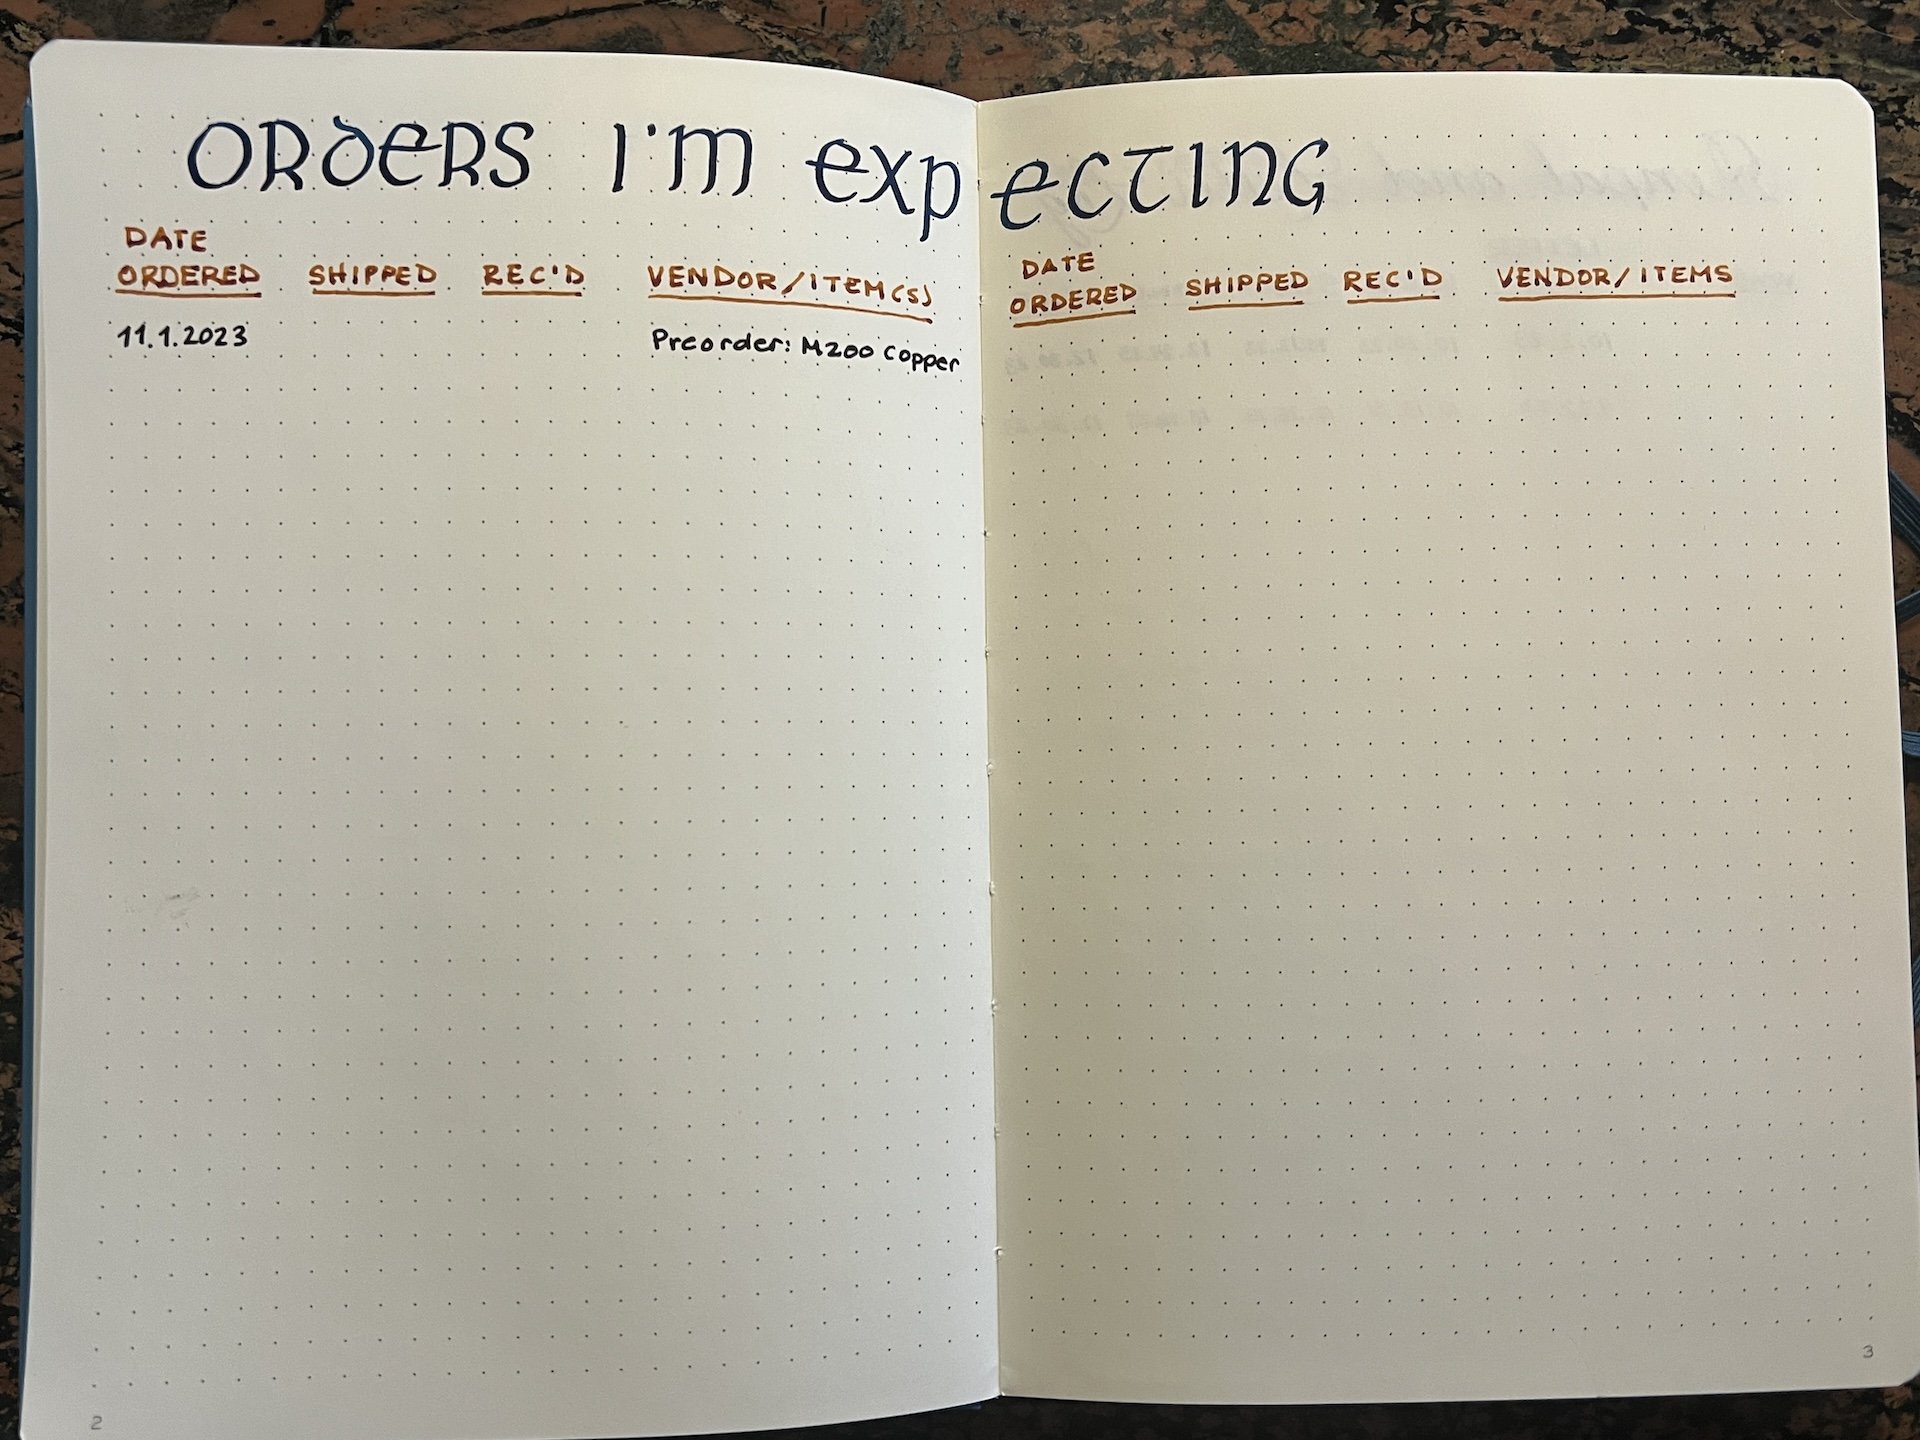
I haven’t ordered anything all year! But I am waiting on a preorder from 2023, so that has been moved to this year’s bujo.

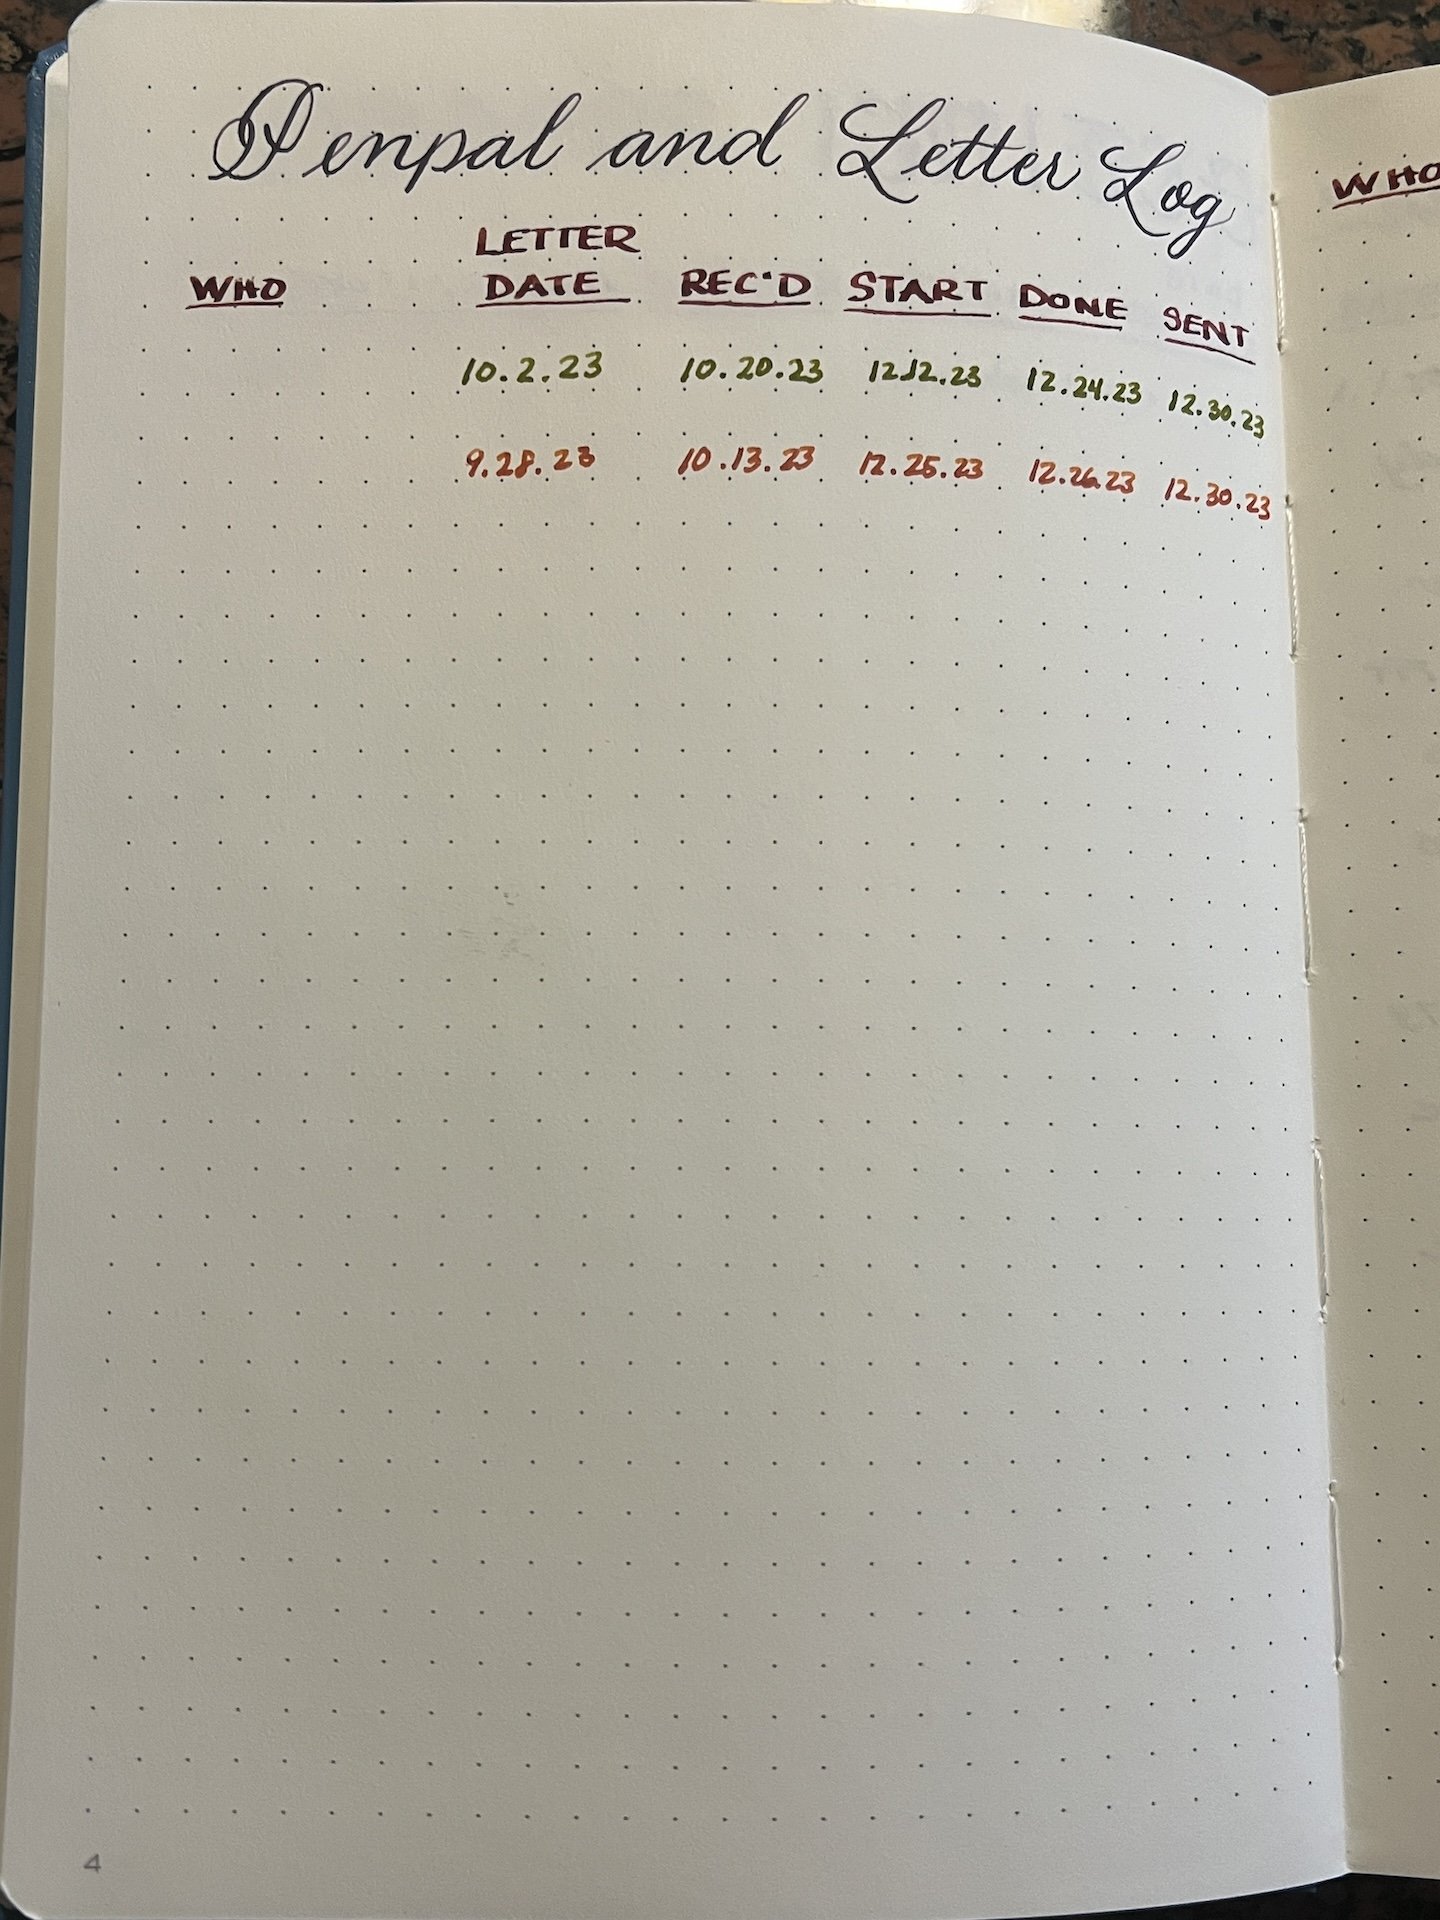
I track when penpal letters are received, as well as when they were dated (since letters can take a while to write, esp if you’re long-winded like me, or if they have to travel internationally), when I start/finish and mail my reply. I will be adding postal-themed washi to the edges so I can easily find this spread without using an index.

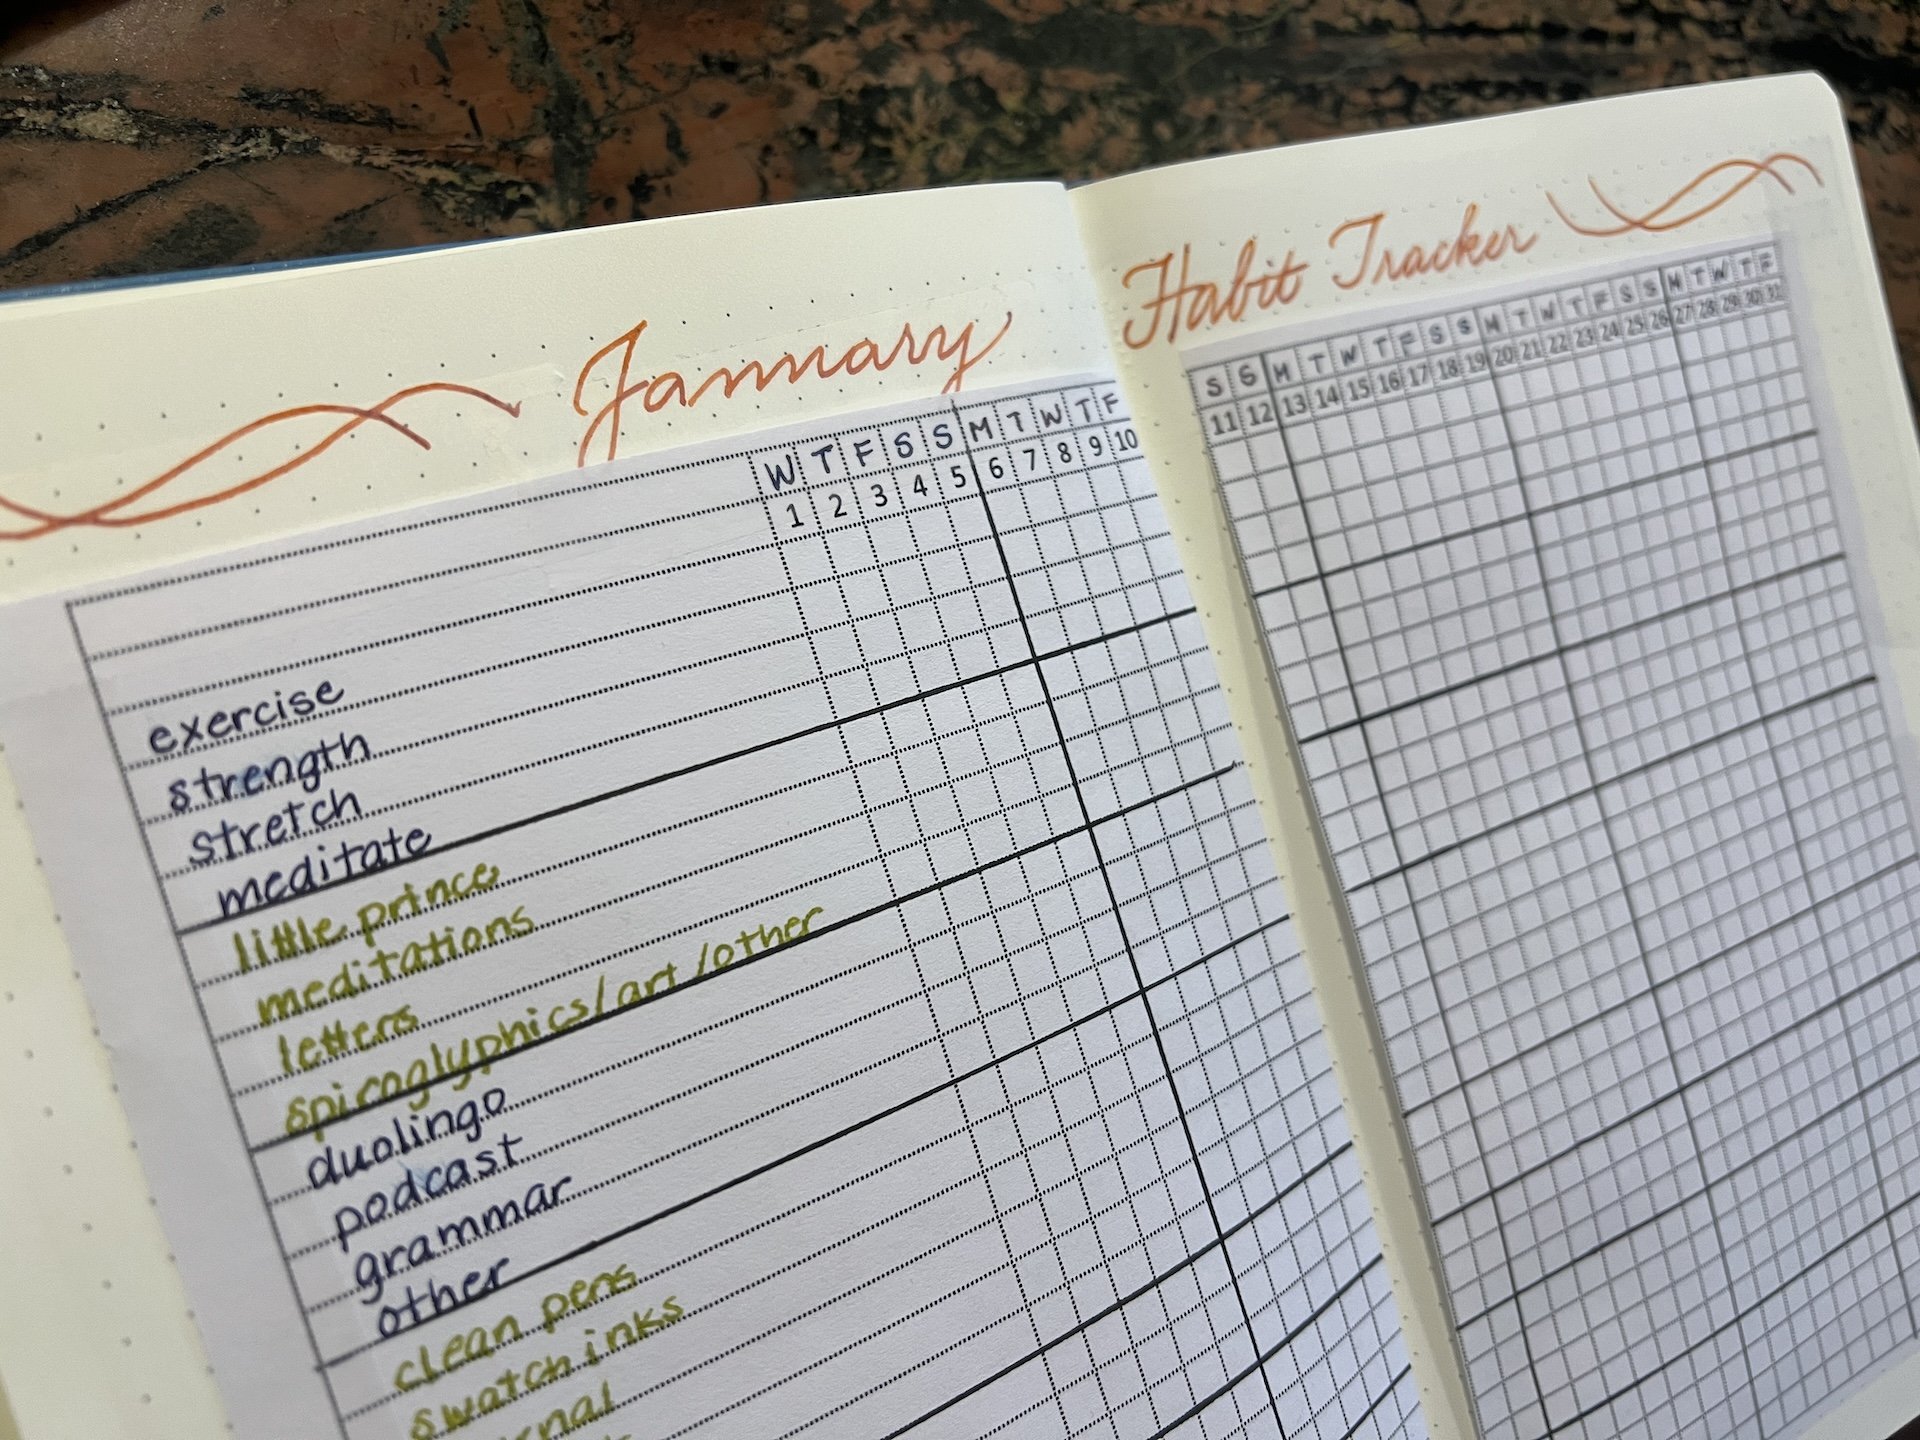
I made a simple grid spreadsheet for habit tracking and at the start of the month, I jot down the date/day and what habits I’m tracking. My aim isn’t necessarily to have everything checked every day (though some are daily habits), but more so I can see when I’ve done something and if it’s been a while, to make sure I get back to it. I print several copies so I have them in the back cover whenever a new month comes up.

I’m too lazy for fancy habit trackers :-)

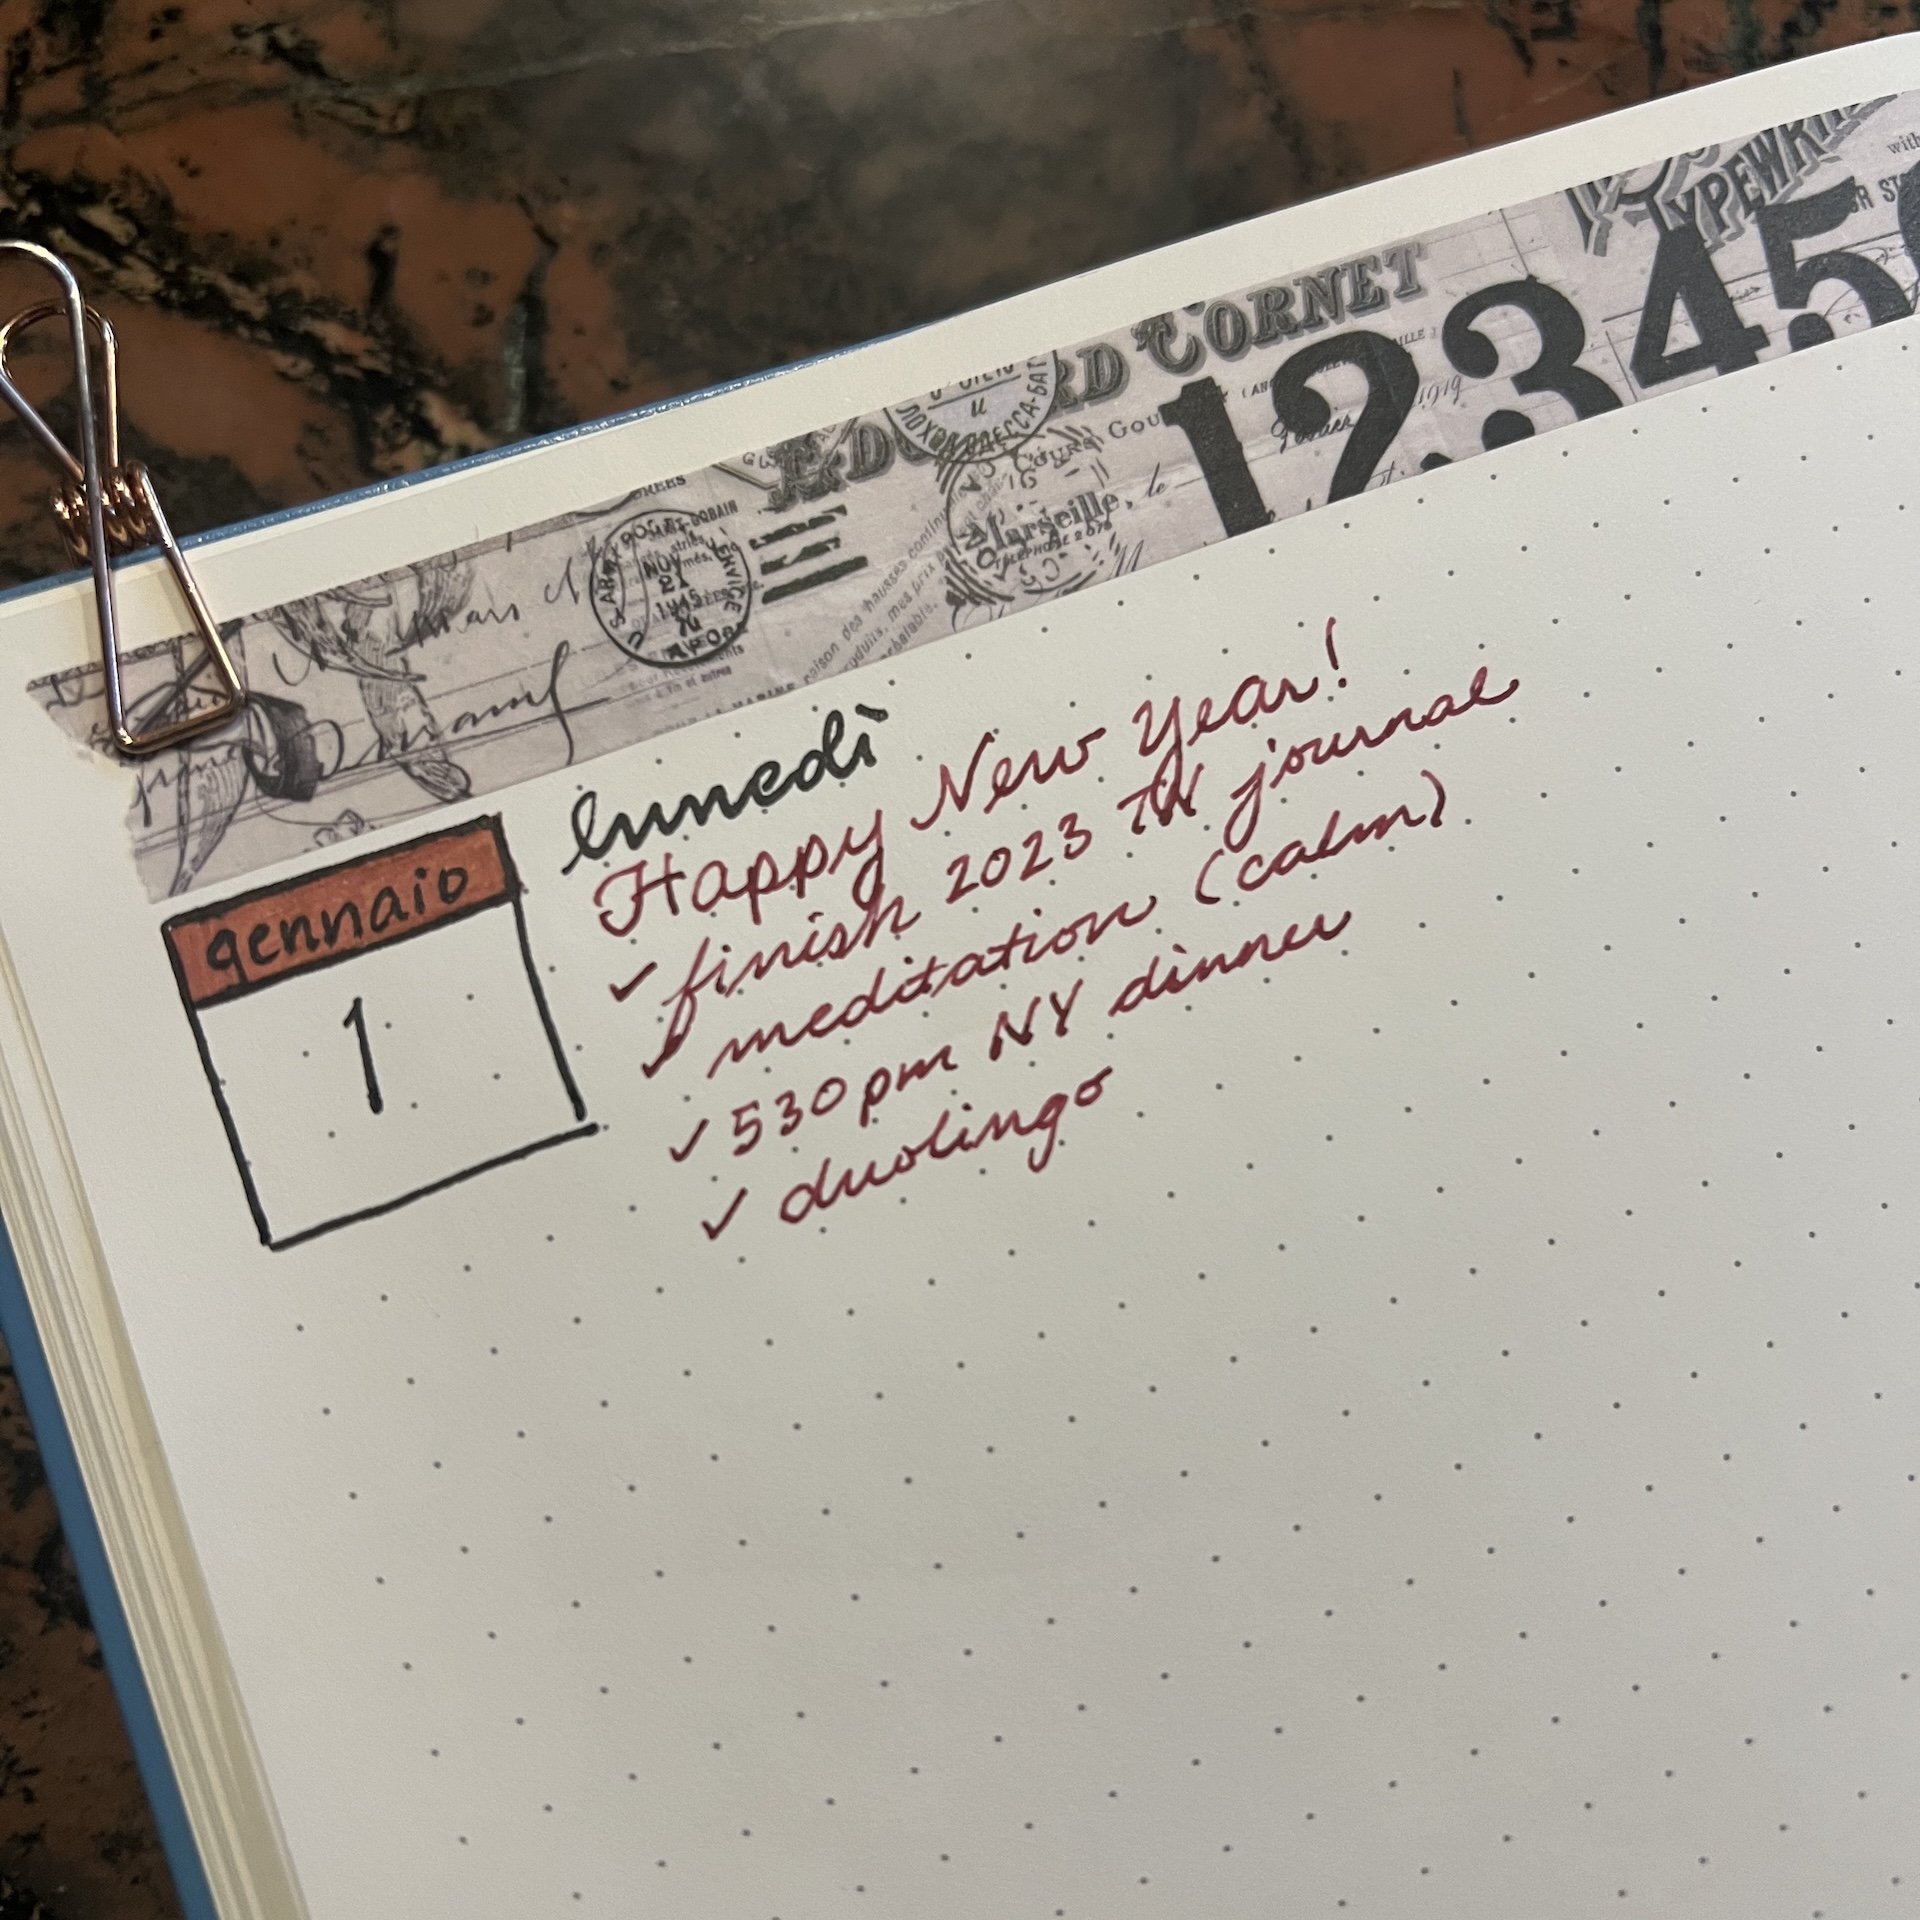
Actual todo list from January 1. I am continuing with my Italian learning, so I always write the month and day in Italian.

It’s still a bit too early to tell if the Leuchtturm 120 will permanently replace the GoalBook for me, but for now, it’s alright. I don’t really notice that the paper is cream unless there’s white paper nearby.

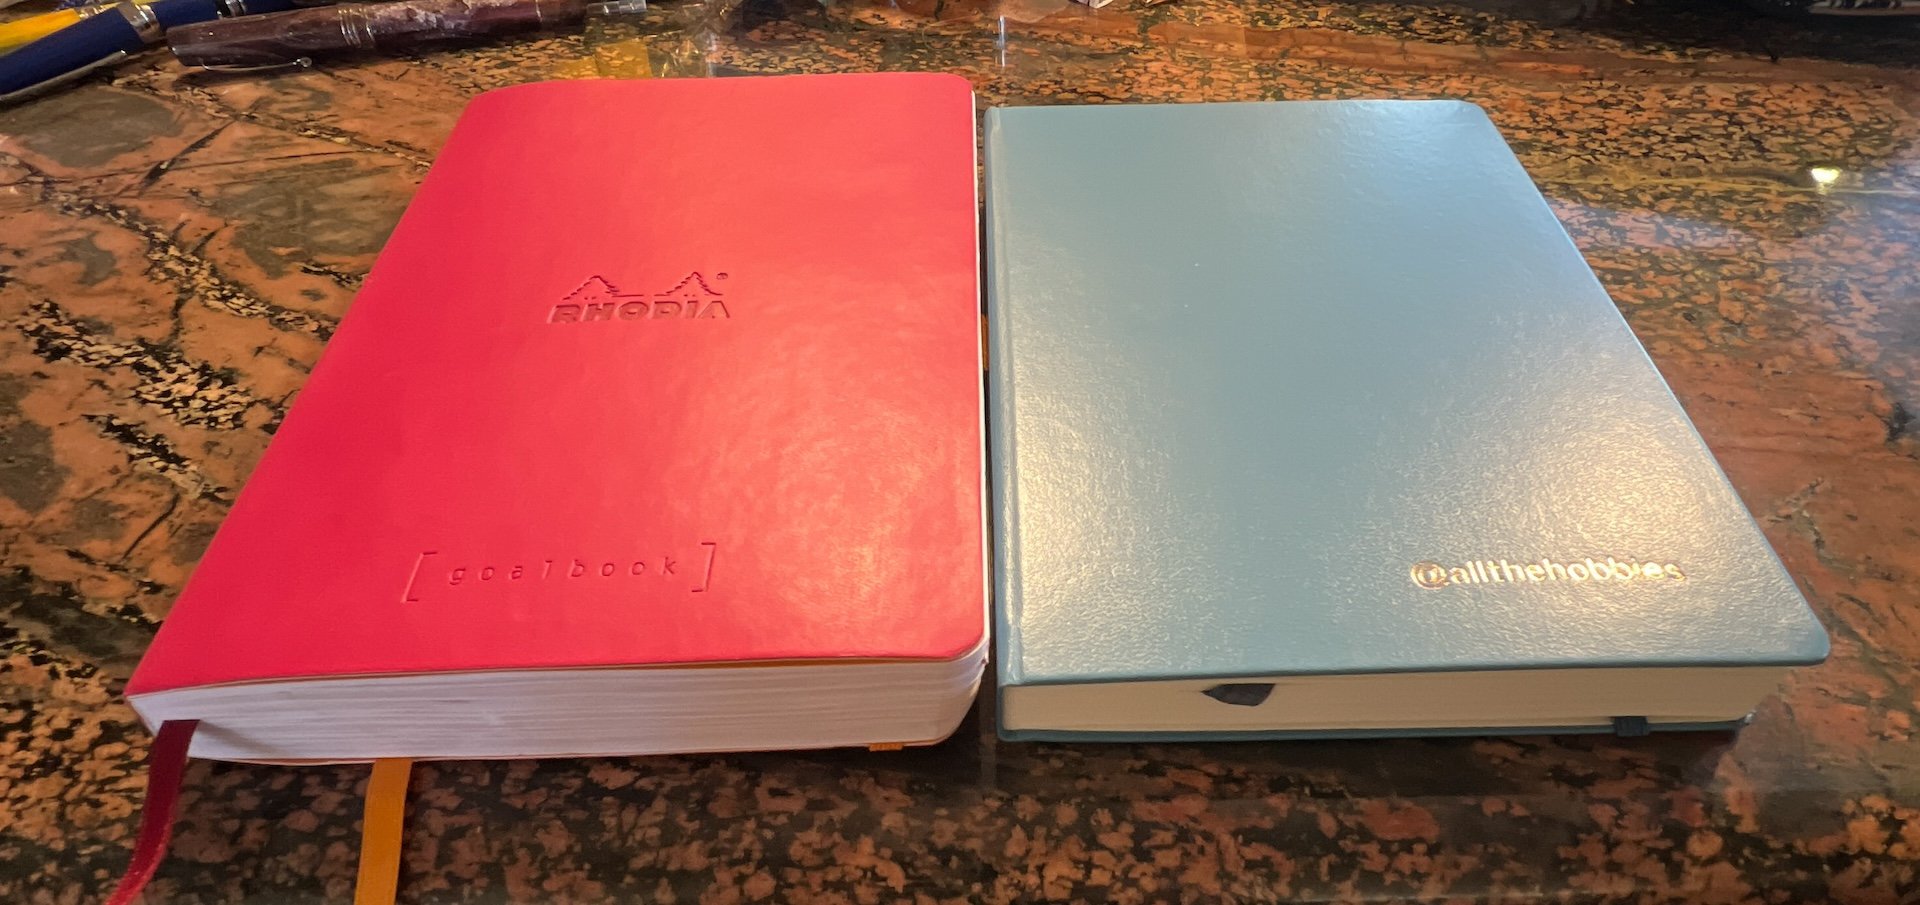
A well-used, soft-cover Rhodia GoalBook (left) with washi tape borders next to a brand new Leuchtturm 120 gsm hard bound notebook. It will be interesting to see how thick it gets as it gets more use.

The Leuchtturm 120gsm A5 notebook sells for $27.50 USD and is available from Flax Pen to Paper in Sage, Black, Port Red, as well as the Nordic Blue. It is available with dot grid, lines or blank ruling.

(Disclaimer: I purchased the notebook with free engraving from Flax Pen to Paper. The Rhodia GoalBook was also purchased by me.)

Posted on January 5, 2024 and filed under Bullet Journal, Journal, Planning.

2024 Journal, Planner, and Notebook Setup

New year, new notebooks? Yes to the new year (hello 2024!) but new notebooks? It’s a continuation of the same for me, which is a good place to be, plus a reimagining of an old standby that has me ready to tackle all that lies ahead this year.

Two products worked perfectly for me in 2023, and therefore I am happy to keep them going. I was successful in filling out the first full year in my 2023-2027 Hobonichi 5 Year Journal, only skipping a handful of days throughout the year. It was a habit that formed quickly, as I looked forward to updating the previous day’s activities the following morning. And on the occasions that I was away from home for an extended period of time, it was easy to catch back up on the few days I missed.

One change I made early on with this journal is to not log the pen and ink I was using on the opposite page. That seemed like a good idea at first, but looking at how little I used the right side of the page, it seemed wasteful. A friend mentioned they plan on using the right-hand pages to add years to the journal - up to four more years in the case of this layout - and while I have many years before I get to that point, I will keep that option open.

My first full year in the PLOTTER Narrow was a rousing success as well. This planner was used far more than the Hobonichi Journal, which is by design. I used the Weekly layout for a broad overview of what my week looked like, the standard grid pages for notes and lists, and I added in a batch of my favorite Bank Paper to the rear section for random pen tests and handout pages.

The only section I rarely used in my PLOTTER were the Monthly pages, but I plan on giving them another go this year and seeing what I can do to make them useful for me.

Towards the end of the year, I added in a Field Notes for a more easily pocketable, and portable, notebook for random thoughts, ideas, and scratch paper. The PLOTTER could be used for this (it does travel with me,) but I found the simplicity of a pocket notebook to be unsurpassed, once again.

The one frustration point in my current setup is with my Life Noble A5 Hardbound Notebook. It is an almost perfect notebook for me as far as style, layout, and performance goes, but I found myself rarely using it. My frustrations with it come from not knowing why I’m frustrated with it. I couldn’t design a better notebook for my own use, but I rarely choose to use it.

That brings me to my one new addition for the start of 2024: my William Hannah is back in the game! In its former life, it filled the role that my PLOTTER currently does. I like the PLOTTER format and size better for my planning needs, so I turned my William Hannah into my paper sampling notebook. Using a different hole punch than for my PLOTTER, I added in as many different paper types as I could to it. This made them easily accessible at my desk for testing, and portable to pen shows for others to try.

While I will miss this setup, I had an epiphany last week: this would make for a perfect project notebook. I removed all of the testing pages, and clamped them with this Medium Penco Clampy Clip, and added in the basic dot grid pages from William Hannah that I had ordered previously.

What this will allow is the proper organization for project plans and ideas. I can’t believe I am saying this, but I think this was my primary hangup with the bound A5 notebook. I want to project plan in it, but how do I allocate space for that? Is this a two-page project, or ten? When does one project start, and the next one end? I’m frozen by the inefficiency that this would introduce to the A5 notebook, and therefore it sat, mostly unused.

With the William Hannah, the pages are portable. Add a page here, remove a page there. The section dividers are movable, too, or I could simply mark the edges with washi tape or flags if I so desired. Flexibility, in this case, is peace of mind.

Will it work for me? Ask me in a year, but I’m anxious to get it going. If nothing else, thinking about overarching concepts such as allowing myself to set aside a product that doesn’t work, or repurposing something I already own into something new, has been a fun experiment. Let’s see how it plays out.


Enjoy reading The Pen Addict? Then consider becoming a member to receive additional weekly content, giveaways, and discounts in The Pen Addict shop. Plus, you support me and the site directly, for which I am very grateful.

Membership starts at just $5/month, with a discounted annual option available. To find out more about membership click here and join us!

Posted on January 1, 2024 and filed under Journal, Notebook, Planning.